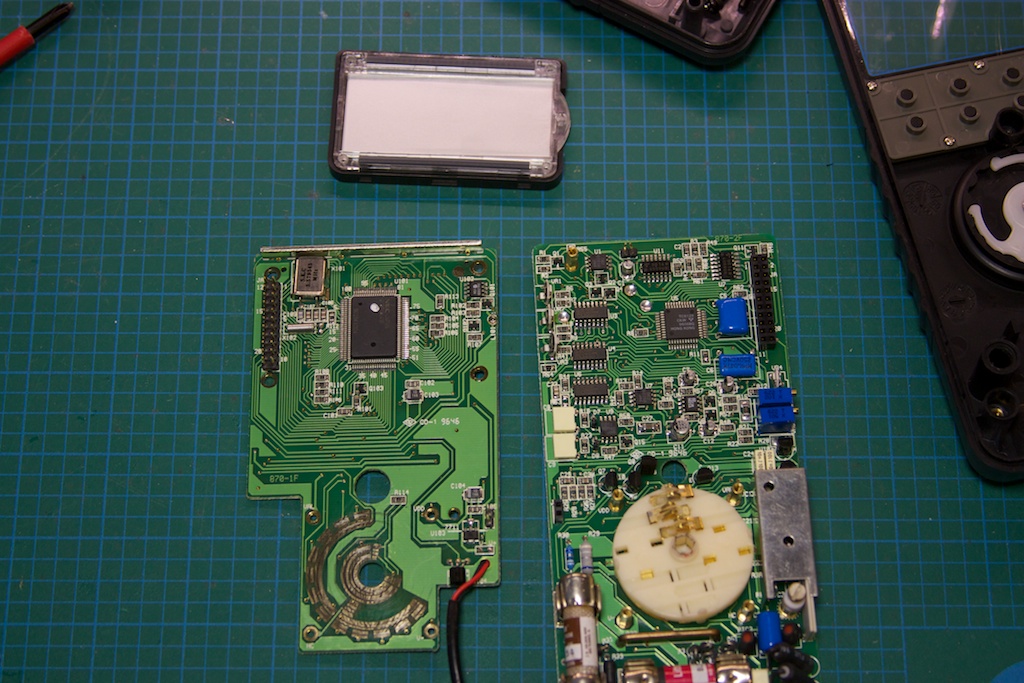
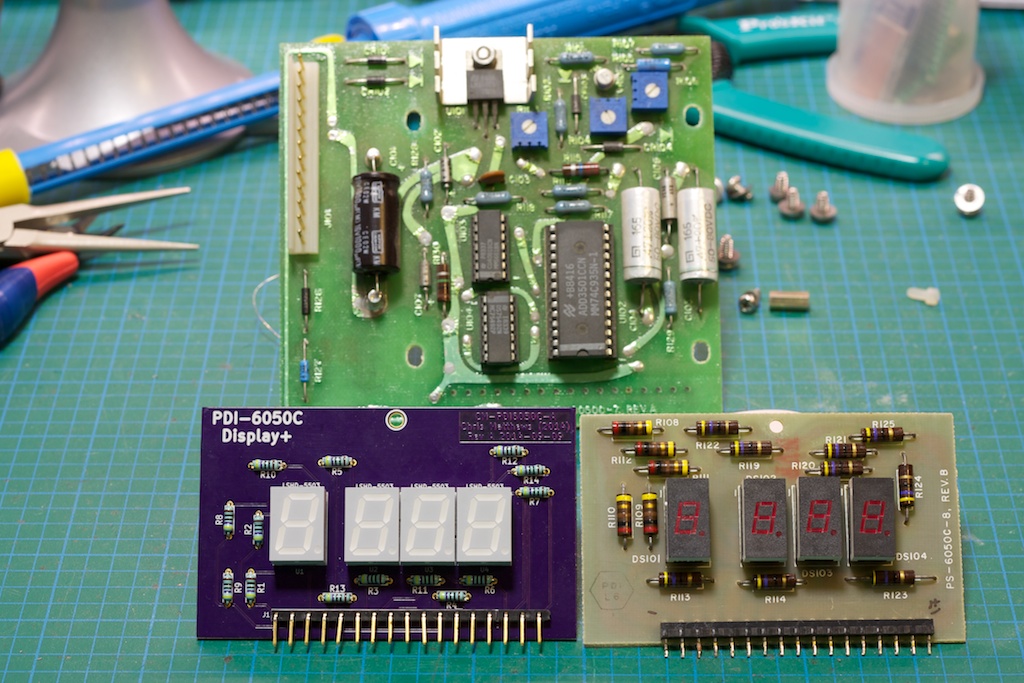
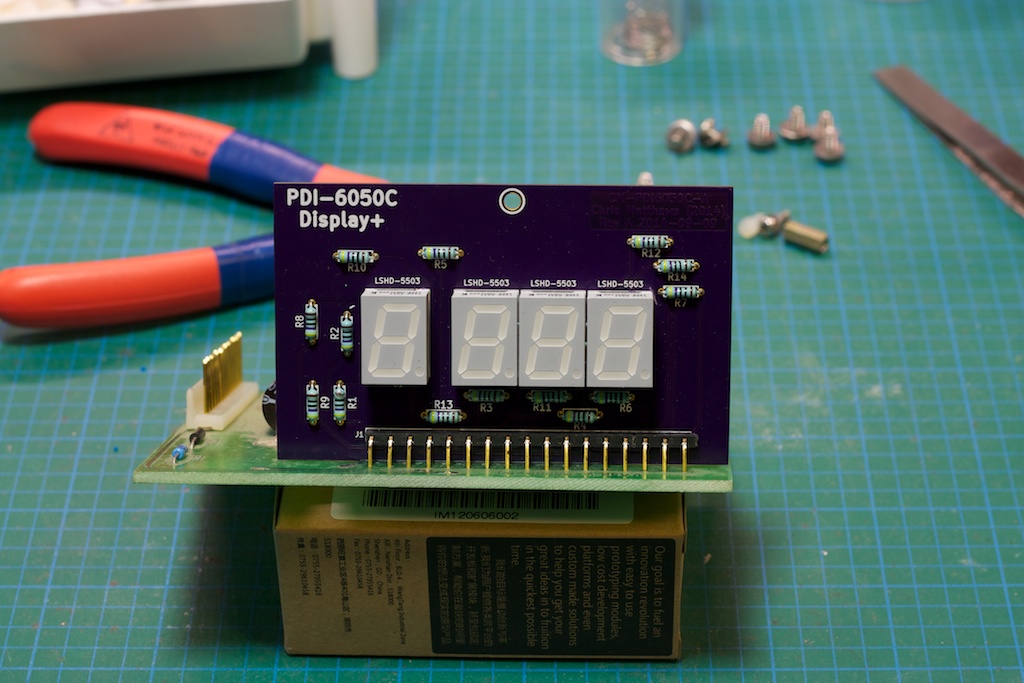
Here’s a modification that I have been meaning to do for a while. It involved replacing the PCB in one of my power supplies with a modified version designed by me that upgraded the size of the 7-segment LED display.

I ordered the board from OSHPark. My experience with them has been positive; the turn around time was about 2 weeks and the gold finish is very nice. I’m fine with the colour of the solder mask, however note that the mask is a matte finish rather than the typical “pearl” or “glossy” finish that I am accustomed to seeing on PCBs. Not a big deal, but something to think about. Also, the traces are a bit difficult to see through the solder mask.
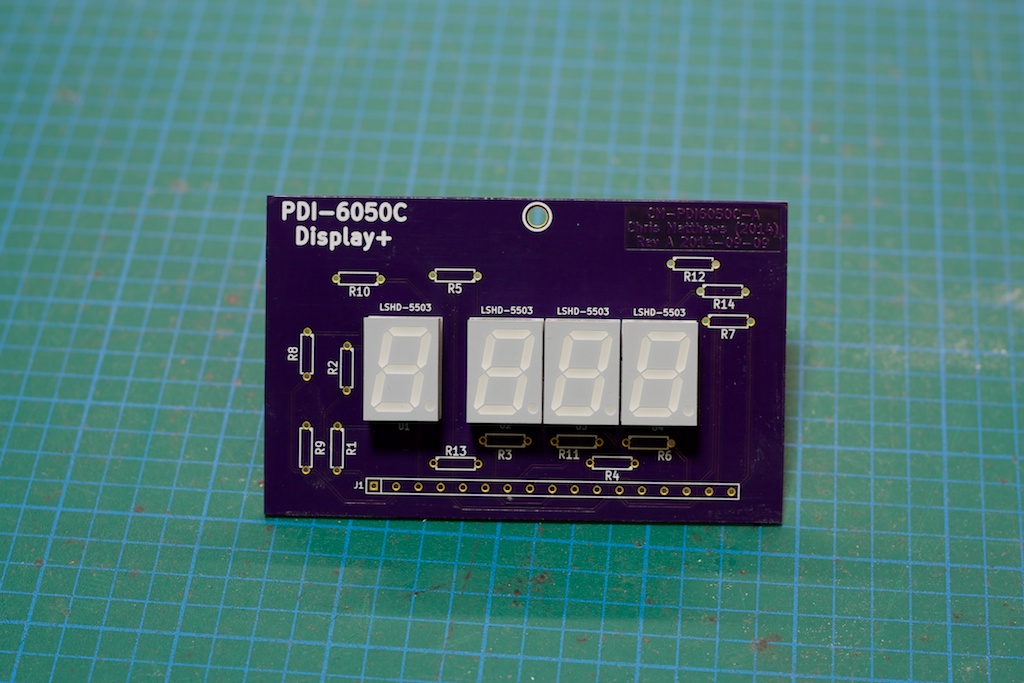
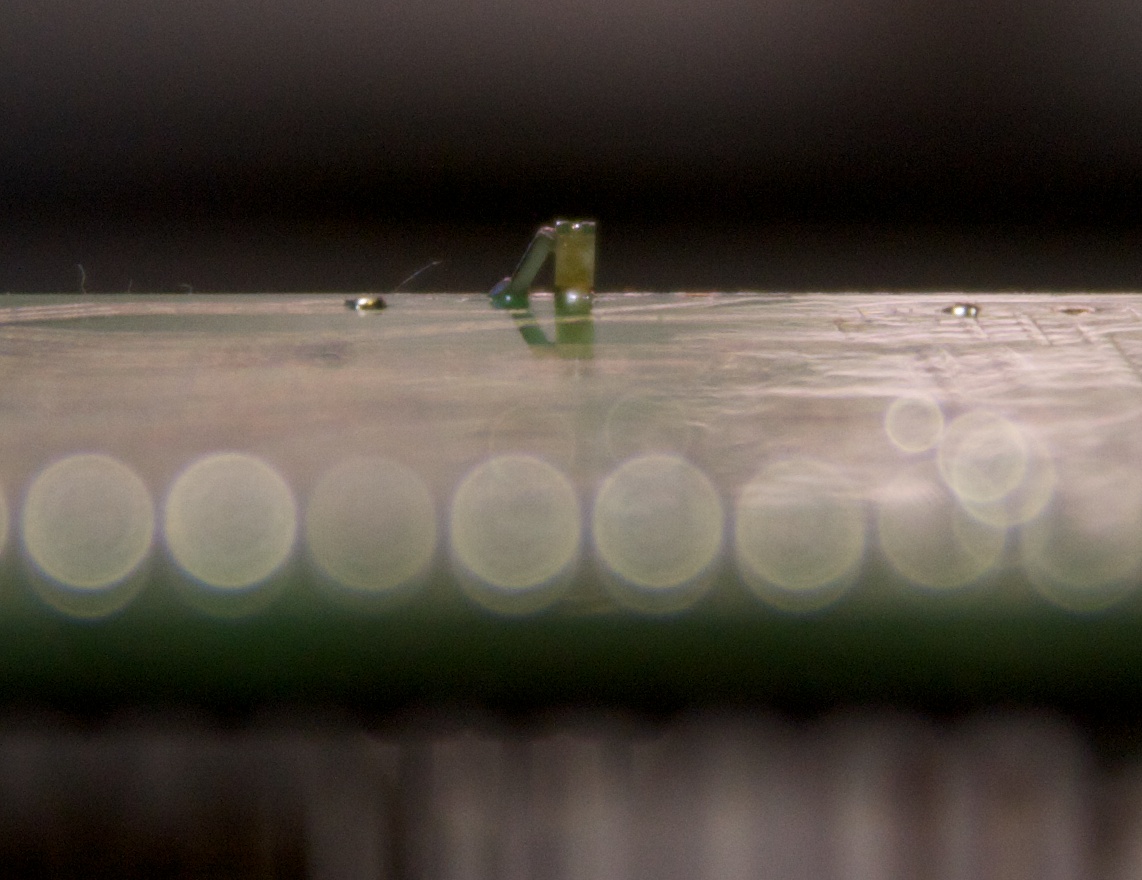
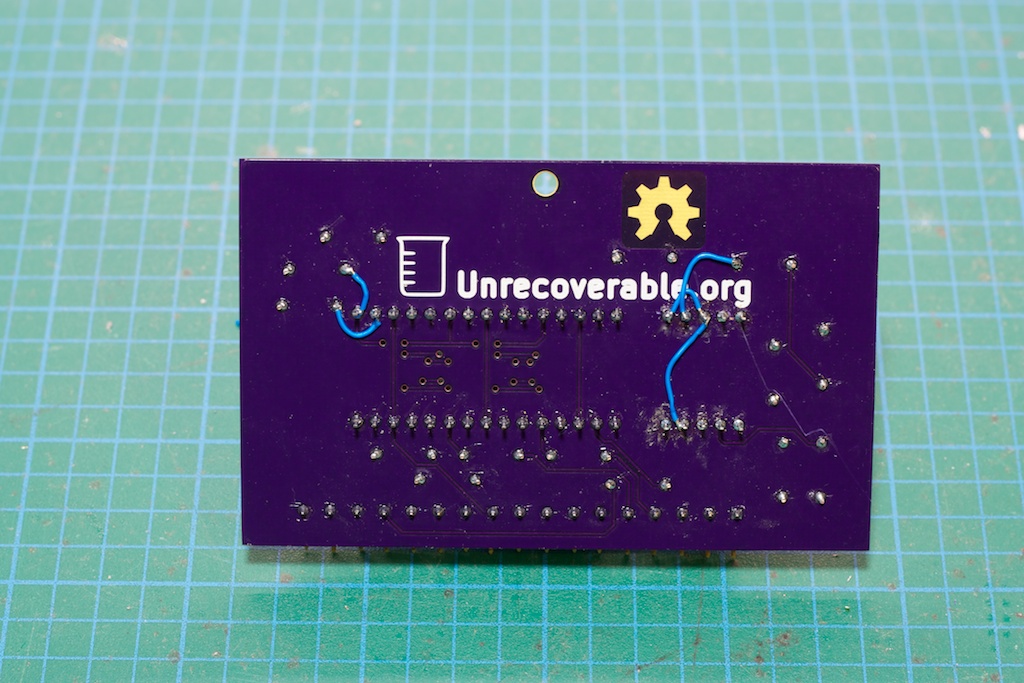
I of course did not fully check my notes when throwing together the schematic for this project which resulted in the boards I received having the ‘a’ and ‘g’ segments reversed. A few cut traces and a jumper wires later and all was working as expected.
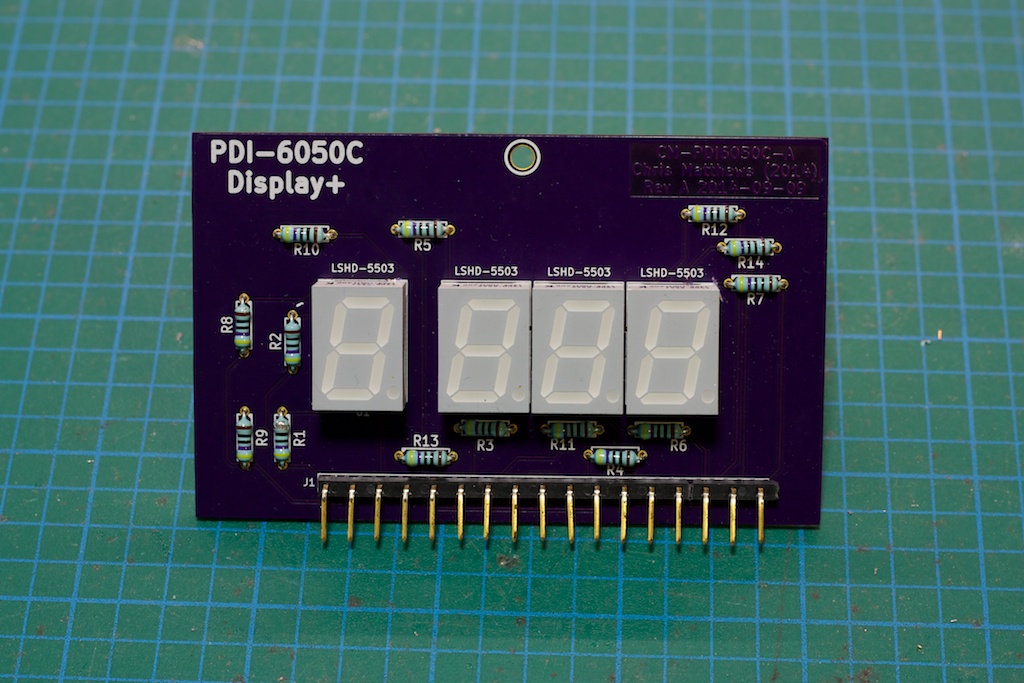
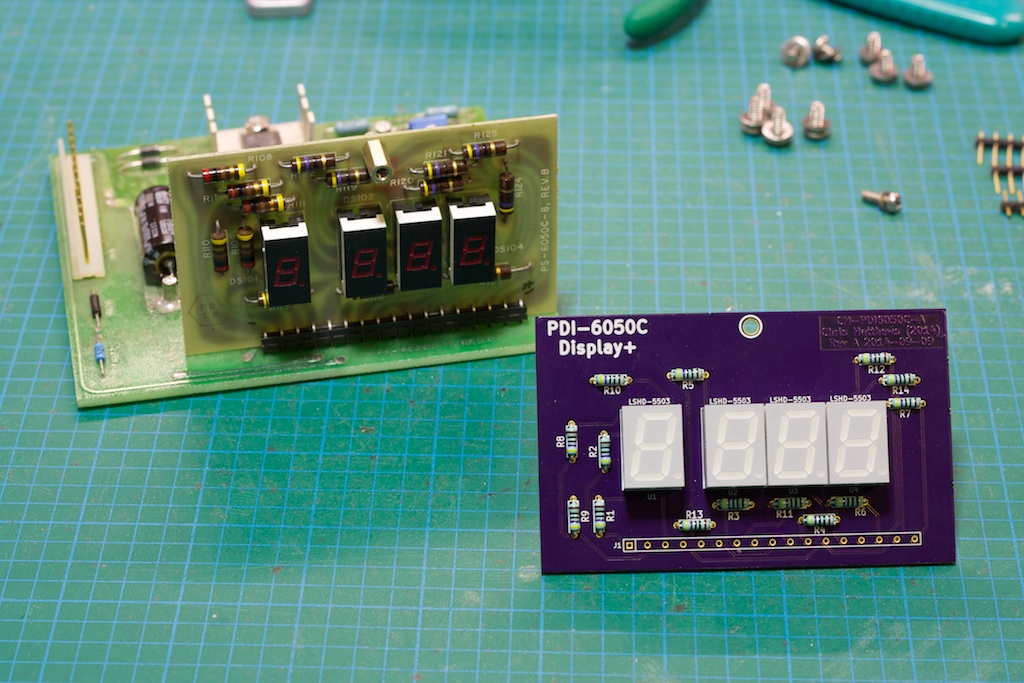
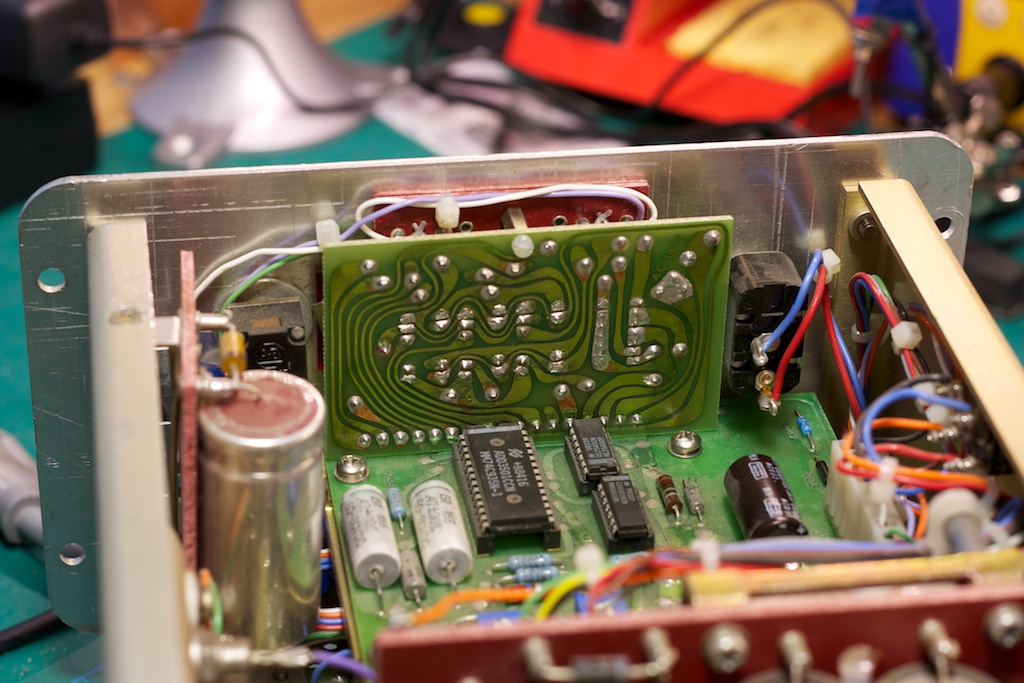
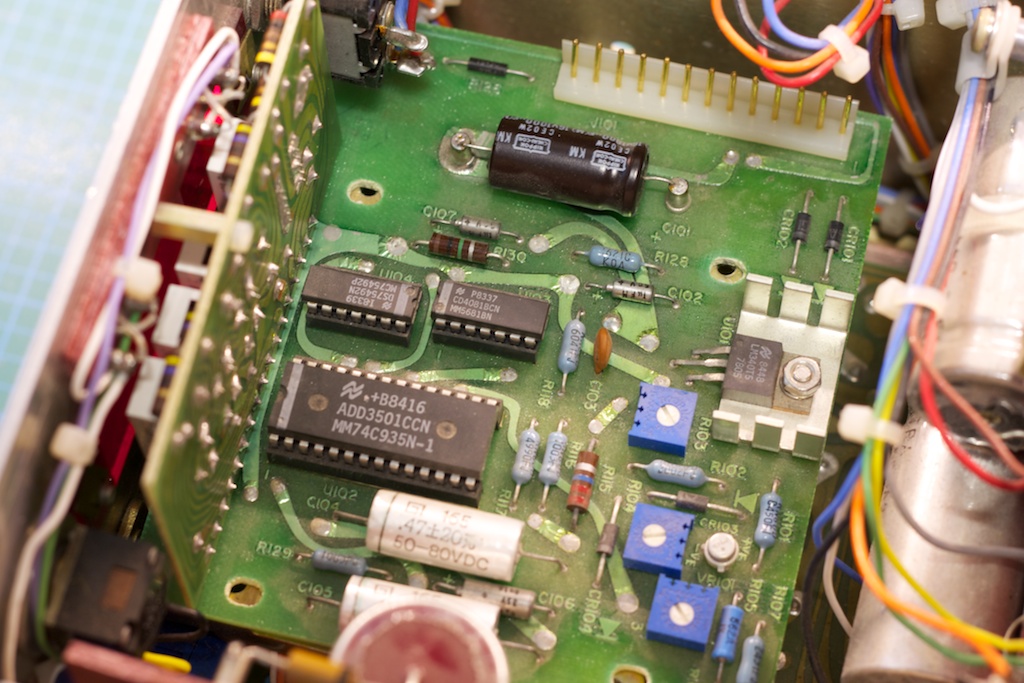
I originally tried to think of a better way of re-attaching the new display board to the existing display measurement/logic board, but in the end the simplest solution won out and I just re-soldered the new display board back. The header pitch is 3.81mm and was a total pain to find (yay eBay!).
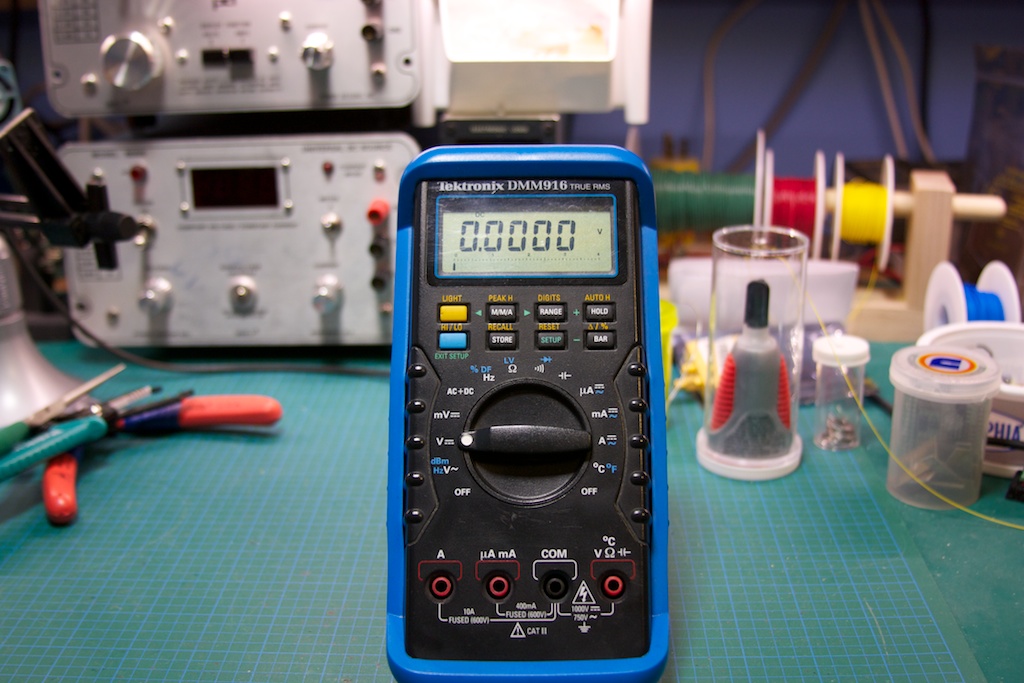
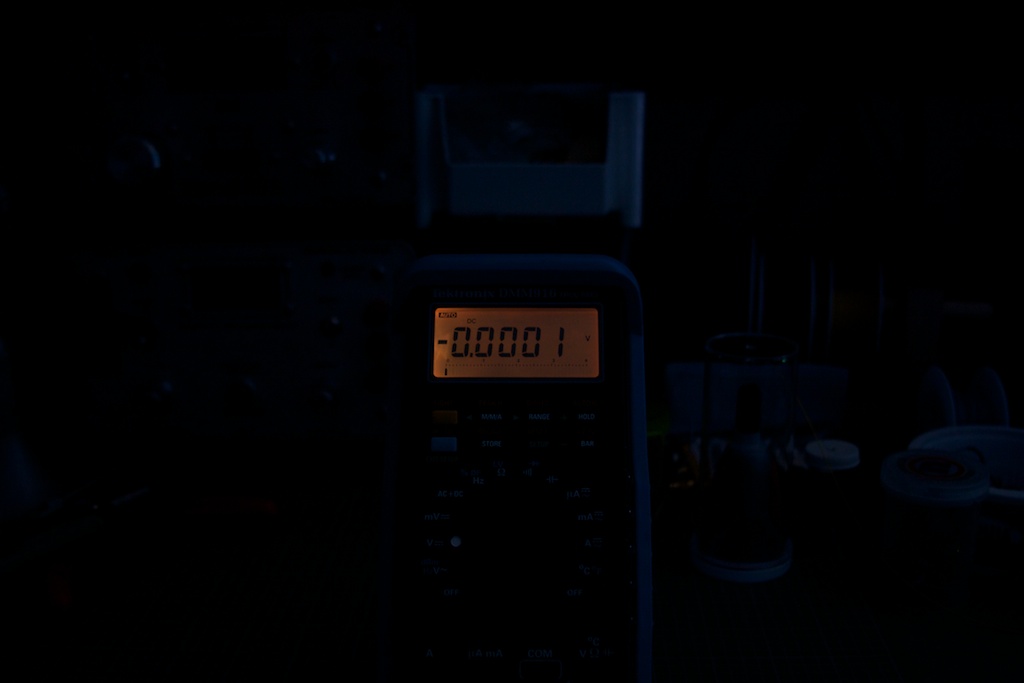
The end result is a bright, clear and LARGER display. Here I have contrasted it with the model right after the 6050C, the 6050D which has a larger digital display (and also does not display the measurement mode as the 6050C does, E or I).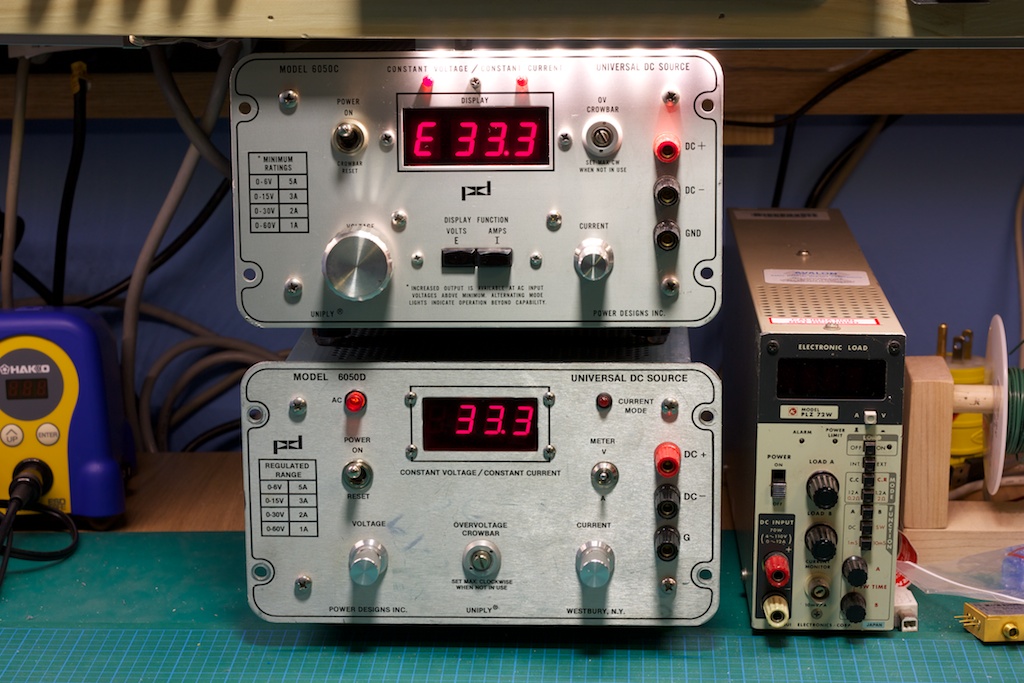 If I decide to pick up any more of these supplies, I think I’d make the same display modification to them as well. I have been looking at the 6050A models (which can usually be had for cheaper): these might also be good for a “digital makeover” involving removing the analog meter and designing a new digital display PCB.