
I’ve been rather silent for a couple of months now, but I have been busy! This time it is a laboratory frequency standard! This project is modeled on the work done by Gerry Sweeney over on his blog. I have been assembling the various pieces needed for this build for several months now, and just recently decided to take the plunge and do the build.
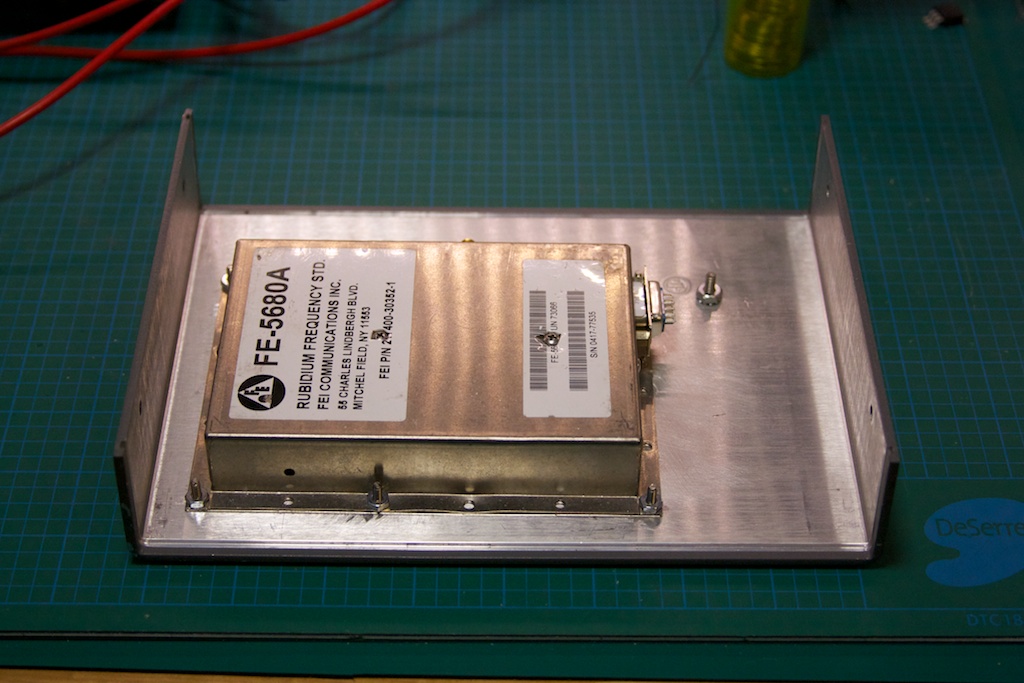
It started off with a Rubidium frequency standard from Frequency Electronics, the FE-5680A. These can be purchased used off of EBay for ~120$ CAD. Buyers beware: I had success with my first unit, but others have not been so lucky. There are numerous configurations of this unit, with various features present or missing, including the 10MHz sine output. This project requires at a minimum the 10MHz out. Some units will have this via a dedicated BNC or SMA connector, others (like my unit) will have it present on a pin from a DB-9 connector.
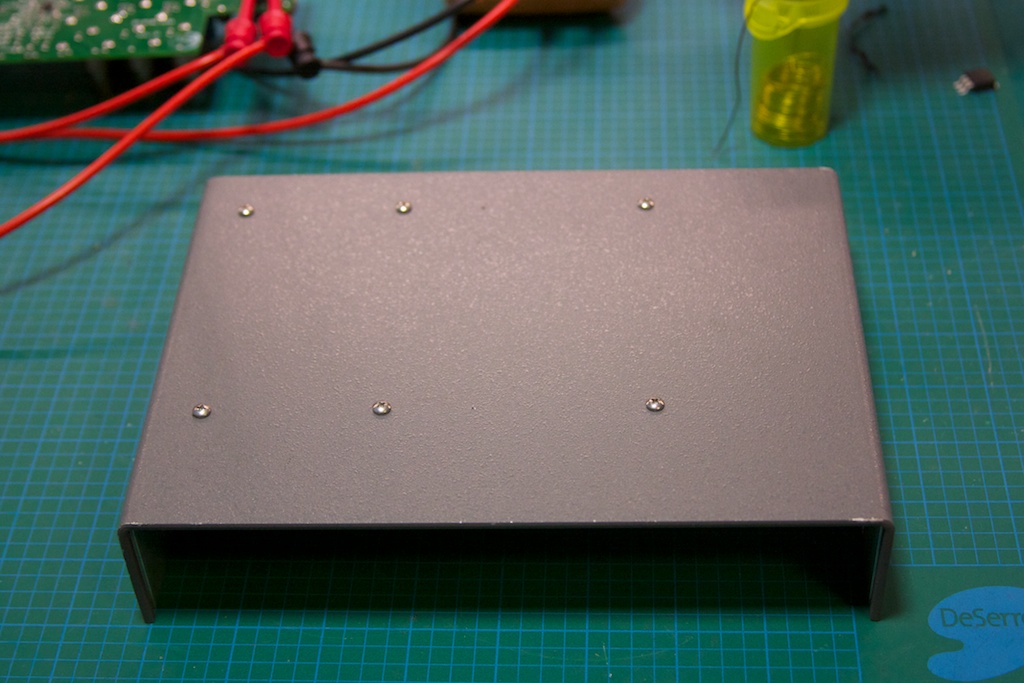
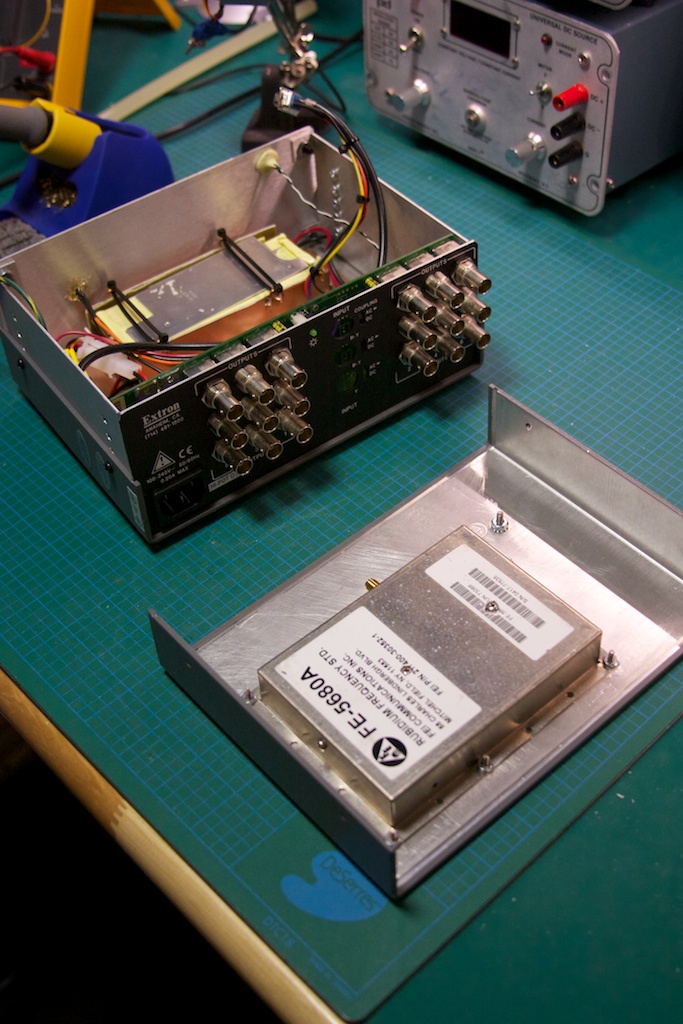
The second most important component is the case which will house the completed project. I was originally going to choose a basic project box, but Gerry was pointed towards a distribution amplifier for video. Since the signal from the FE-5680 would need to be replicated on multiple outputs to be useful, some sort of amplifier was going to be needed. It just so happens that 10MHz lies in the range of off the shelf video amplifiers, and the model I got by Extron, the ADA 6 Component was perfect for the job AND was only 40$ on EBay.
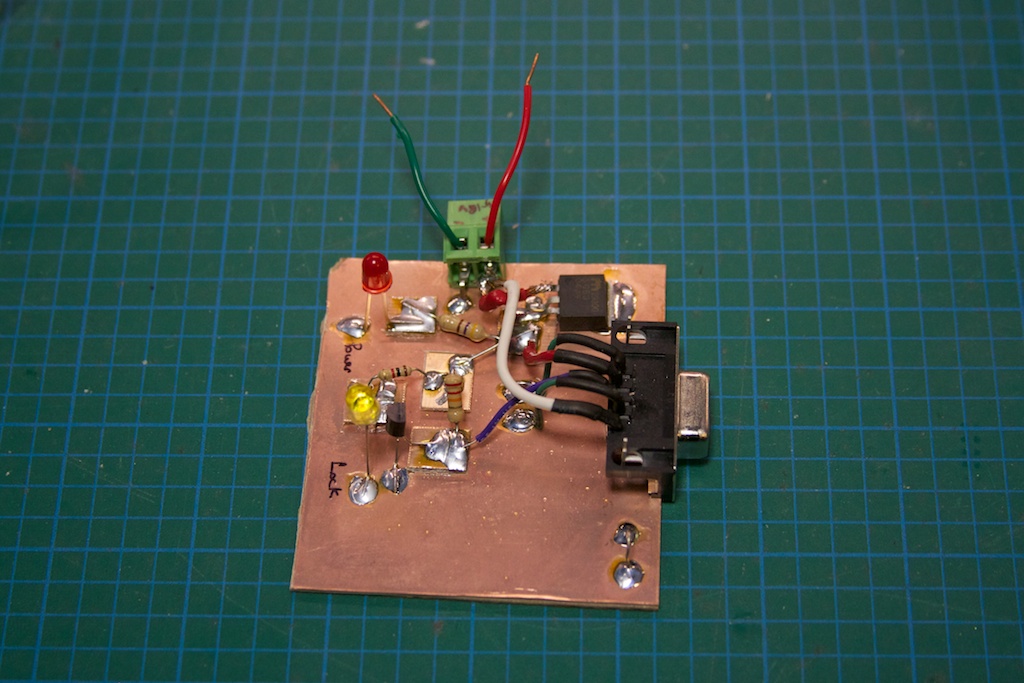
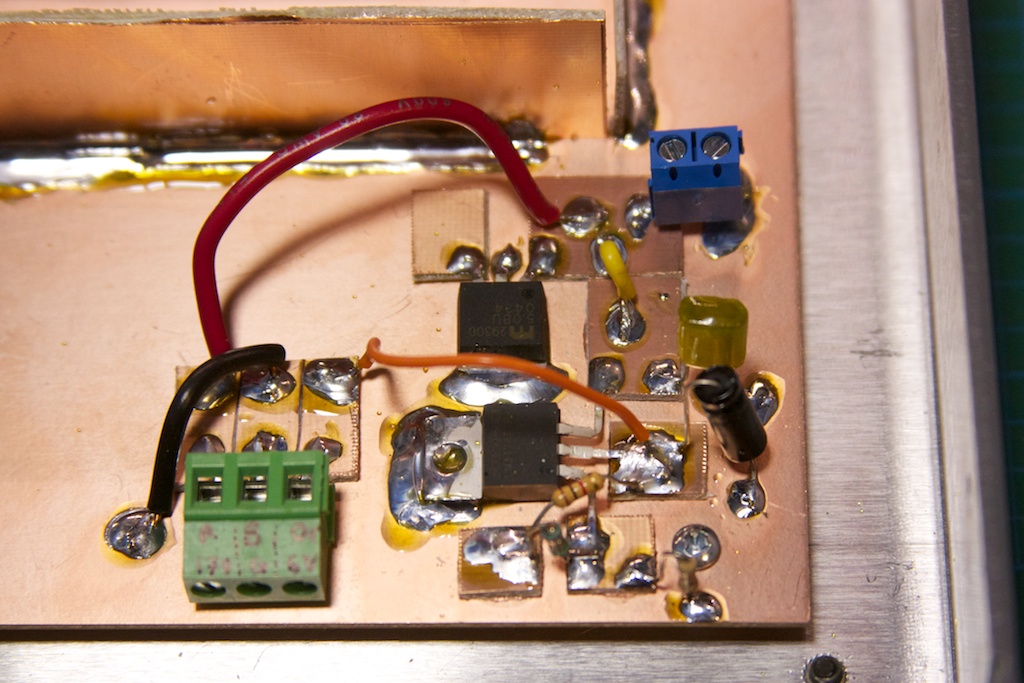
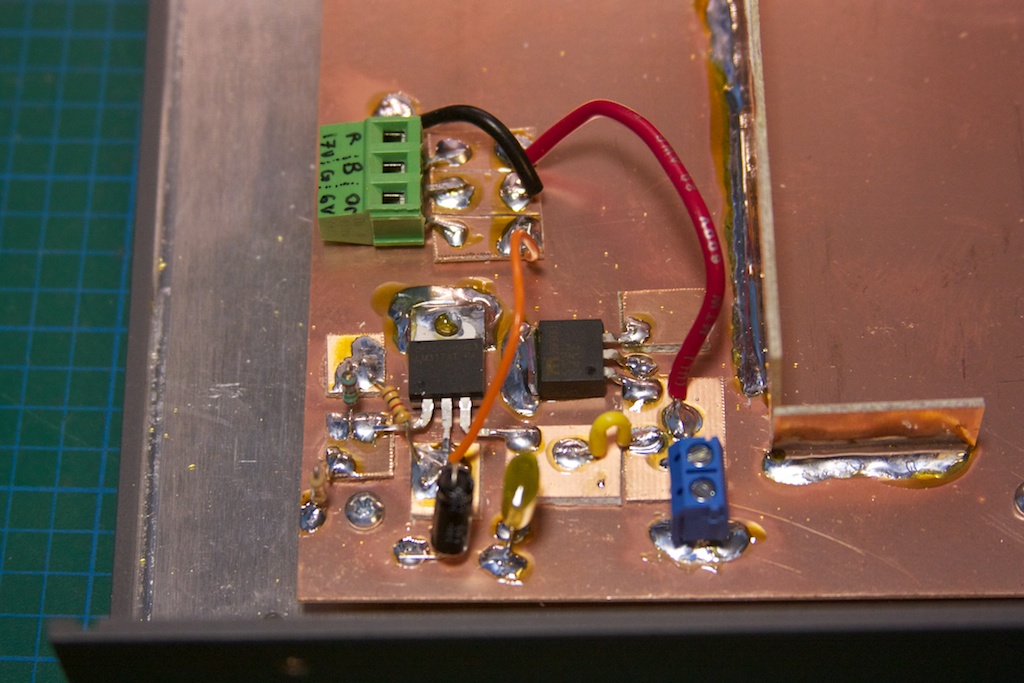
Other than just putting the Rb standard in a box with a bunch of outputs, I wanted to have an indicator LED that lit up when the Rb was locked on 10MHz. My particular unit will pull a pin on the DB-9 connector LOW when the Rb is locked. A quick transistor circuit with a regulator feeding off a 17V supply and I had a small prototype board completed:
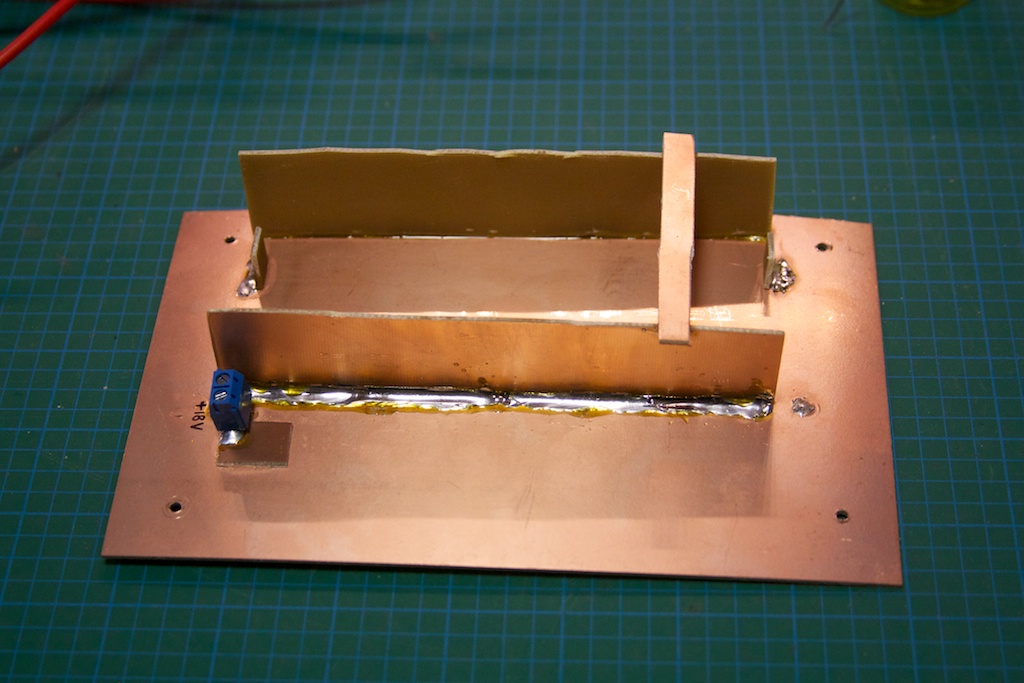
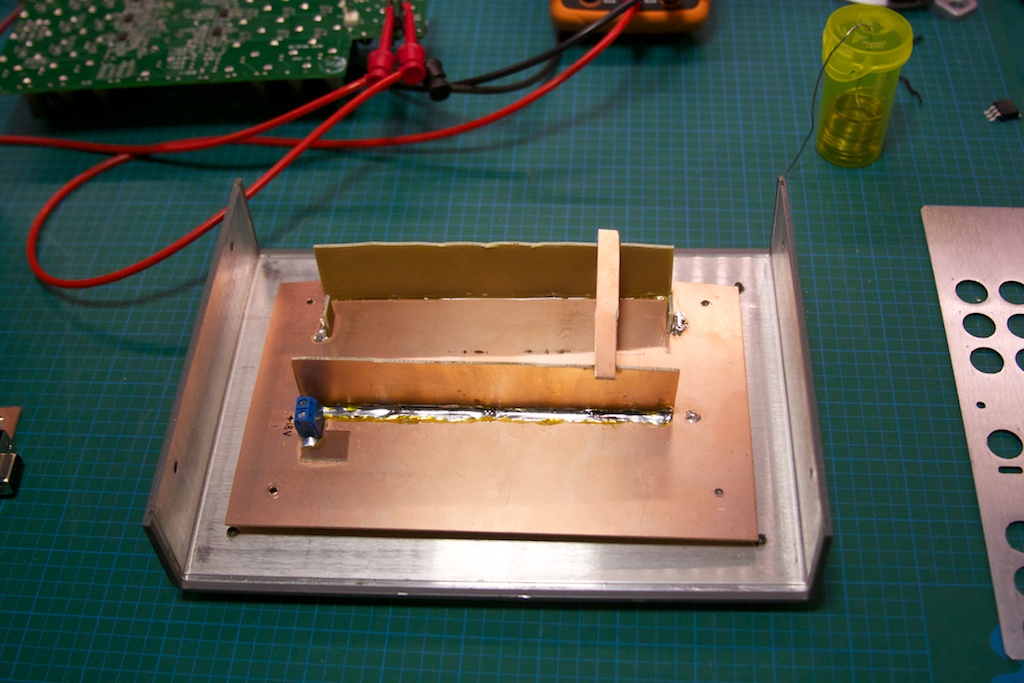
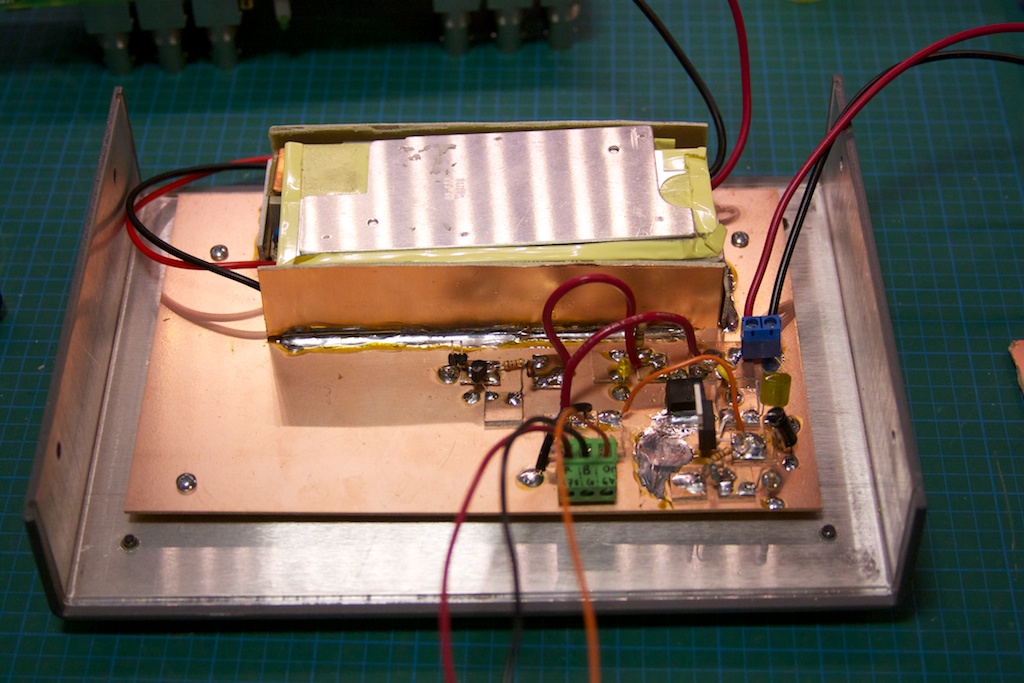
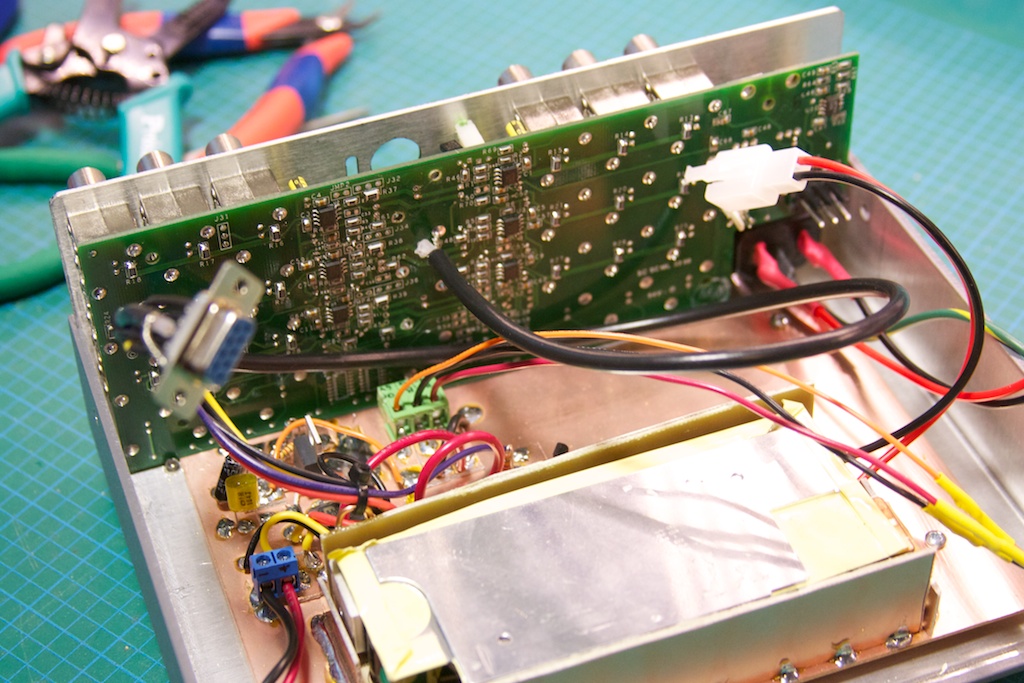
Once I had the “interface circuit” figured out, I started laying out what the mechanical construction of the project would look like. I decided to use the case itself as a heat-sink and seeing as how the Rb standard likes to be warm (haha, non-heat-sinked, the case measures ~65C), I decided to mount it to the top half of the box:
The Rb standard requires 2 different power inputs: 5V and15-18V. The distribution amplifier also required 2 different power rails: 6.2V and 17V. I decided that the easiest way to power it all would be to pick up a 18.4V laptop power brick, rip the guts out, and add a LM317-based regulator to get the 6.2V to my existing interface circuit. I discovered that the Extron was actually using the 17V rail to power a buck converter-inverter circuit, so the 18.4V input didn’t change it too much.
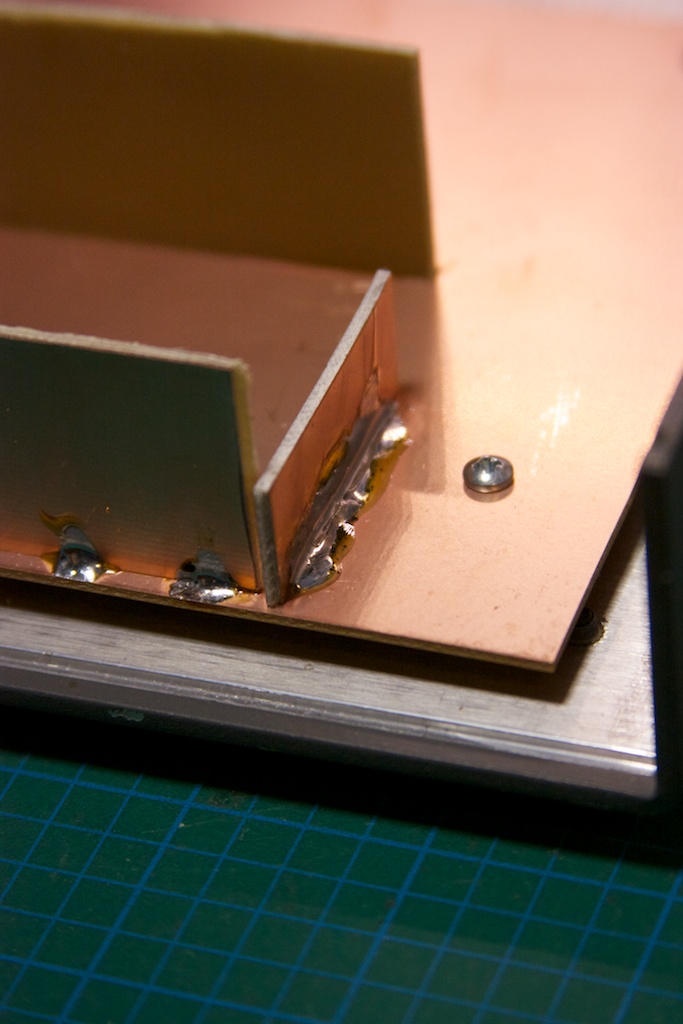
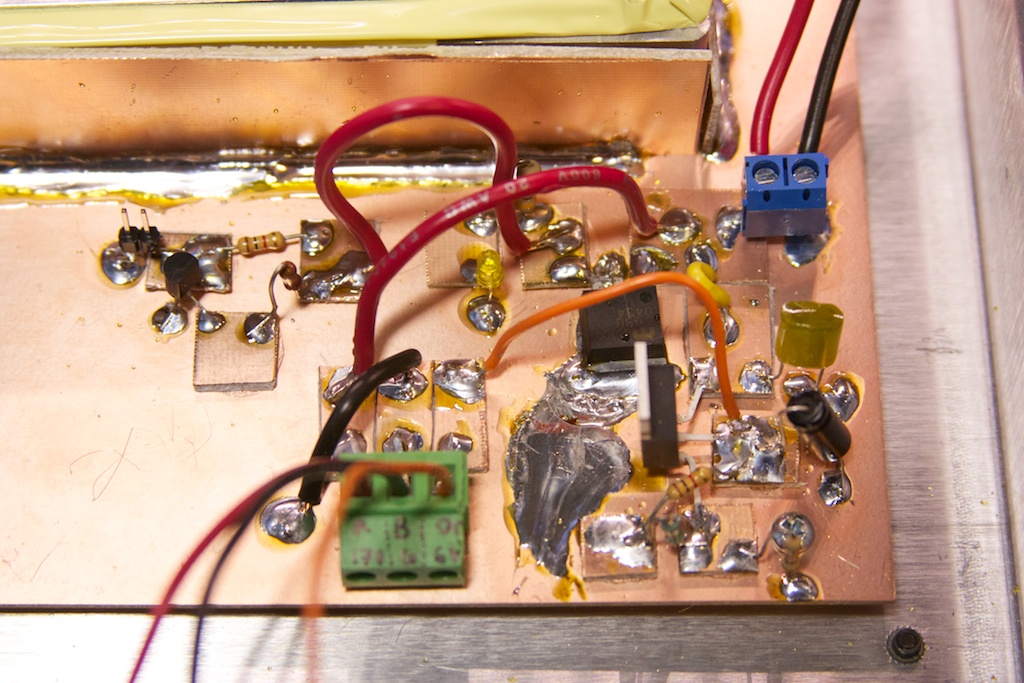
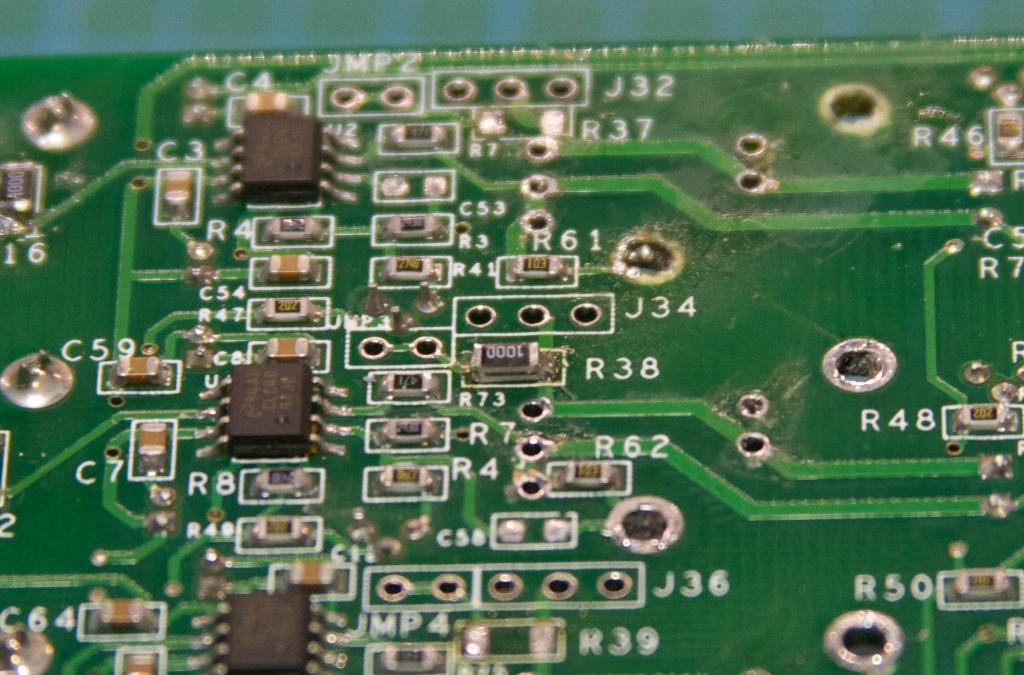
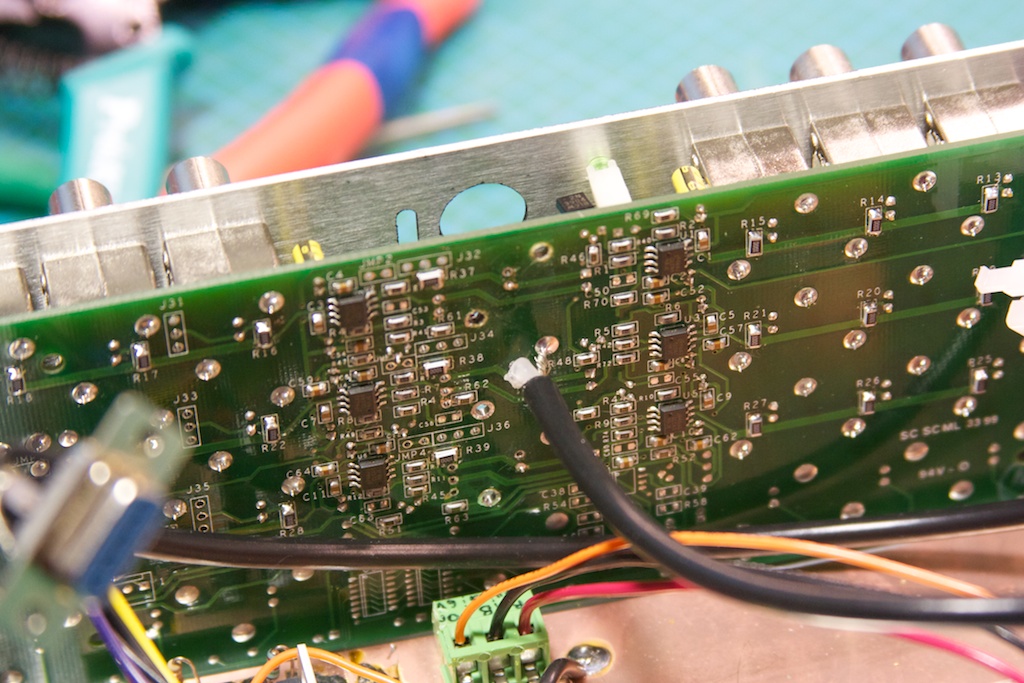
I wired up a small wiring harness to go from the Rb standard’s DB-9 connector to the various parts of the interface board. I then modified the amplifier board to change the input/output impedance from 75ohm to 50ohm:
Not having any 50ohm resistors handy (and they’re damn expensive as well!), I used 2 100ohm resistors in parallel stacked on top of each other:
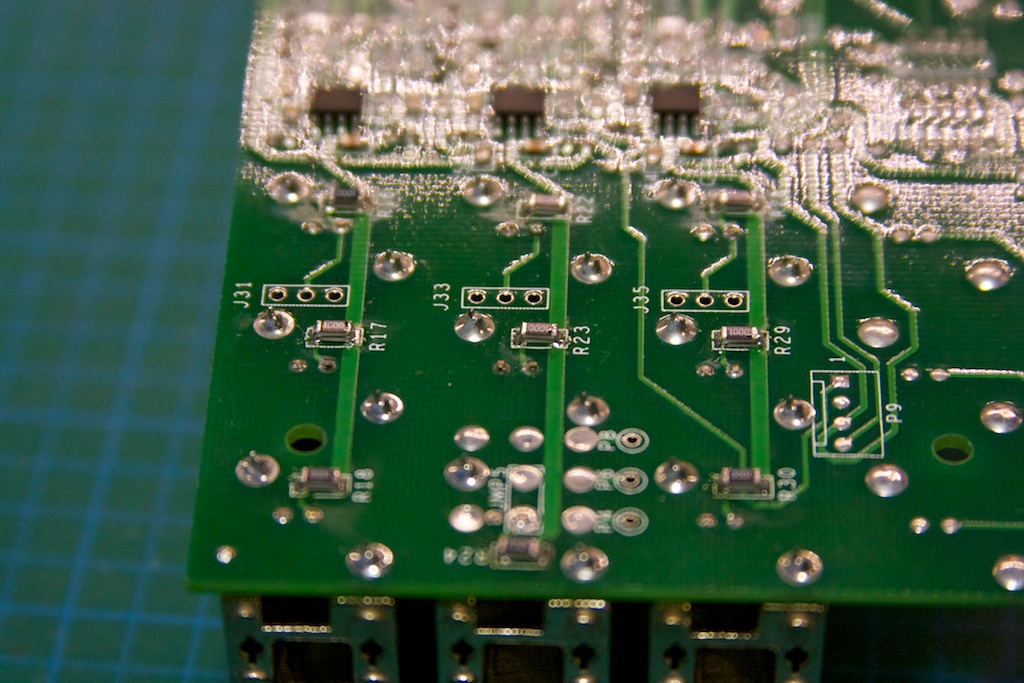
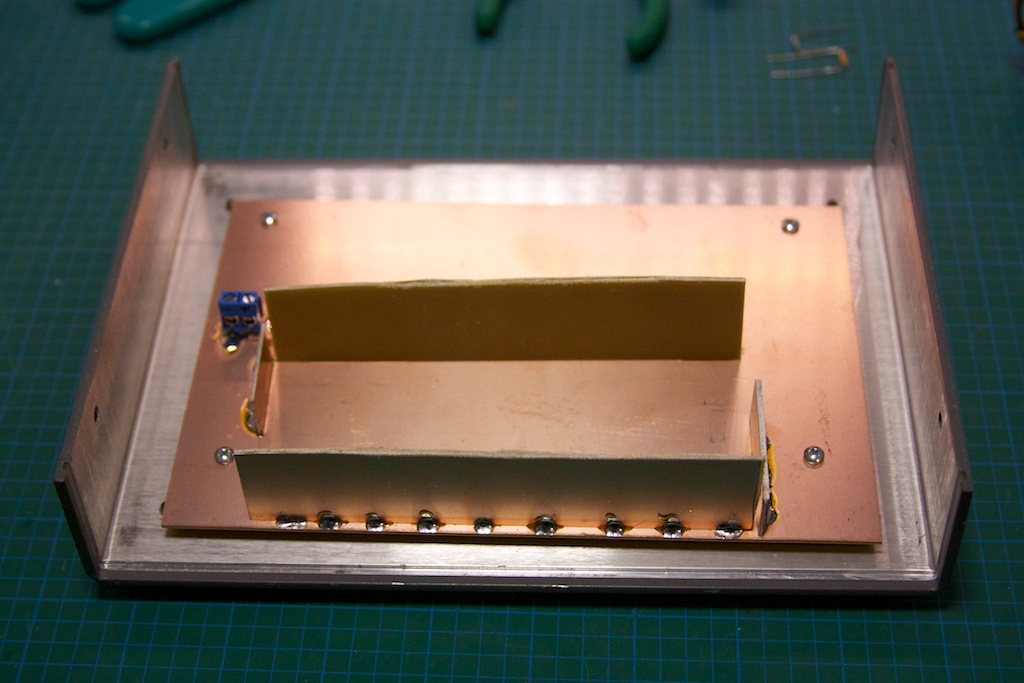
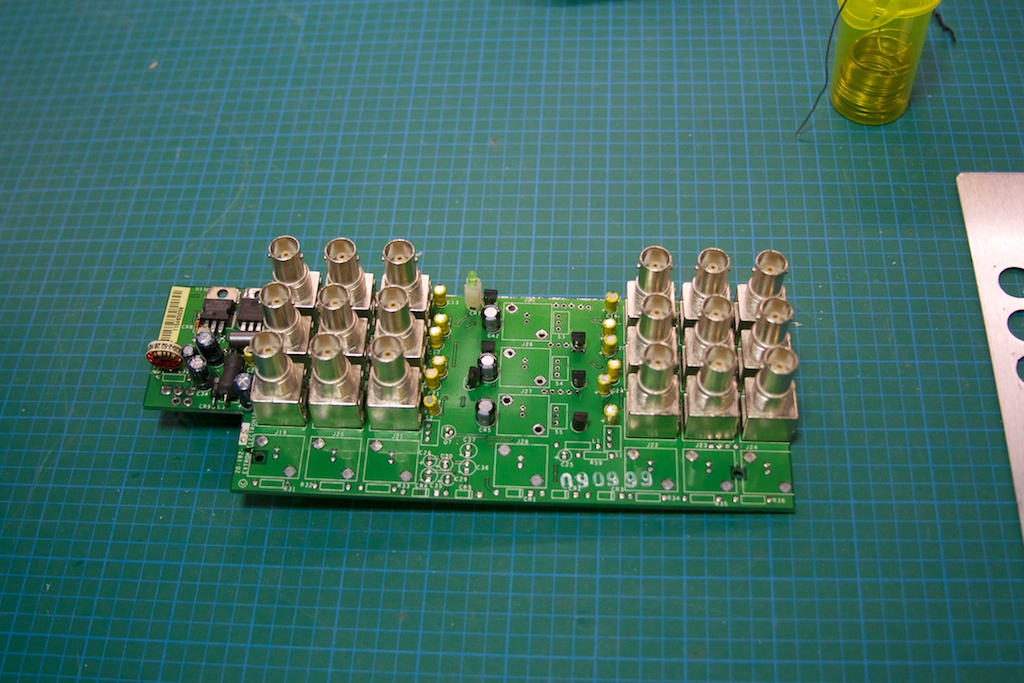
I soldered in the coax to the center channel, and then jumped the signal from the center channel to the 2 other ones with some wire. This means I will have a total of 18 10MHz outputs on this standard 🙂
The testing and assembly:

I ran into one problem when testing, which was a deformed lower part of the sine wave on the outputs (all of them). You can see it on the oscilloscope to the upper right:

I started probing around (“THOU SHALL CHECK VOLTAGES!”), and discovered that the negative rail to the op-amps was running at ~0.3V, which was not right. Running back through the circuit on the amplifier board I realized that I had flipped the 6.2V and 17V rails on the input connector after splicing it into my interface board. After switching them back, everything was working as expected!

Turns out my frequency counter on the upper right is probably off by 0.5 Hz… not too shabby. There are a couple of things that need to be done: adding a heat-sink to the top of the case for extra dissipation and adding some passive ventilation holes on the top/back of the case and on the bottom.