USB to Serial Adapter Project

Not satisfied with the “typical” USB to serial cables that one can readily buy, I decided to design my own.  The basic reason was just another excuse to practice designing a circuit and laying out a printed circuit board (PCB), but to also create a very small unit that can be easily transported. I additionally wanted to have some sort of visual feedback of data transfer over the adapter, so two LED’s (receive and transmit) will address that.

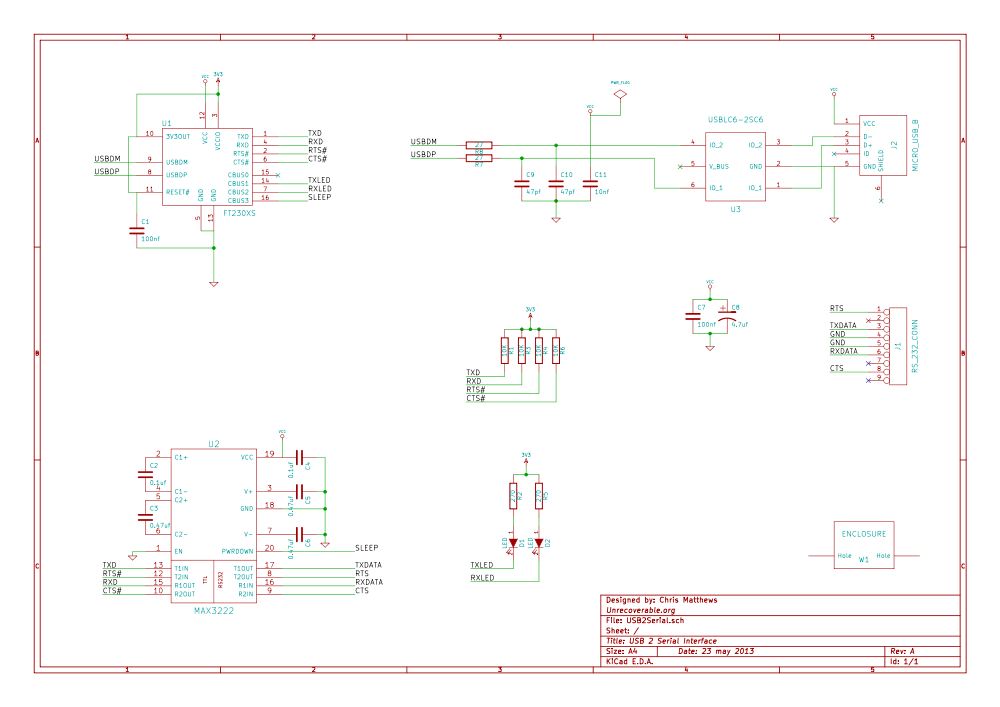
The circuit design came from the application notes on the FTDI chip that I am using, the FT230X:

USB2Serial

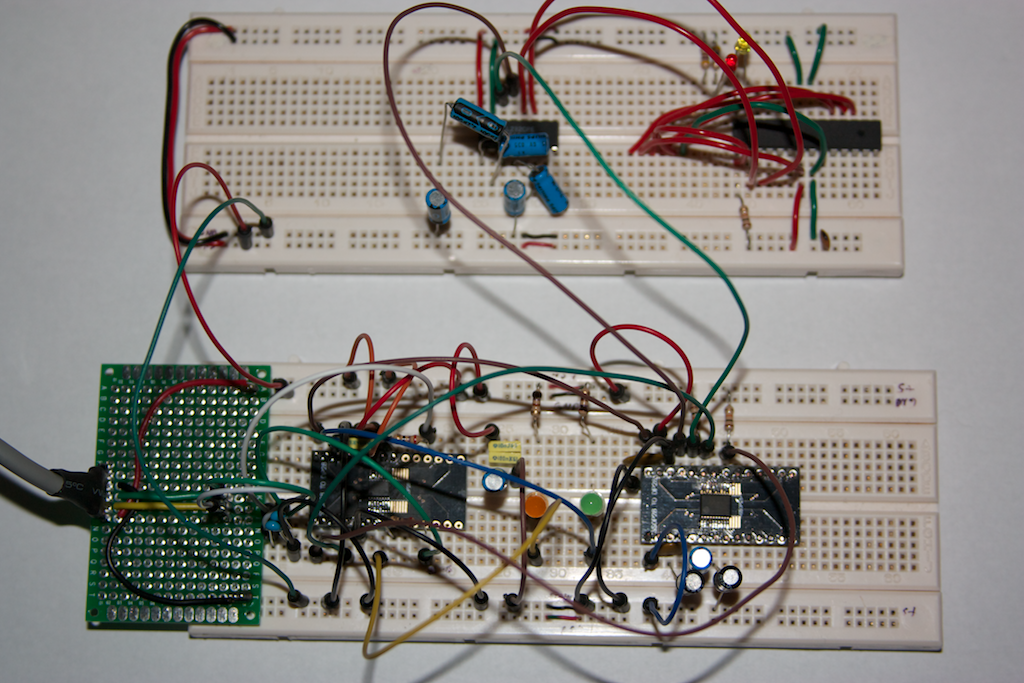
I did a few tests with a bread-boarded version of this circuit. You will notice that there are 2 bread boards; the bottom one has the USB to serial circuit, the top one has an Atmega8 micro-controller with a some program that echoes back characters it receives on its serial interface (used for testing):

IMG_5304


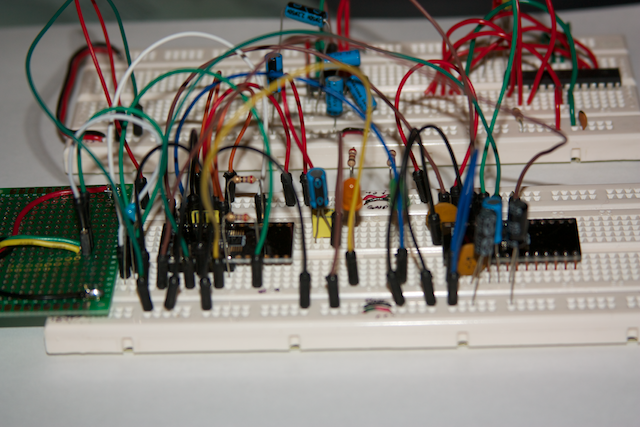
A close-up of the USB to serial circuit:

IMG_5308

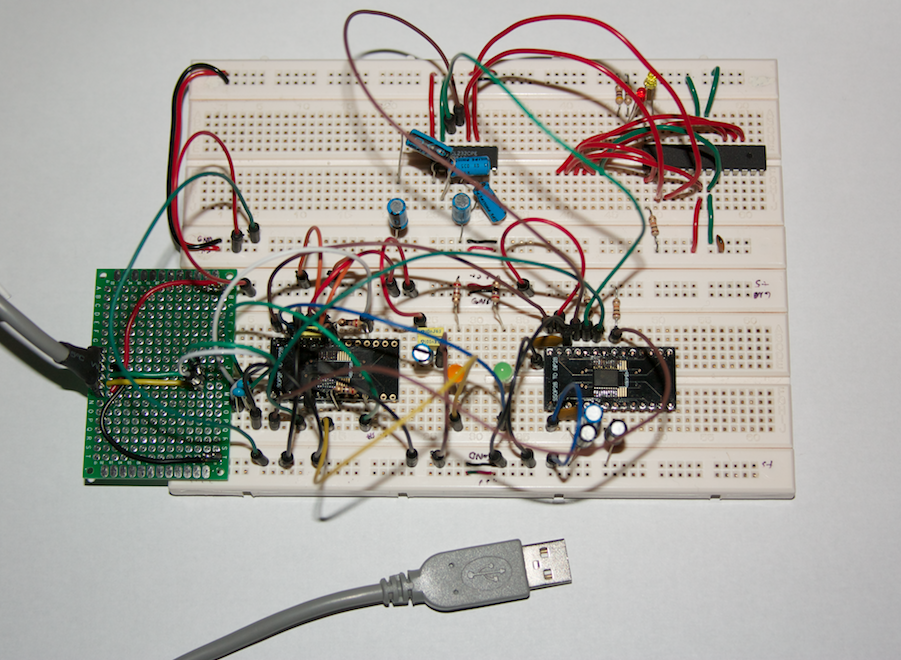
And the two circuits/bread-boards separated:IMG_5307

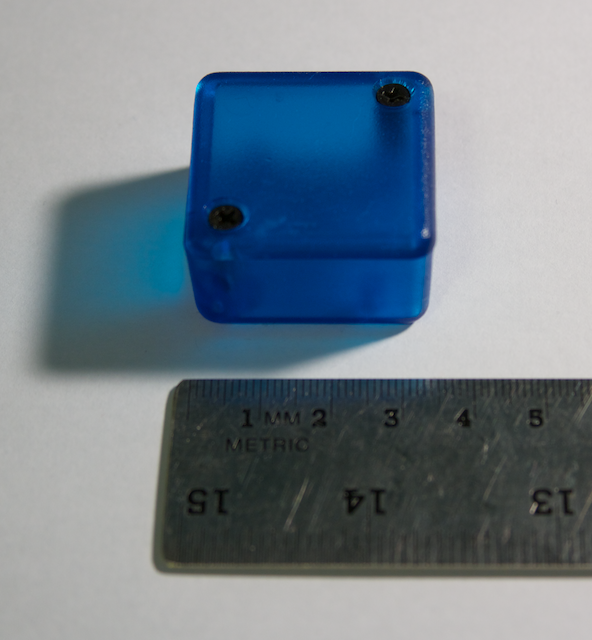
The other requirement was size: that whole circuit will need to fit within this little box:

IMG_5309

I have actually laid out the board, and so will be finalizing it in the coming days. I will write up another post with the board layout, 3D shots and a bill of materials. In terms of price, this will not be saving me any money over buying a pre-built adapter.

MOSFET Driver Board, Rev C

It is said that one should learn from one’s mistakes. In the process of learning how to design and get a Printed Circuit Board (PCB) manufactured, I have indeed made a few mistakes. I would like to share them with you here.

First, a quick update on the board that I was designing. My requirement was to be able to drive a spinning light assembly (pictured below) from a micro controller (MCU). Rather than use the traditional relay-based system (which would use a transistor to achieve MCU control) I decided to design it using a MOSFET (a big ‘ol voltage-controlled switch). I also figured that this would present a good opportunity to learn how to design and lay out a very simple PCB.

Always, ALWAYS, Double-Check Your Work

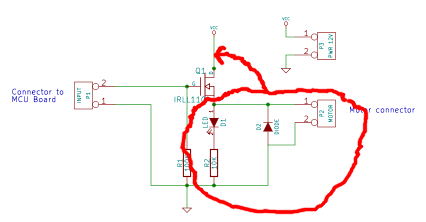
I don’t know if I can emphasize this more: a core theme in all of my mistakes during this project have been due to this. My first board, Rev ‘A’, suffered from a major circuit design error that occurred when I moved my circuit design from the bread board to the schematic CAD tool (I got the circuit backwards: I needed one that worked with a “NPN” transistor, but designed one that worked only with a “PNP” transistor).

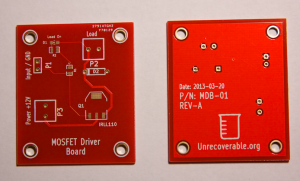
Here is my awesome not working circuit (Rev A):

MosfetDriverBoard-RevA

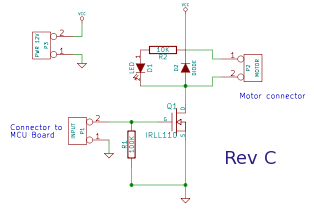
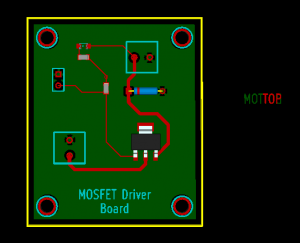
Here is the corrected circuit with the motor BEFORE the NPN MOSFET:

MosfetDriverBoard-RevC

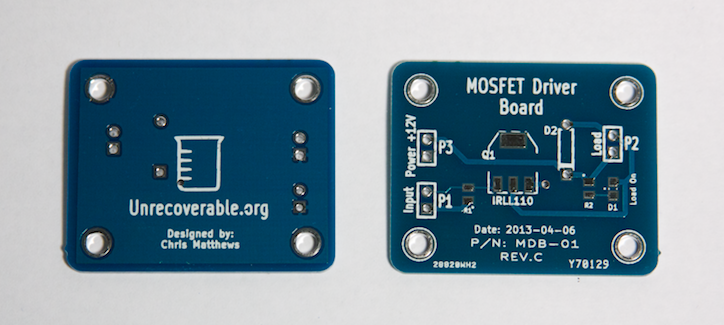
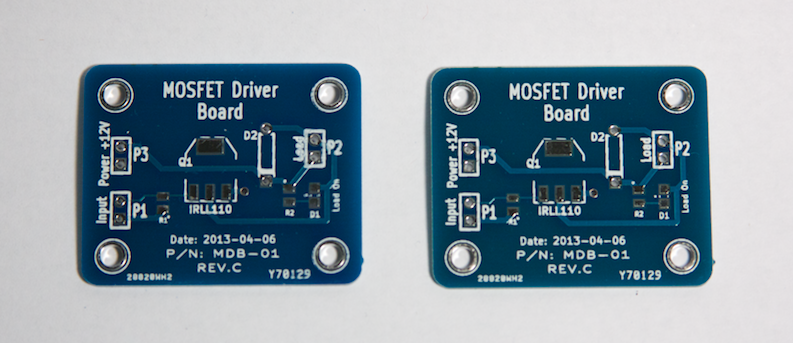
My second revision, Rev ‘B’, was not manufactured; it had the corrected circuit design, but I wanted to tighten up the physical PCB layout so I created Rev ‘C’:

IMG_5160

I had this revision manufactured. The mistake that I should have caught on this time was the adjustments I had made to the hole diameters for the terminals (for the inputs and outputs); I had forgotten to adjust the copper (called “annular ring”) around the holes to make them larger as well. This wasn’t a show stopper, as I was able to solder the components on the board still, but it was borderline.

As an aside, I noticed that the front solder-mask (the blue color) was not uniform between boards; some were blue and others were slightly blue-greenish, about half and half. I also noticed that the silk-screening was less than awesome on all the boards. Note that this board was Hot Air Solder Leveled (HASL) and NOT gold plated like the first revision board.

IMG_5158


Thou Shall Check The Data Sheet. Again.

The second biggest mistake that I made was not re-checking the foot prints (the “physical” sizing of a component) during and after I completed the layout of the PCB. DO THIS. It avoids embarrassing mistakes such as holes that are too small to fit the leads of a through-hole component. You should also re-check the pad/leads in the data sheets to make sure they fit with your component symbols and circuit design. Don’t assume anything!

Always Have a Reason

When you place a component, connect a trace, add a connection, always have a reason for doing so! This will prompt you to ask yourself why you are doing this and perhaps lead you to discover a mistake in the making.

Test Points

This board was a bit too small to warrant test points (PCB pads that are designed specifically to be accessible to probes for testing properties of your circuit) but remember to think about adding them in. This can make debugging a malfunctioning circuit much easier later on. Also remember that it may be a good trade-off when designing a prototype device to take a little more space but offer debugging facilities such as test points and wire jump points.

Remember To Add Your Name!

If you truly are happy with your design and PCB layout, then you won’t mind putting your name, date, revision information and other useful identification information on the PCB. Do it! This will make differentiating board revisions easier as well as identifying you as the designer. Take some credit!


Board Update

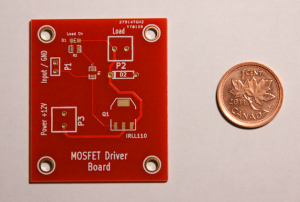
Just as a quick followup, I have received my first circuit board in the mail today, and I must say, I am kinda impressed at the quality of the work done in producing the boards.  I give much thanks and props to the people at iTead Studio:

IMG_5088

And a little comparison with our long friend (this will date this post if anything will):

IMG_5089

There are couple of little issues with the board, but none of them are due to the manufacturer, just due to my in-experience 🙂  So ~20 boards for $63 shipped and delivered in about 2 weeks.  Pretty good 🙂

First ever board!

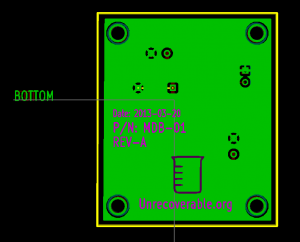
This past week has seen a first for me: I created a prototype for a simple controller board for a motor, created a Printed Circuit Board (PCB) design from this schematic and then sent it off to be manufactured by iTeadStudio. Here are a couple of top/bottom shots of the 3D view of the board from Kicad:

MosfetDriverBoard-top MosfetDriverBoard-back

I will post an update after I receive the boards back from the manufacturer, along with pictures. I can hardly wait! 😀

On the topic of hosting your own Web Server

I recently had a friend ask me the kind of question that makes me stop and think: How do I go about setting up a web server on my home Internet connection?

At first glance, doing this sort of thing now-a-days is actually pretty easy: find an old PC (or server), set up Linux (Ubuntu or CentOS are decent places to start) and install XAMMP, install WordPress / Gallery, configure the PC to be on your home router’s DMZ and then set up a domain name along with a dynamic DNS service such as DNS Dynamic. Easy, right?

Well it is, if you don’t care about things like security, being billed for extra Internet usage (from people visiting your home web server) and slower home Internet speeds due to people accessing your home web server. The first part of this blog will address some of the above concerns and we will get into the details of how to actually set this all up in a following post.

Security

I will start with the requisite fine print: do not try this at home if you have any data on any of your home computers that you do not want to possibly be seen by a malicious individual. I don’t think I can say that enough. If you need to ask what the security concerns are, then I would recommend a lengthy discuss on the topic (perhaps another blog post!) with someone who is knowledgeable on the subject. Suffice to say I will assume for the purposes of this blog entry that you feel the risk is manageable.

Increased Internet Usage

While this may seem obvious, it is sometimes a good exercise to think about the ramifications on your Internet usage on hosting your own web server. While it may be easy to understand that your Internet usage increases with the amount of time you spend online, when other people start accessing your web server, your Internet usage will increase without you even being home! Internet usage is measured typically in two parts: the amount of data that you download from the Internet (examples of this are many, but typically are: accessing a web site, downloading a video, or listening to music) and the amount of data that you send to the Internet. The data that we send to the Internet is not typically very large; the average user (arrived at with a sample size of one, i.e. myself) downloads about 10 times the data that is sent to the Internet.

To help monitor this, we can use a number of tools to keep an eye on how much data is being sent from your web server to the Internet:

  • BitMeter OS
  • Webalizer (this comes with XAMMP for Linux so it might be a good place to start!)
  • A simple command-line based solution: ifconfig

For any web site hosting that will generate a lot of traffic (and I will quantify this in a second), I would recommend that you do not go this route of hosting your own site but instead get a pre-packaged hosting solution (they are inexpensive, fairly reliable, and you will know when you need to jump to the next step of a virtual-private server or co-located server).

One thing to keep in mind is that as your web site generates more interest, you may see a sharp increase in your monthly Internet usage and this can translate into large bills from your Internet provider, so beware!

My Internets are Clogged!

The last thing to think about is the impact that all of this traffic will have on your home Internet usage. For example, if enough data is being sent out to the Internet from your web server, it can make browsing the web, sending/receiving email and playing games much much slower. There are solutions to this problem with the most popular one being throttling of web server traffic. This requires a router/firewall that supports Quality of Service (QoS). All QoS does is treat your home Internet usage as having a higher priority than the traffic from say, your web server. Of course, no matter what you do, the home Internet connection that you have will be the slowest link in the chain and so someone will notice a slowdown, either you or people that access your web server.

Enough with the warnings!

That’s enough about the warnings, let’s jump into getting this thing set up!