
Last Christmas I decided to make my daughter her present. She had asked for a privacy screen that appears in the Frozen Fever animated short (only for a few seconds). I decided to go the “easy” route and build it out of pine wood and paint it.
The screen can be seen to the left of this scene:
For the design, I decided to go with a total height of about 4 feet (my daughter was 4.5 years old at this point, and about 3 feet tall). I wanted to get the domed tops of the panels looking similar, so I sketched something that looked about right on graphing paper:
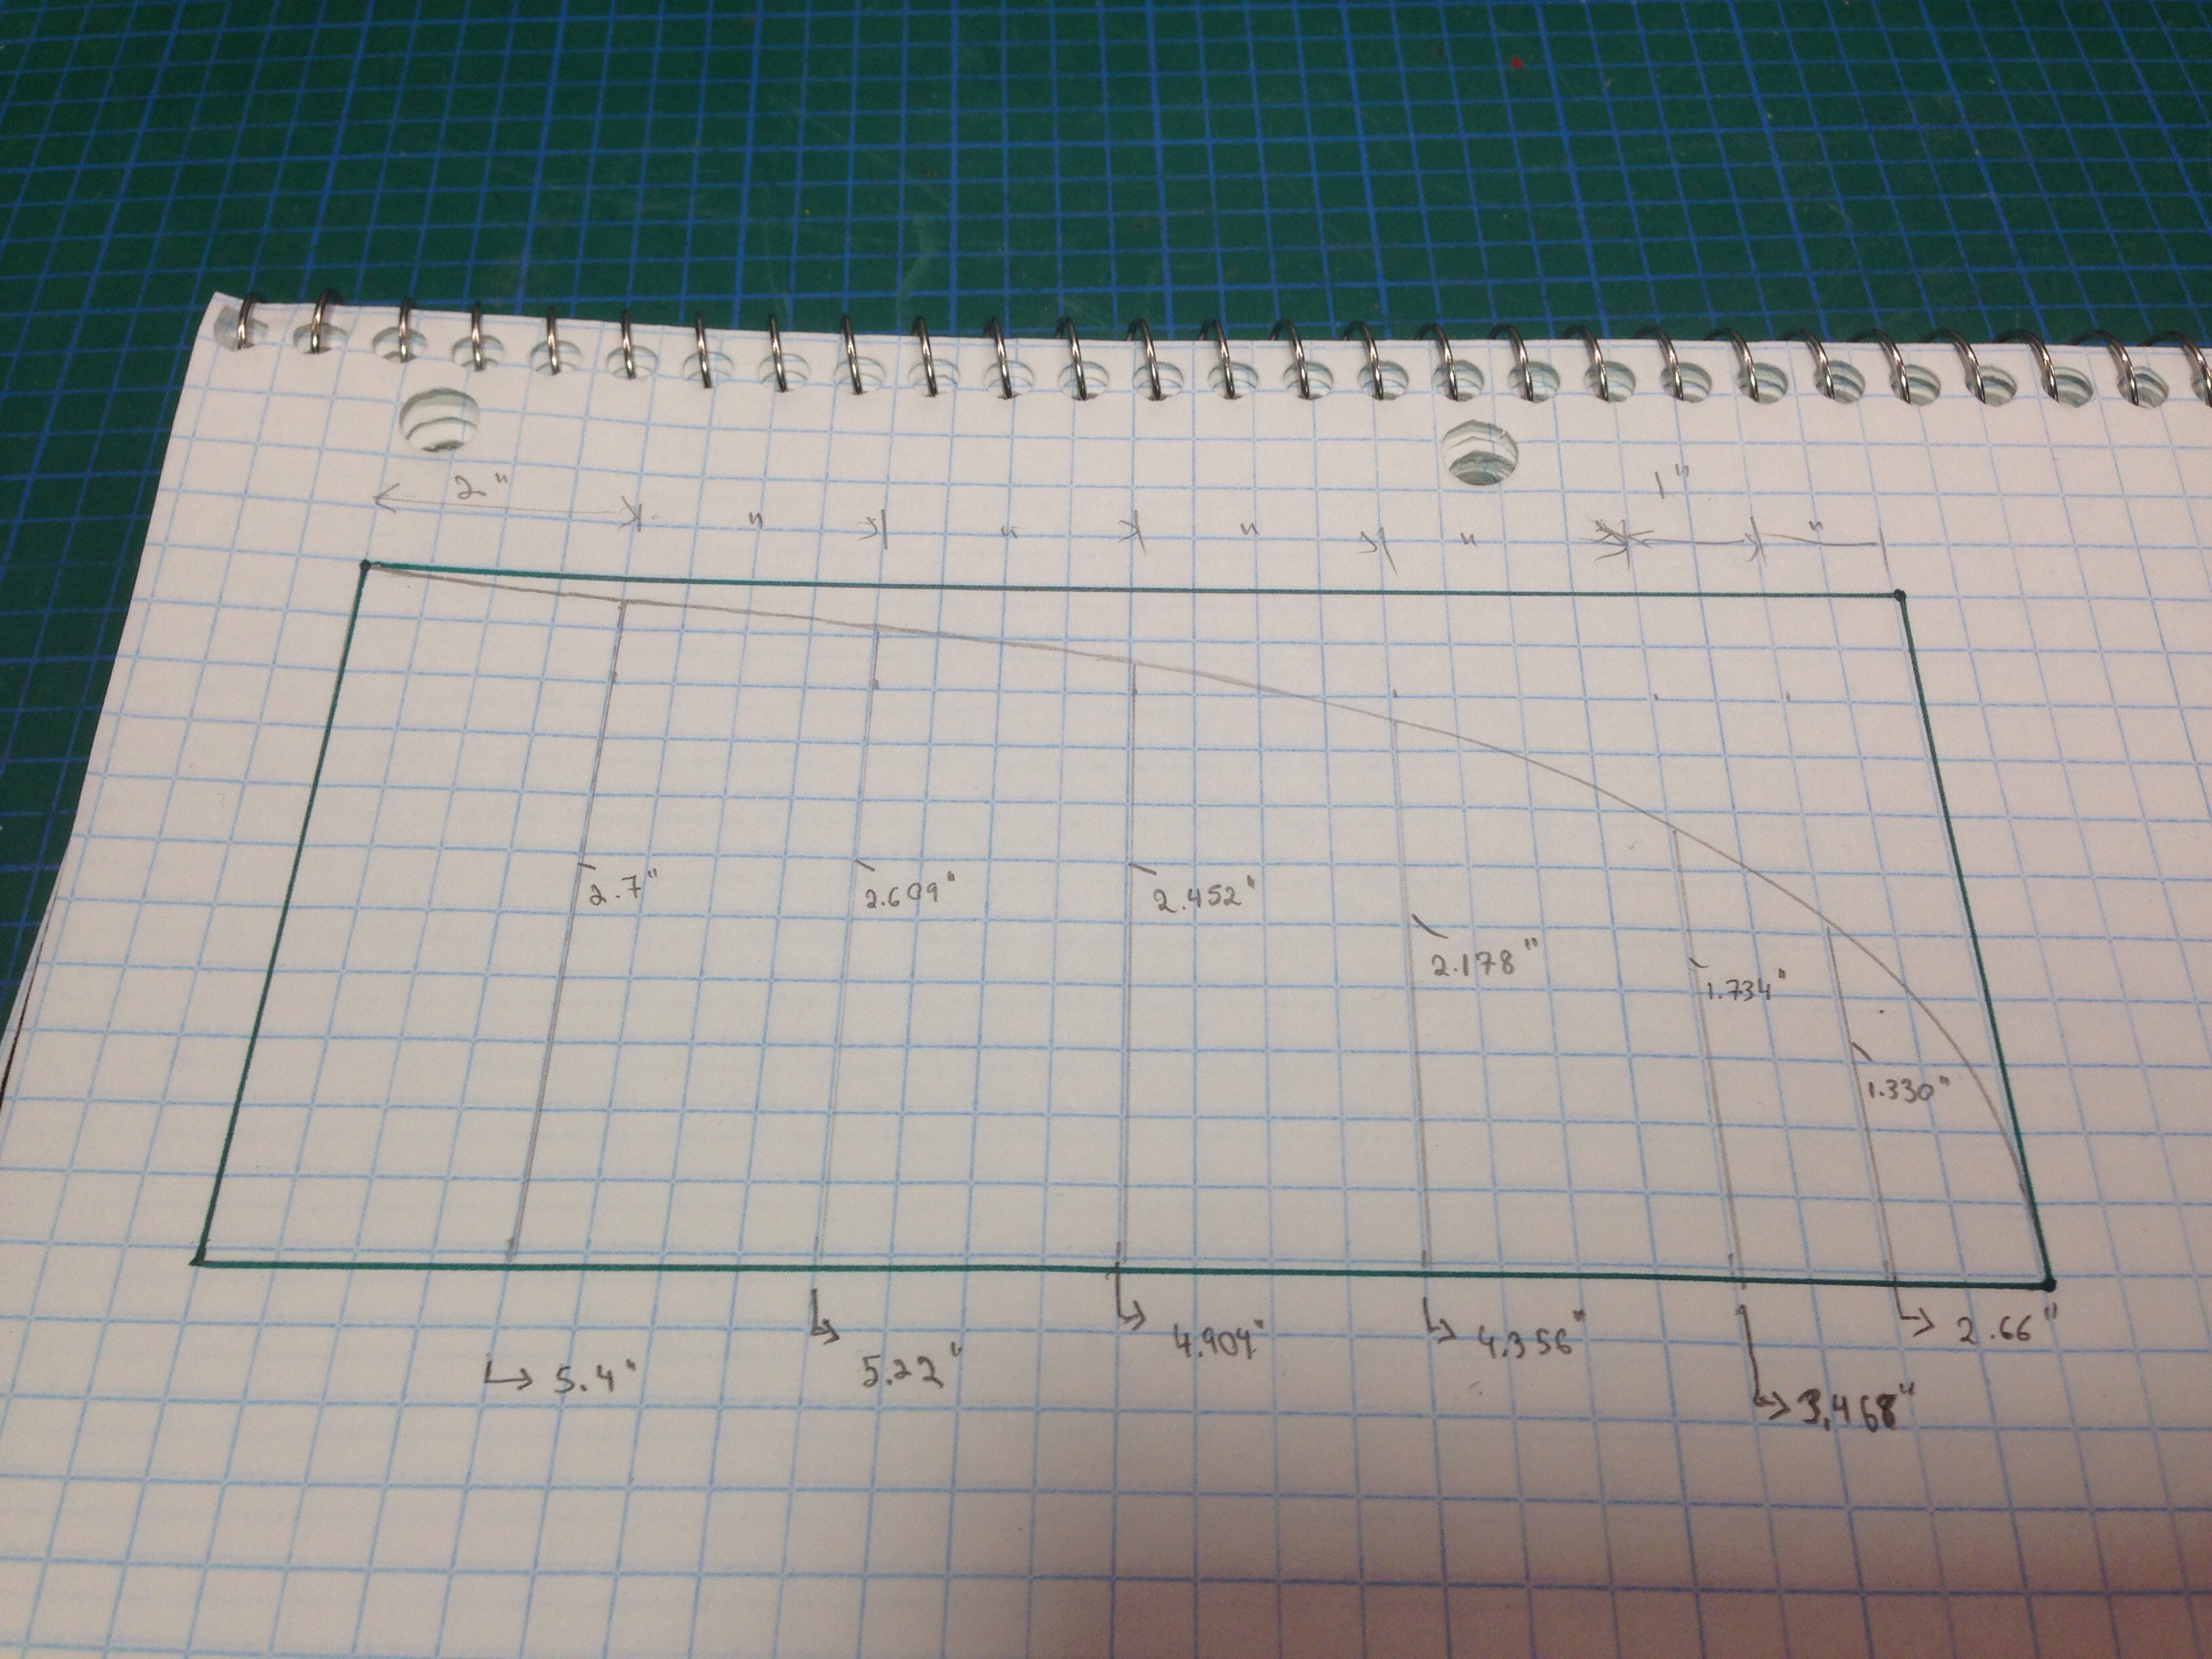
Here you can see a half arc (the top of the dome is on the right and the bottom on the left) which would then be mirrored to get the full dome. It looked about right so I proceeded to scale it up to full dimension and create a template:
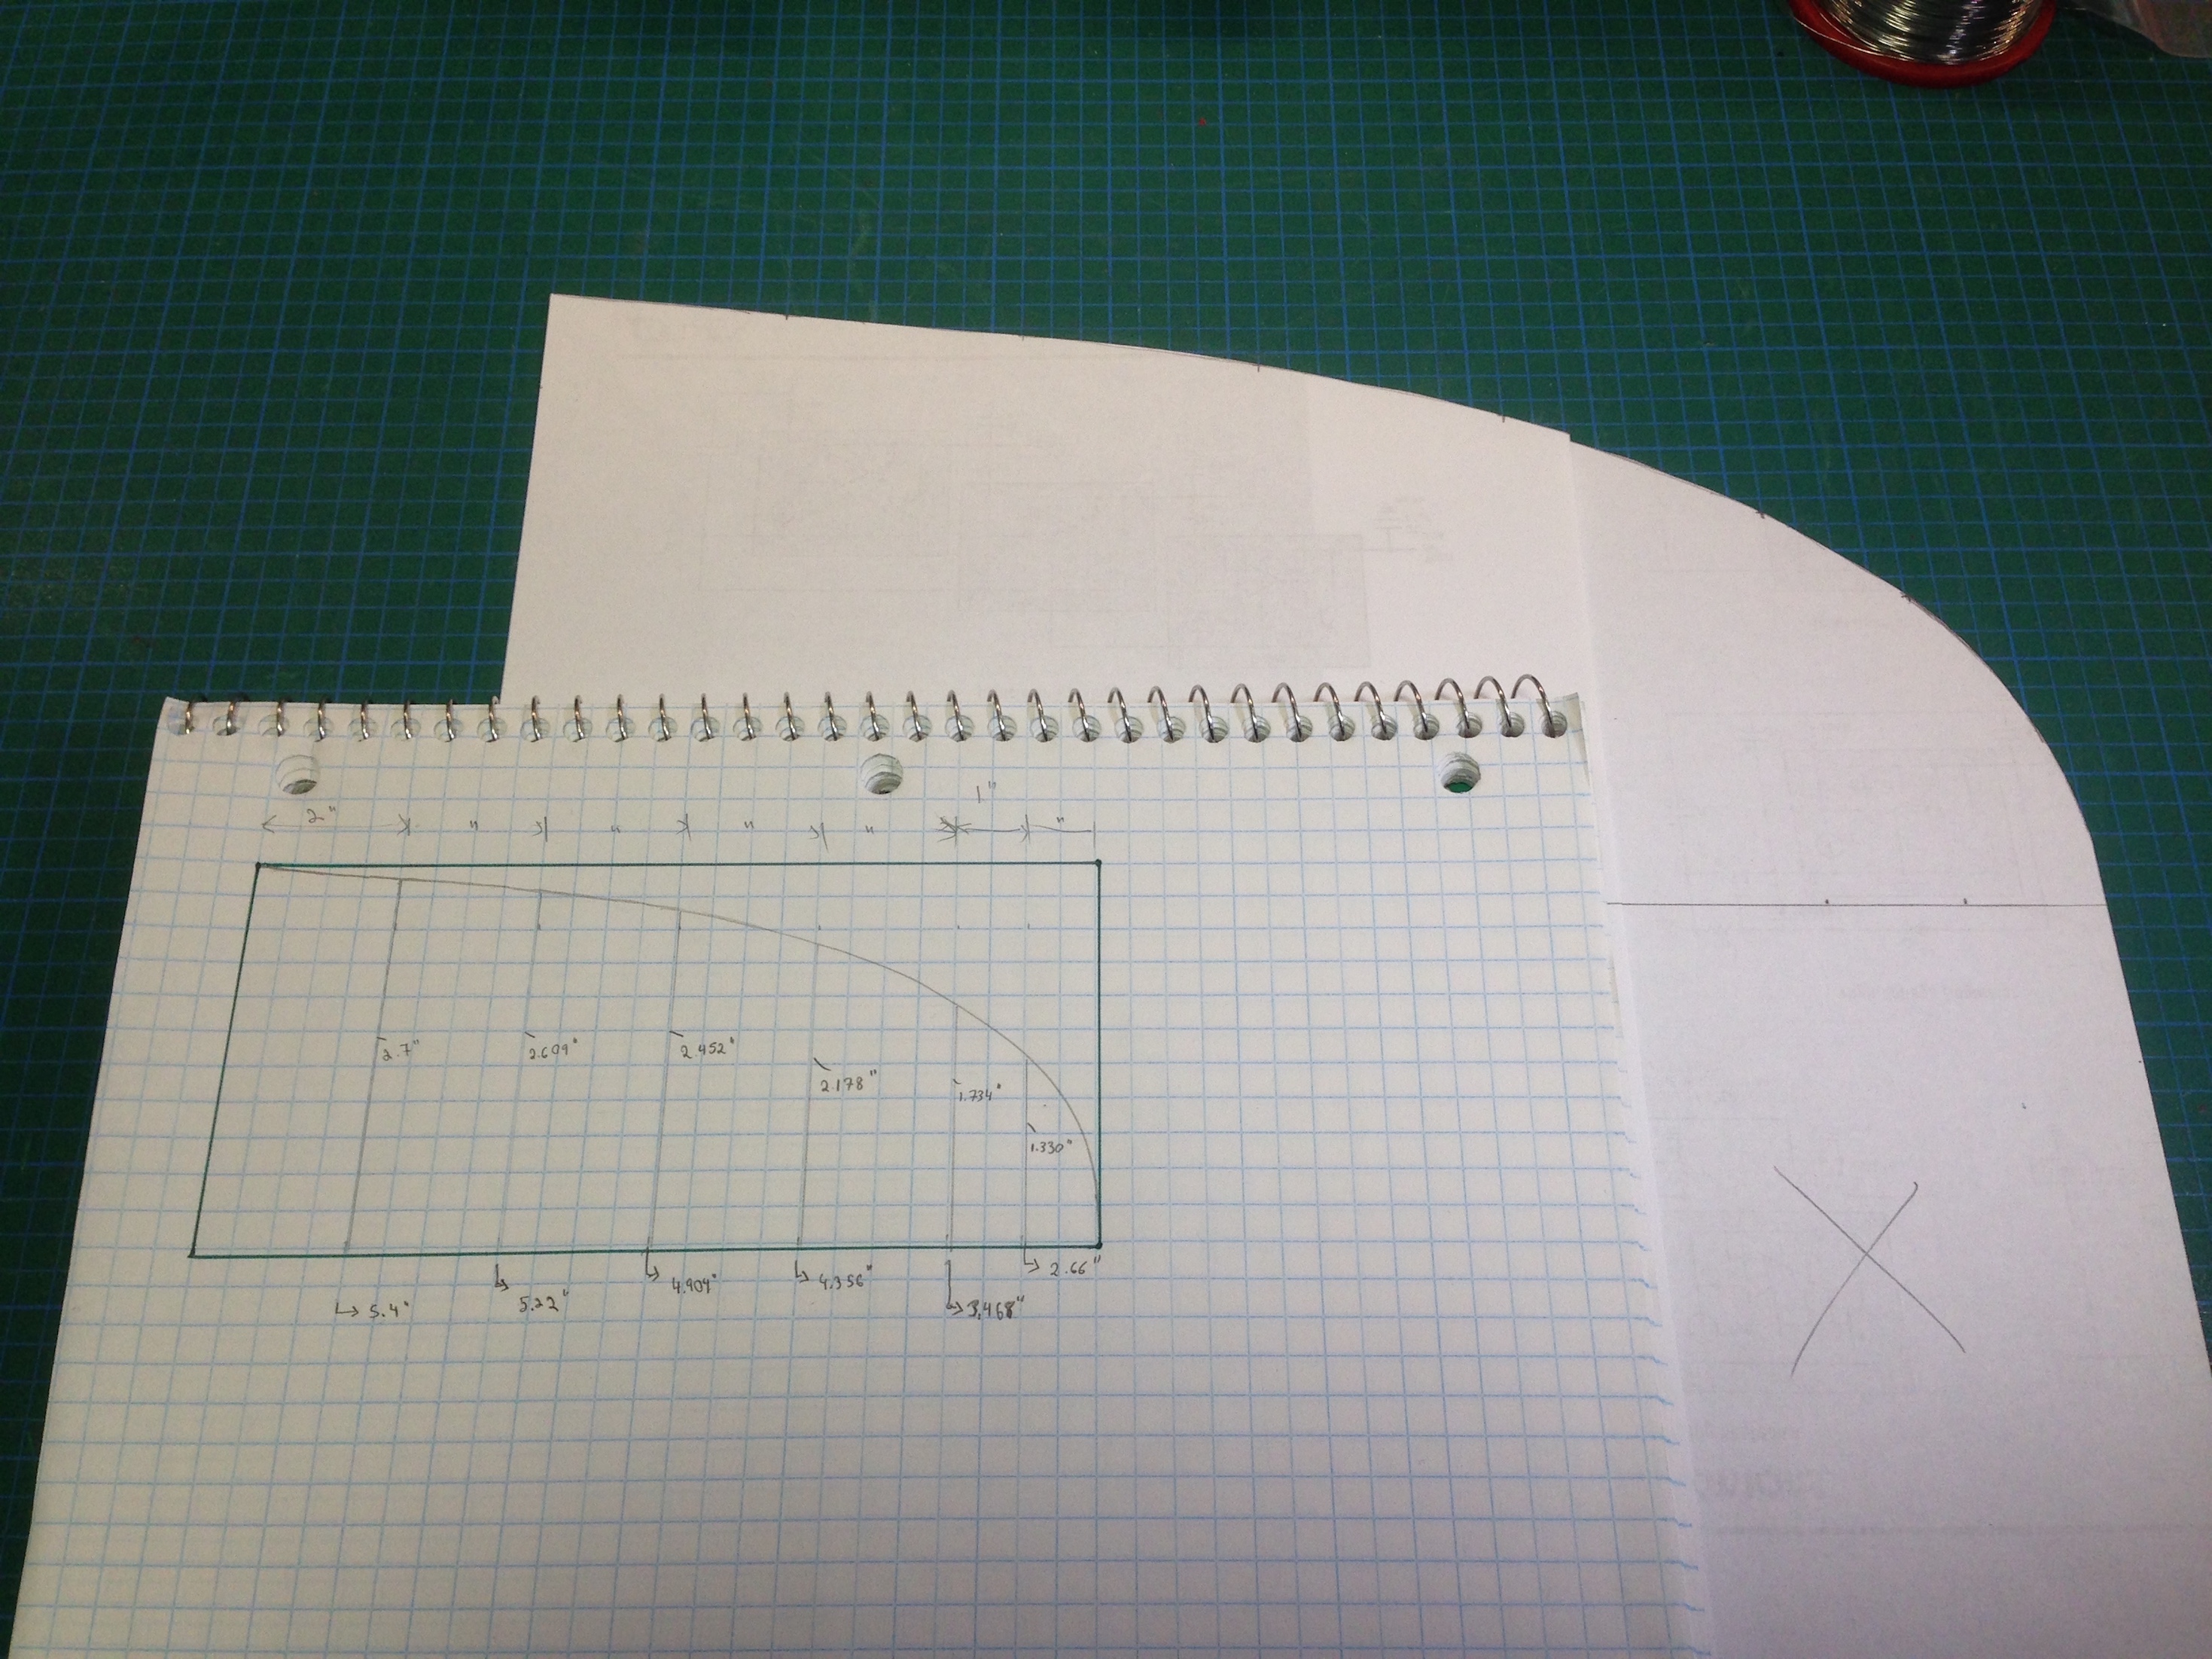
Scaling the template involved measuring the distance from the center line of the half-dome to the curve of the dome. I then scaled both the distance from the mid-line out as well as the vertical position of the line to the full 12″ wood panel. The result of this was a fairly close enlargement of the dome’s curve onto a template sized for have the panel width, or 6″. After this was done I traced the template onto the 6″x4″x1/2″ pine boards I had bought (4 of them):


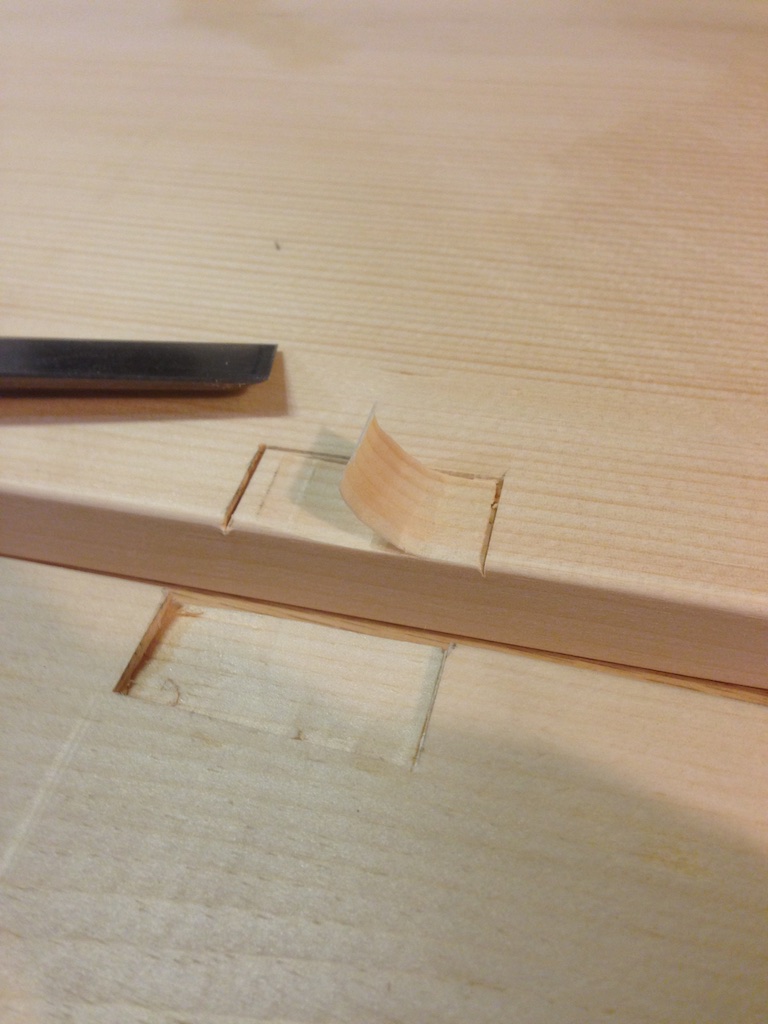
Cutting the boards was done using a jig-saw, but a band-saw (if available) would have yielded nicer results. As is, I did a fair amount of sanding to get the panels looking even and matched. The next step was to notch out the spaces for hinges (so the panels could fold up flat onto themselves for easy storage).

The tools used for this were a hammer and chisel.
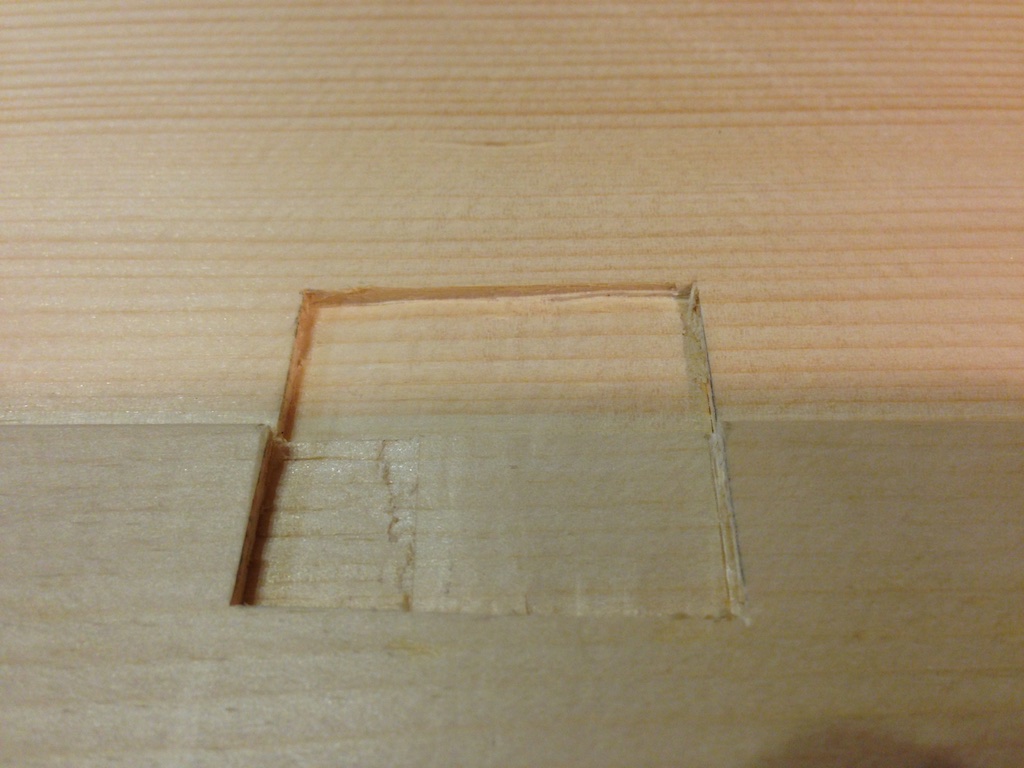
Mark the panels that mate to each other right after cutting them or you will have a fun time trying to figure out how to get them to fit as cut later on!
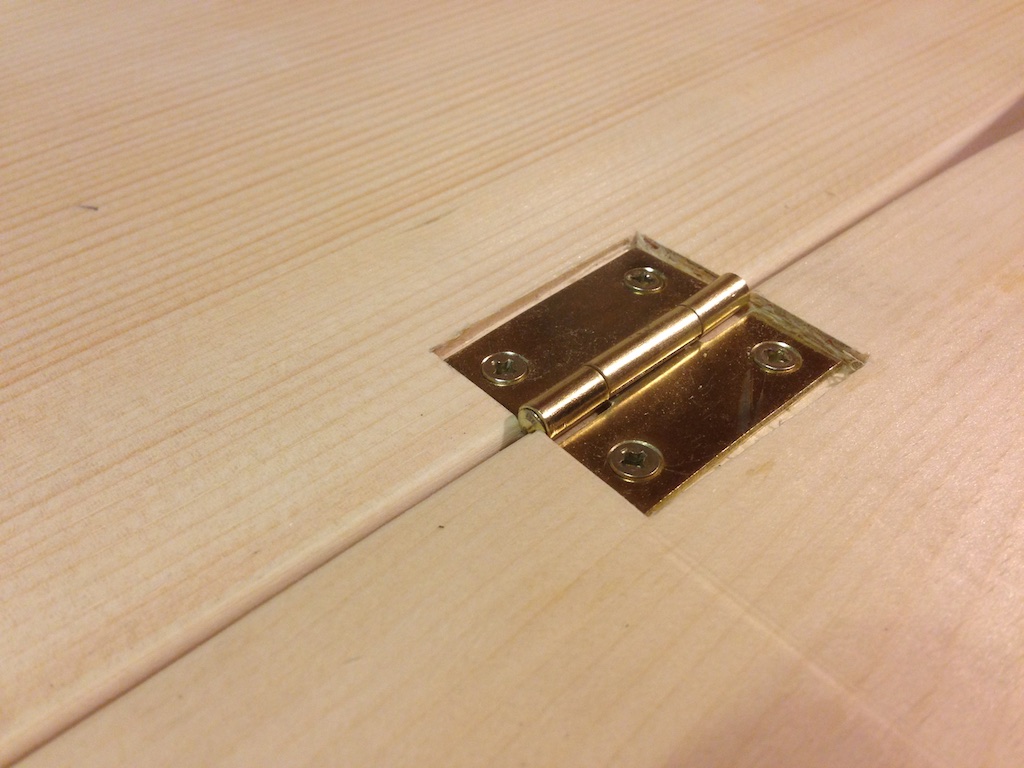
The perfect hinge pocket is going to be a bit deeper than the hinge fastening sides, and this is because of the hinge joint, which is a bit taller than the two metal flanges. Also test and fit, since you will want to get adjust the depth a bit, and cut the second pockets a bit shallow and then keep testing as you deepen the second pockets to get a good matching fit that swings easily and without torquing the hinge at all.
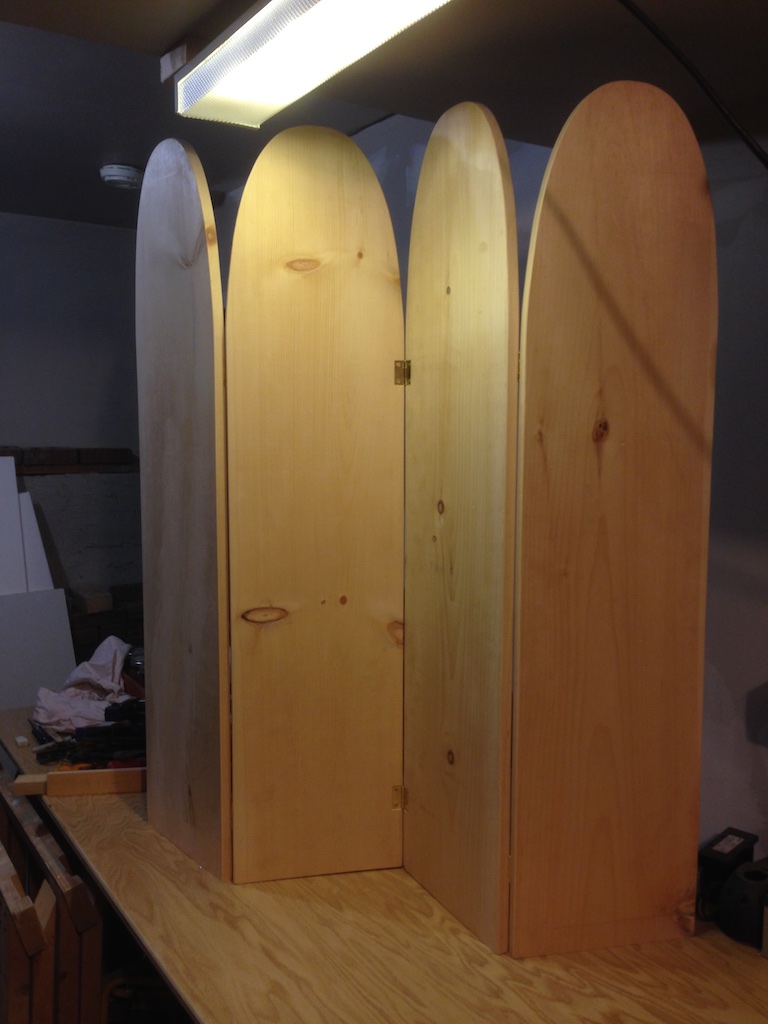
Some assembly, paint and a really awful job at detailing (I need to work on that!) and voila, a Frozen inspired privacy screen!
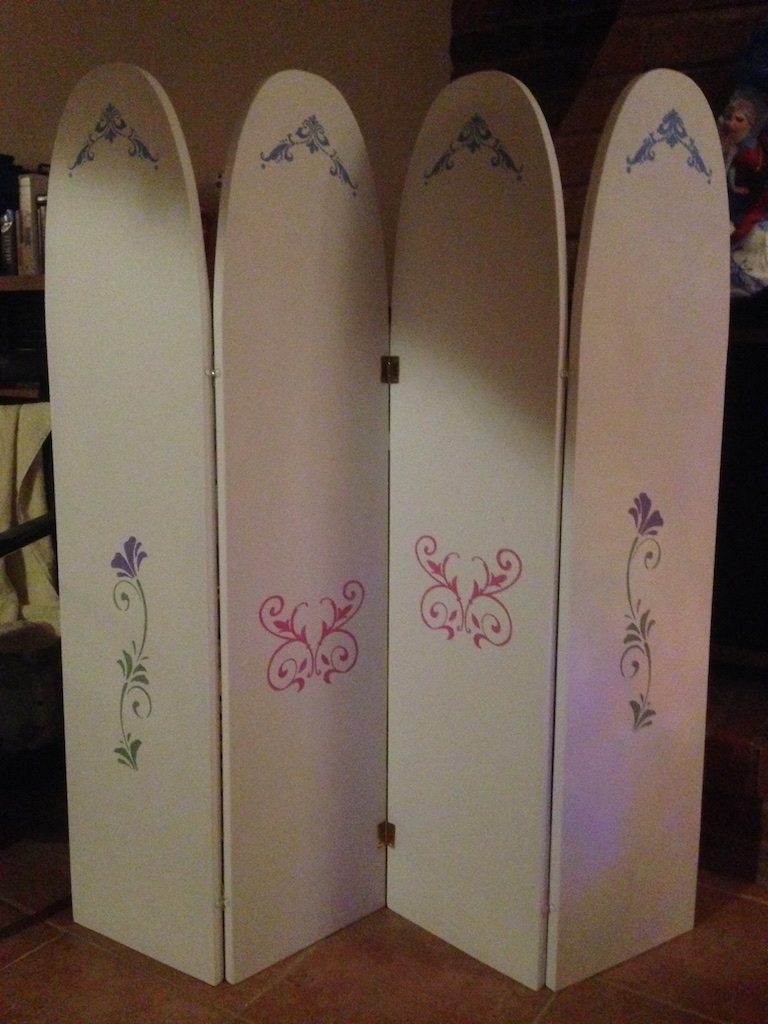
A few things to note:
- The screen panels are actually rather heavy, so this is not a great design for a little kid that is likely to bash stuff around or crash into it,
- Detailing shapes on four separate panels is /HARD/, so practice before committing!
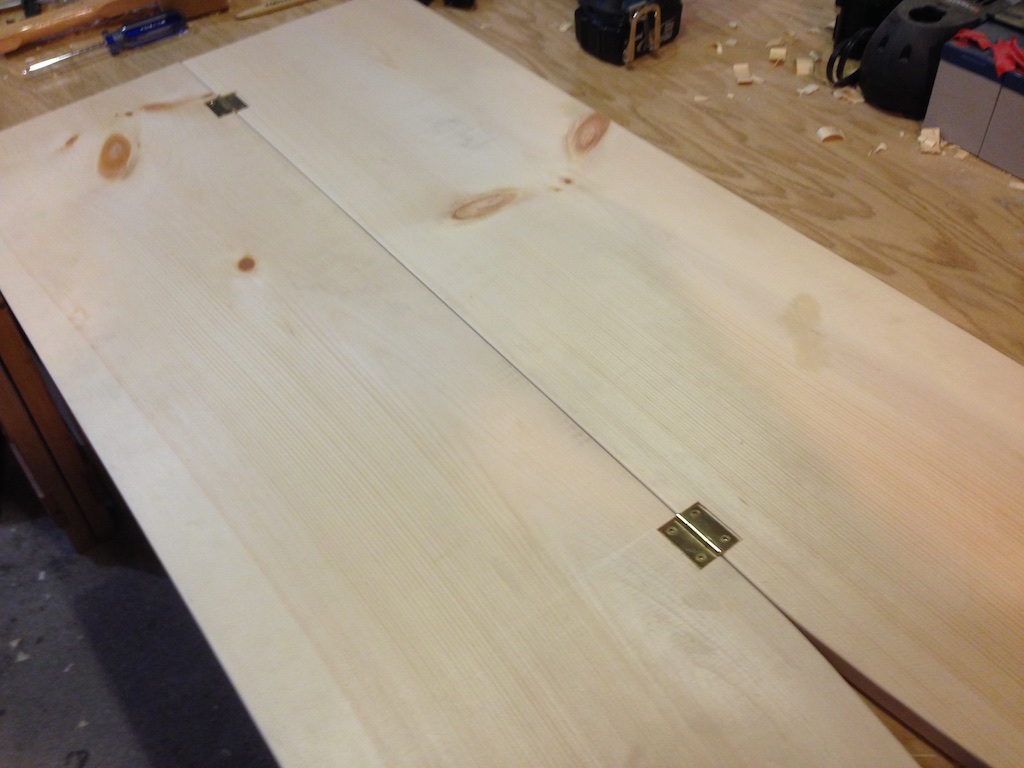
- The bottom is never going to be perfectly flush, so the best method would be to assemble the panels as shown above before paint (before or after sanding) and cut them flush with a table saw or something (a circular saw would be fine as well, just use a guide!),
- Height is a big consideration; ideally for a girl the bottom ends of the top dome shape should be about shoulder length, perhaps a bit higher.