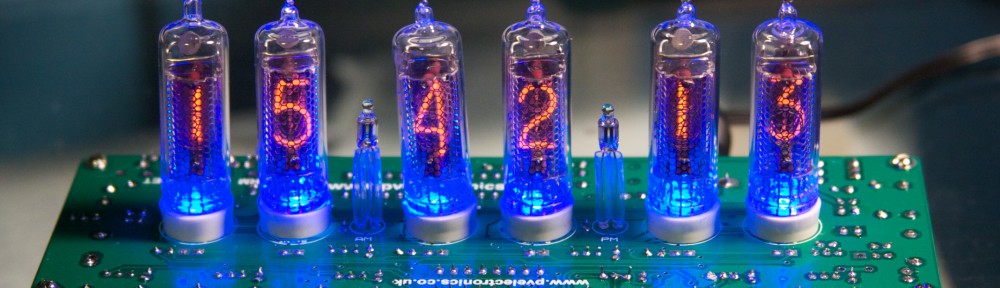
Having built a pretty neat clock, it was time to give it some classy protection.
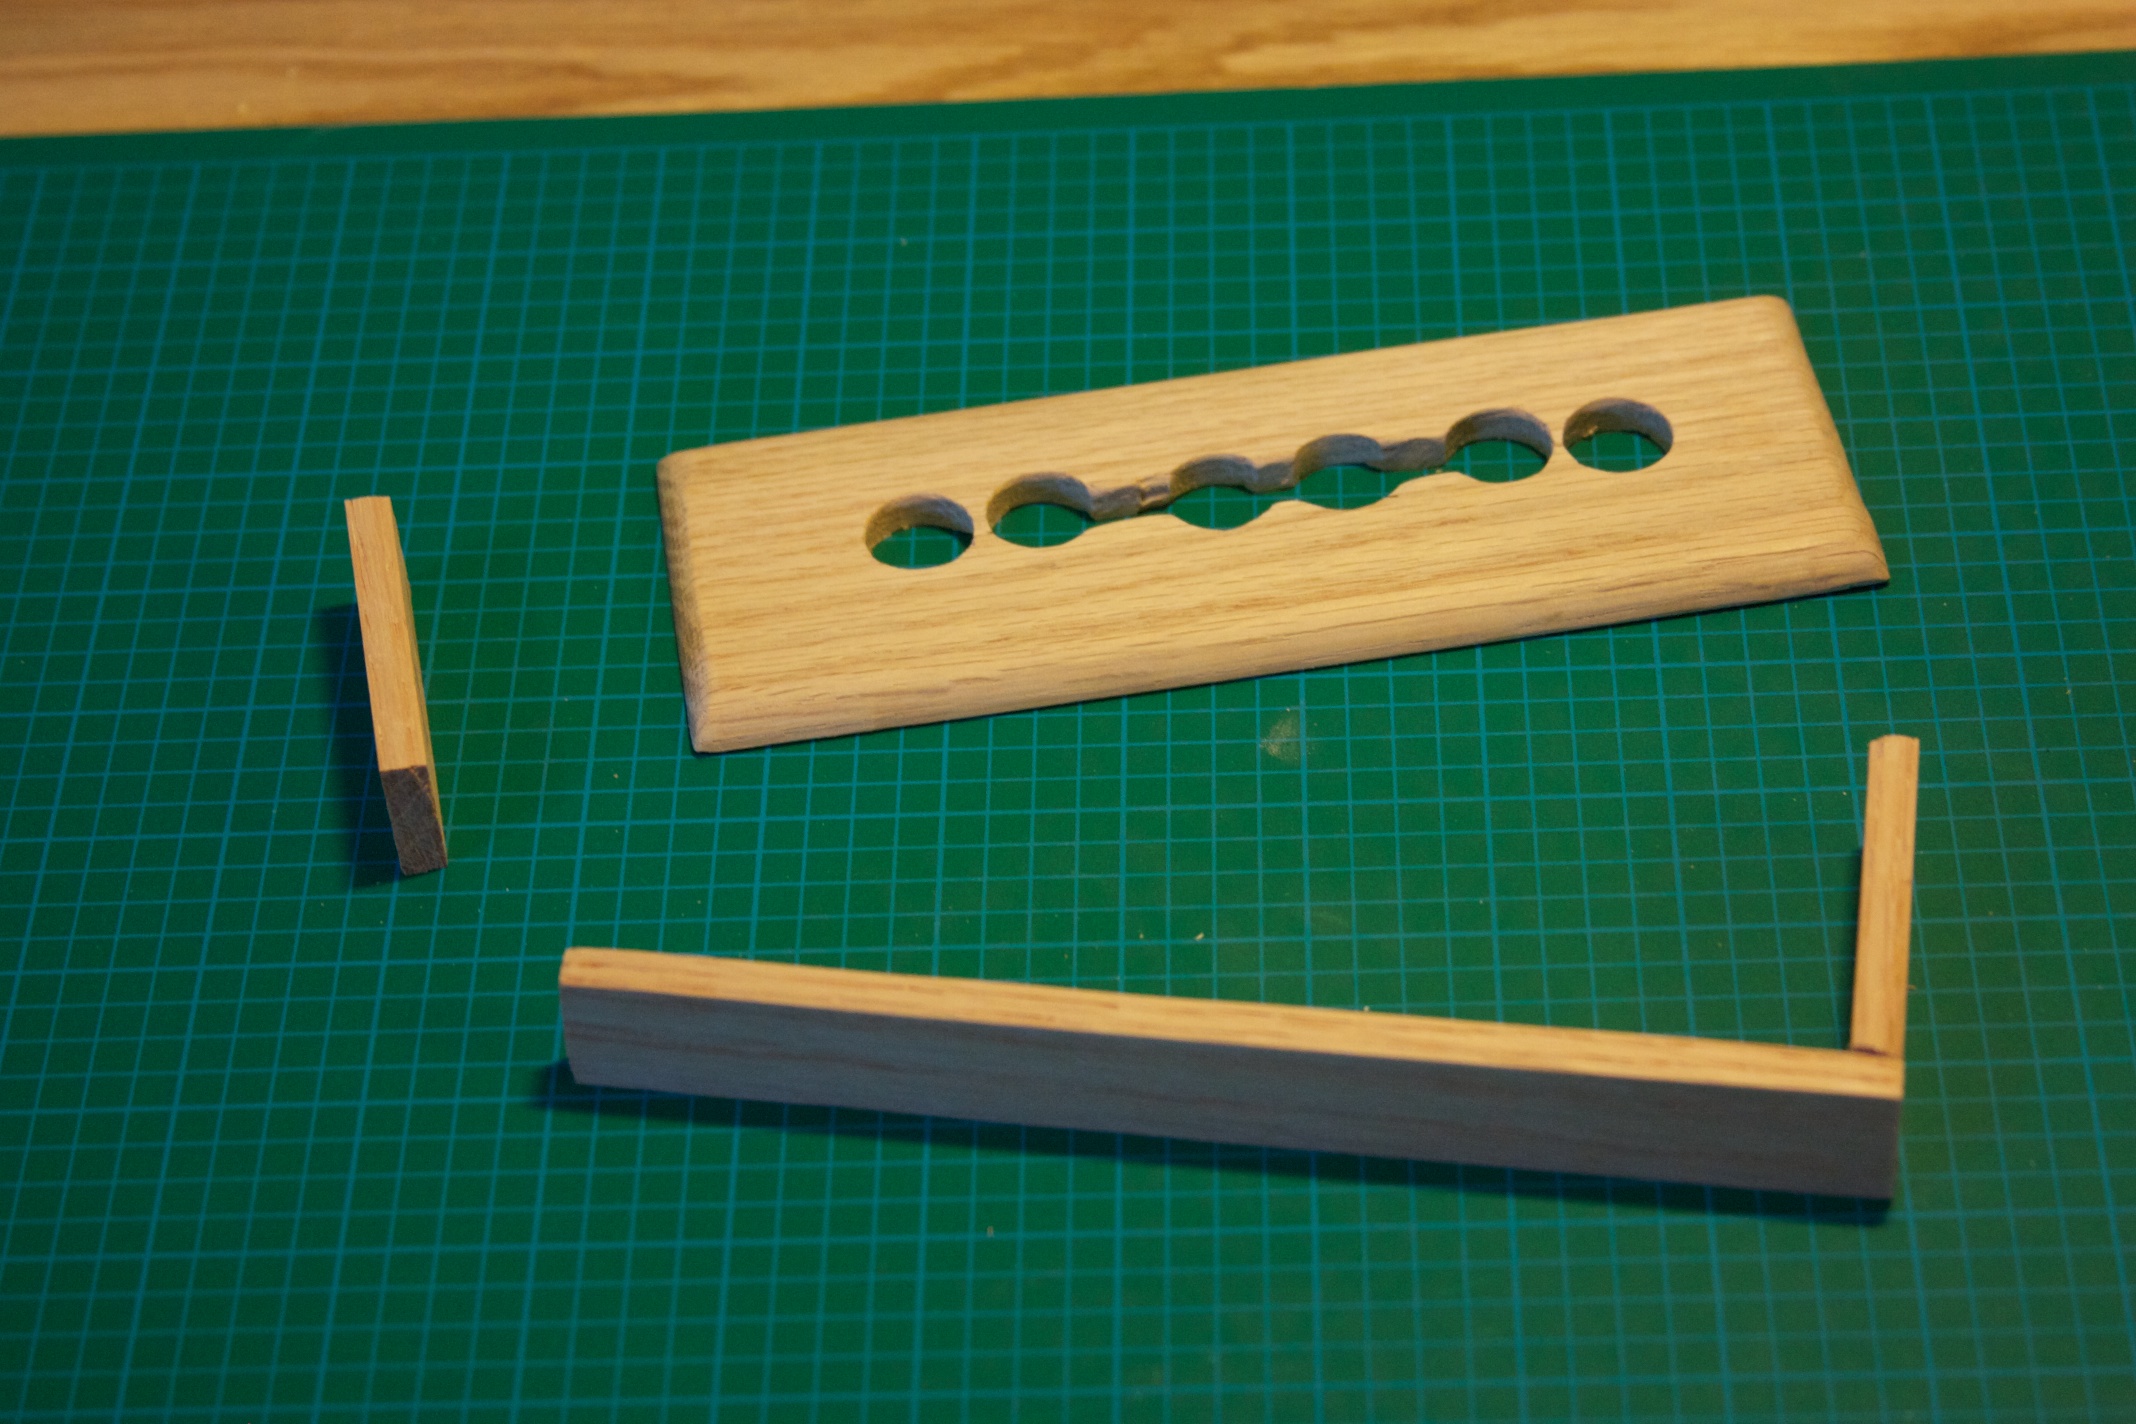
The case itself is made of scrap 1/4″ solid oak left over from another small project. I wanted a fairly small case and I knew I was going to be staining it so I didn’t worry too much about getting an exact fit for all the pieces. There was no real pattern, I just drew a quick sketch to get a feel for the pieces and dimensions required and then started marking up and cutting the wood pieces:
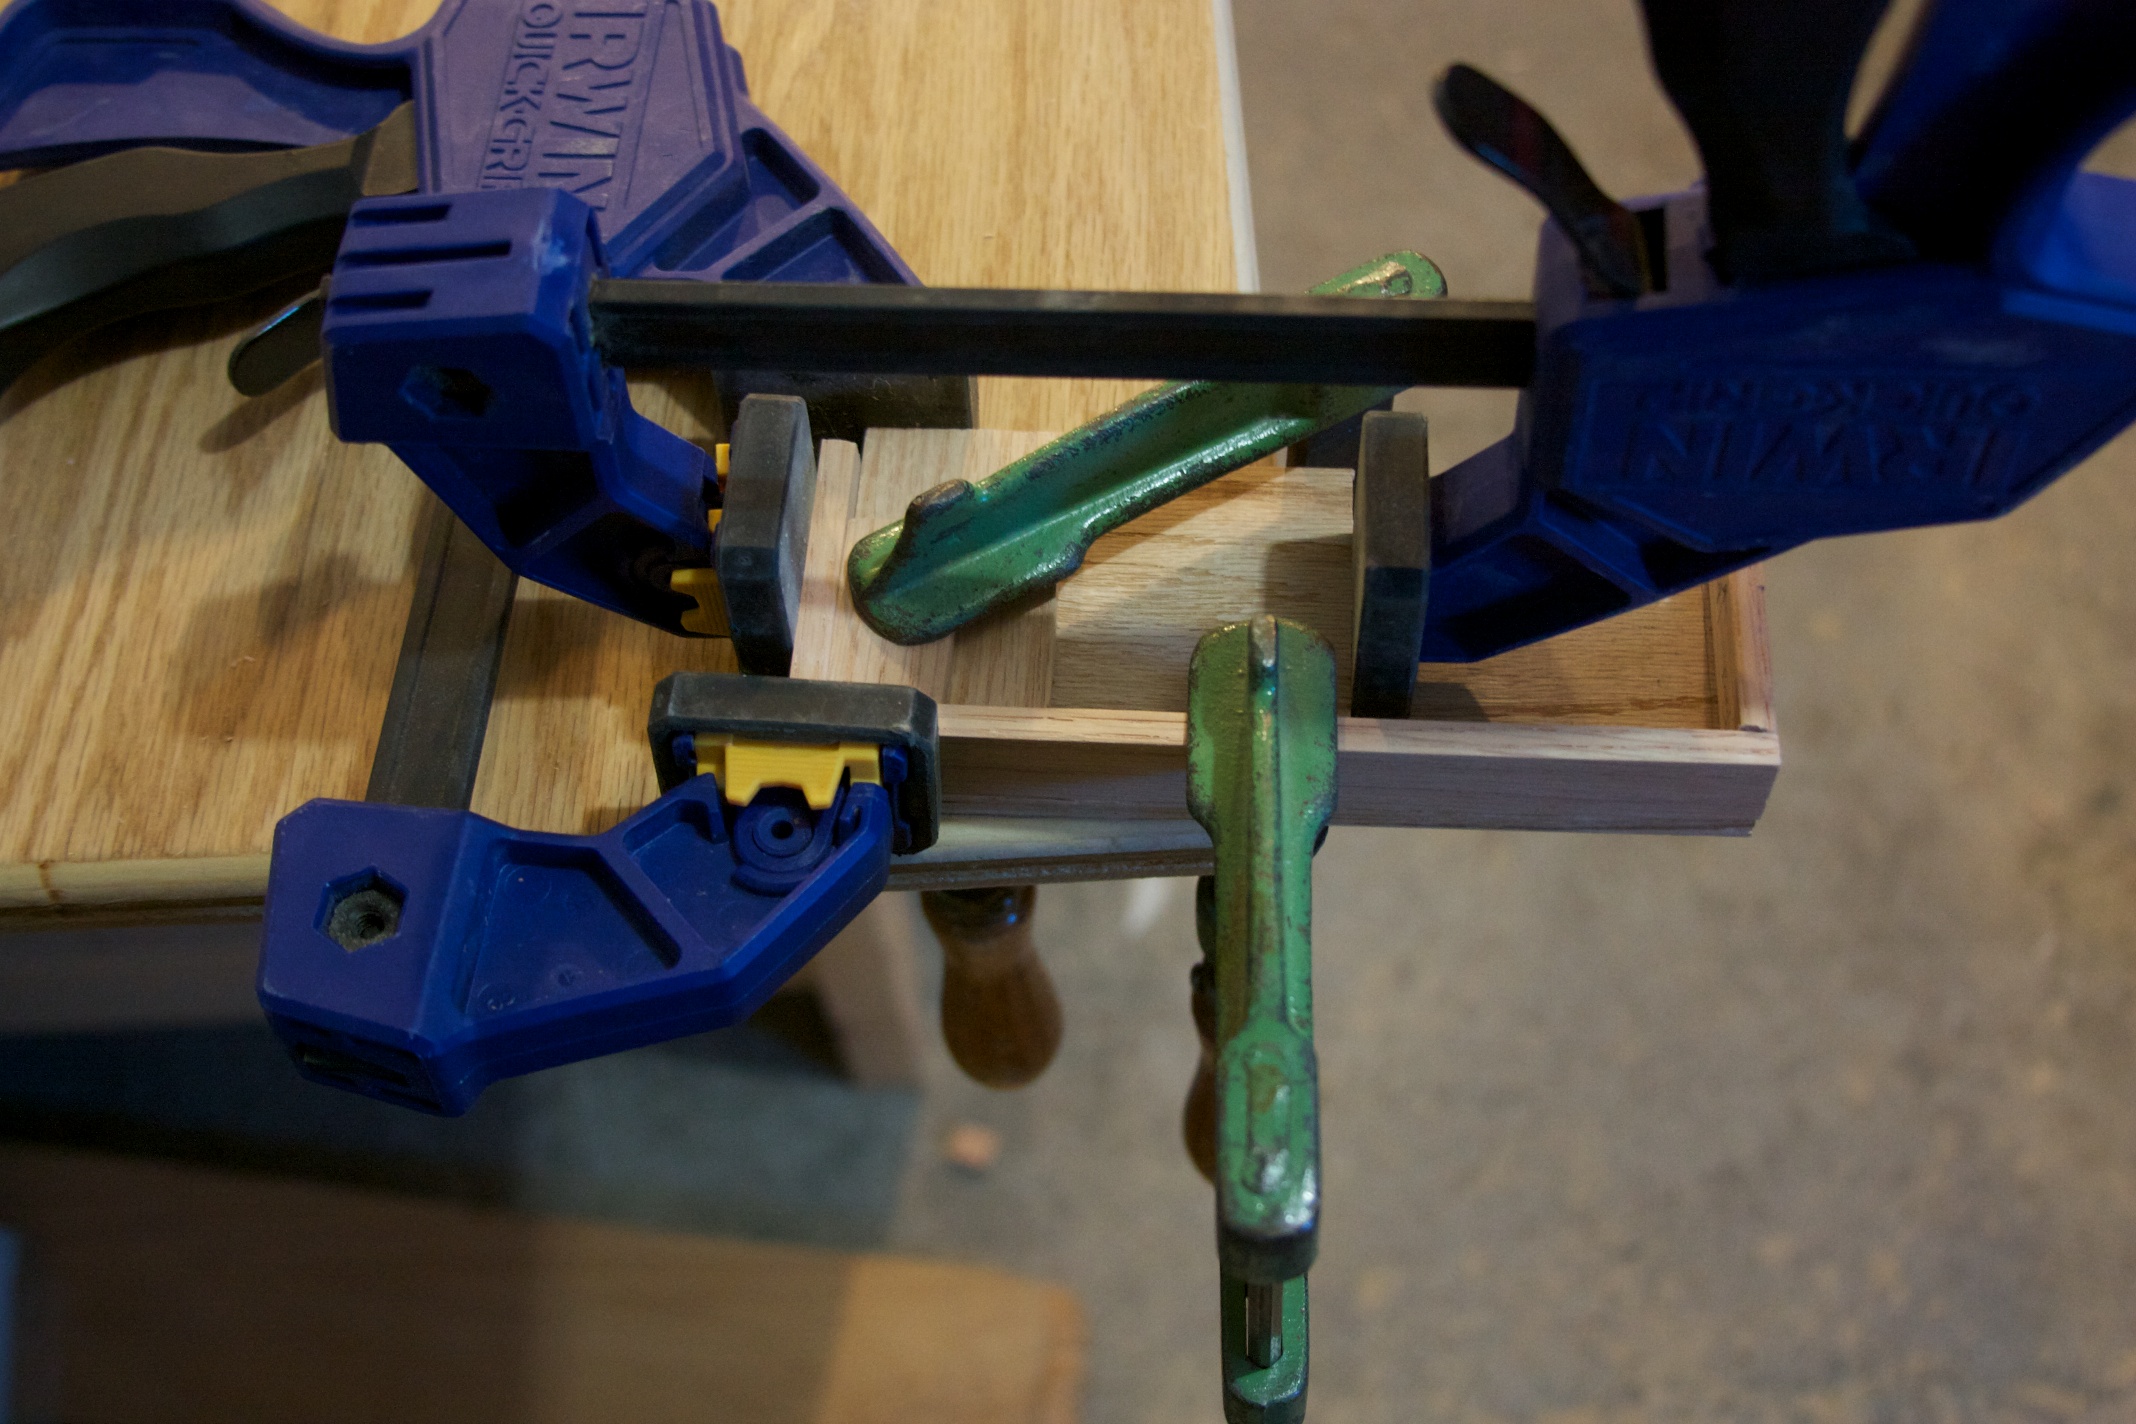
After a bit of dry fitting and sanding, it was time for some assembly. I don’t have a angle clamp such as those used in cabinet making (I might invest in one of those for the next project that I do know of type), so I rigged one up with a couple of grip clamps:
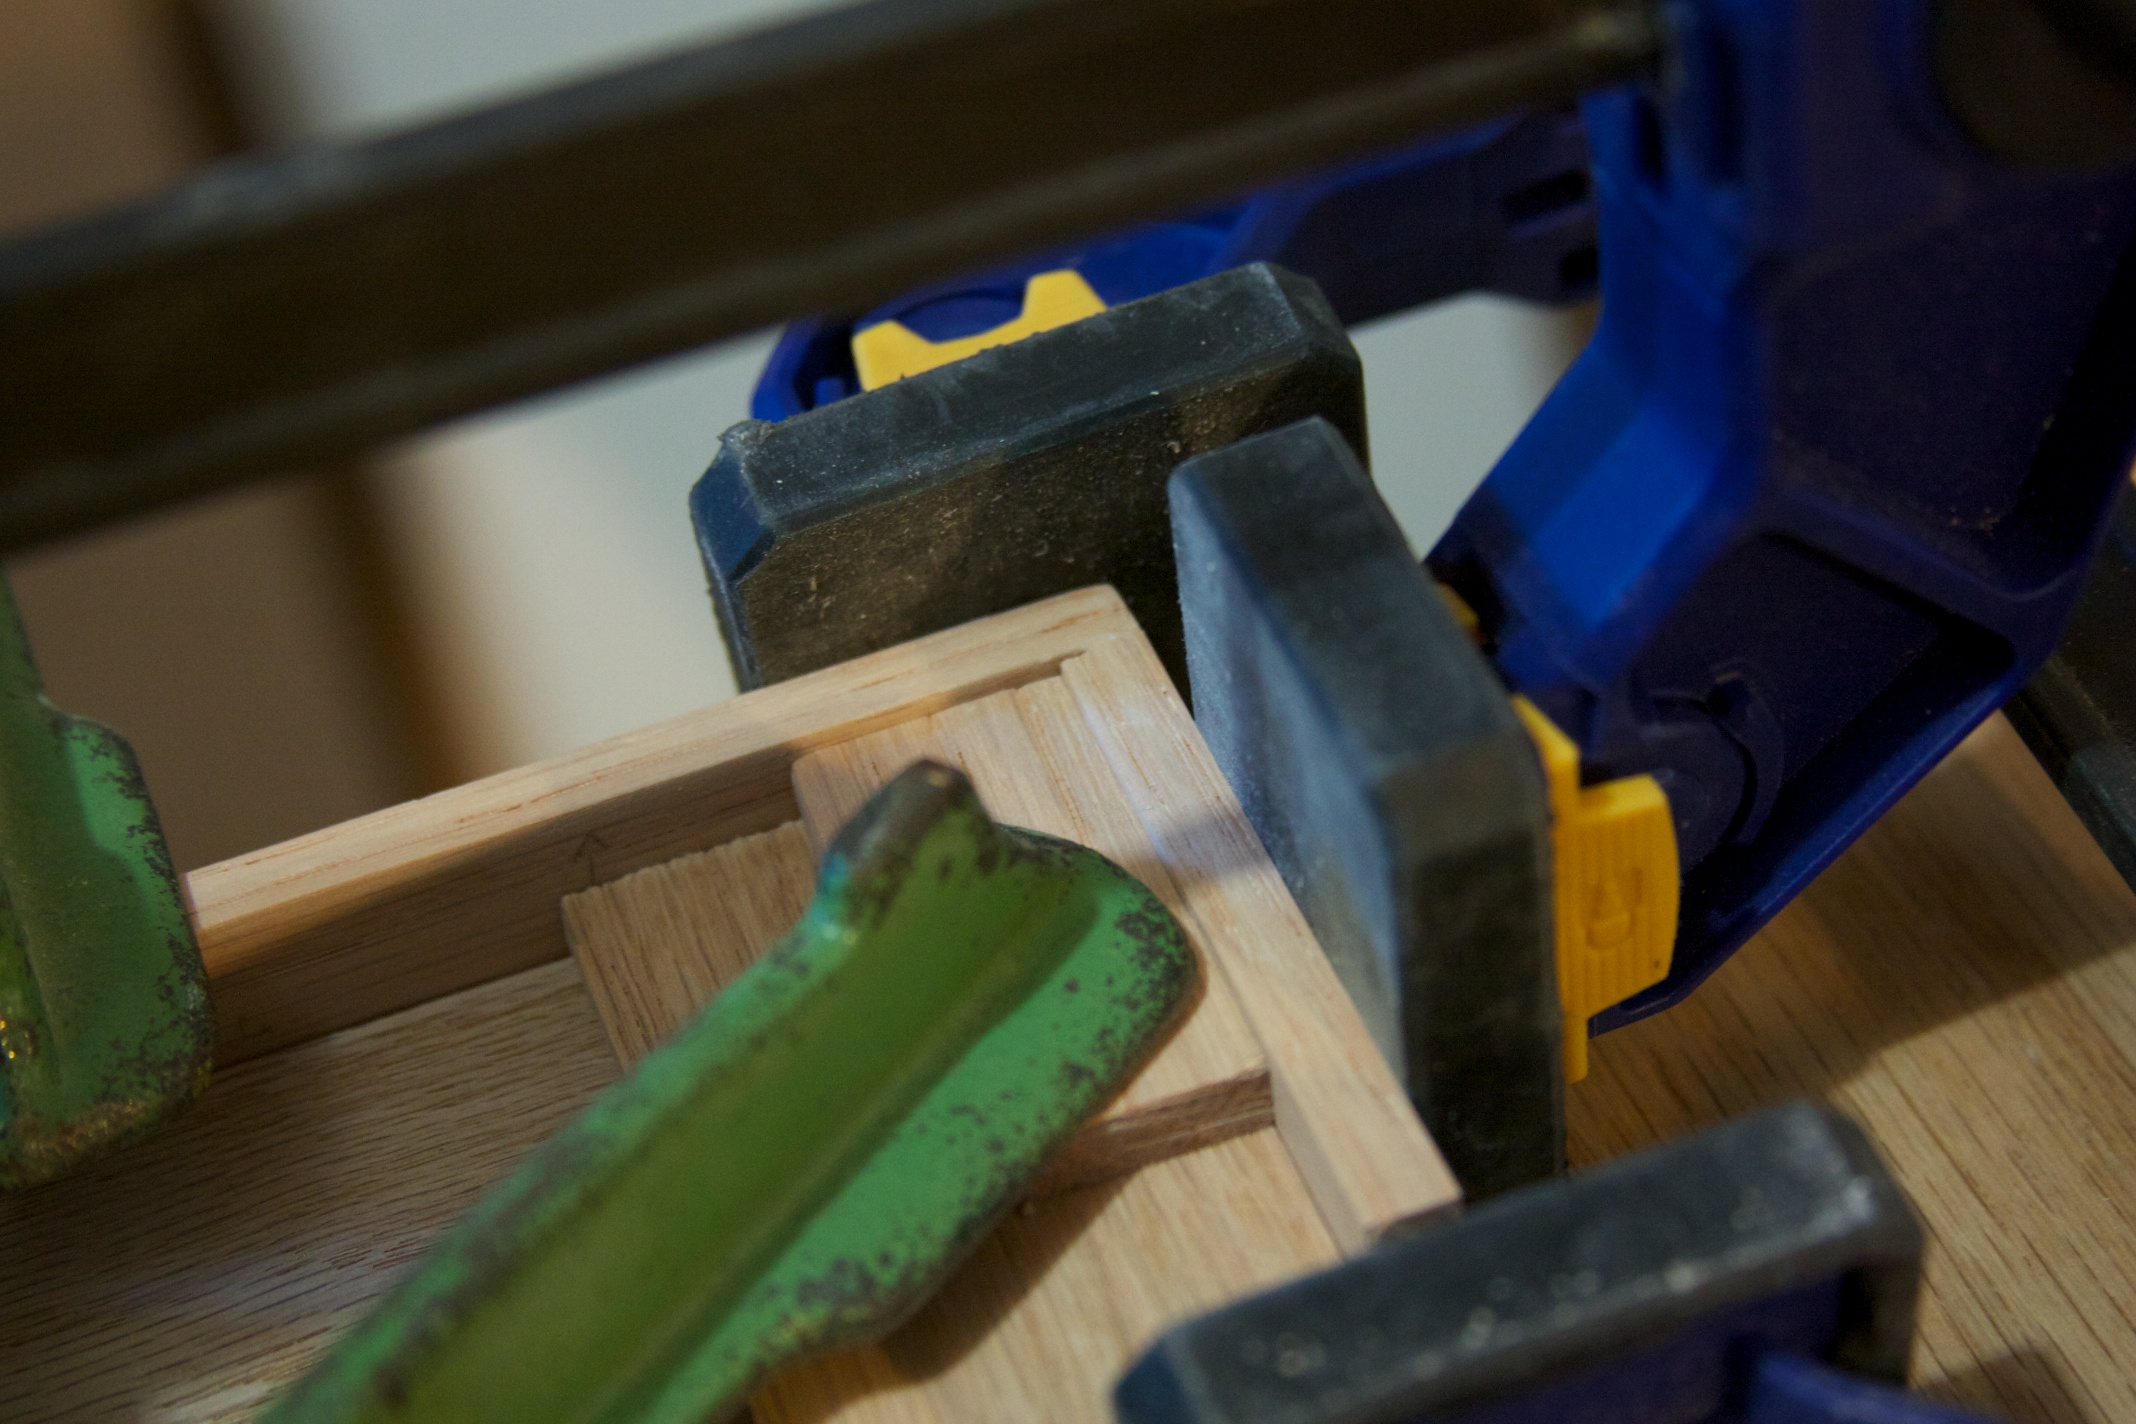
And a close up of the side and front pieces being glued together:
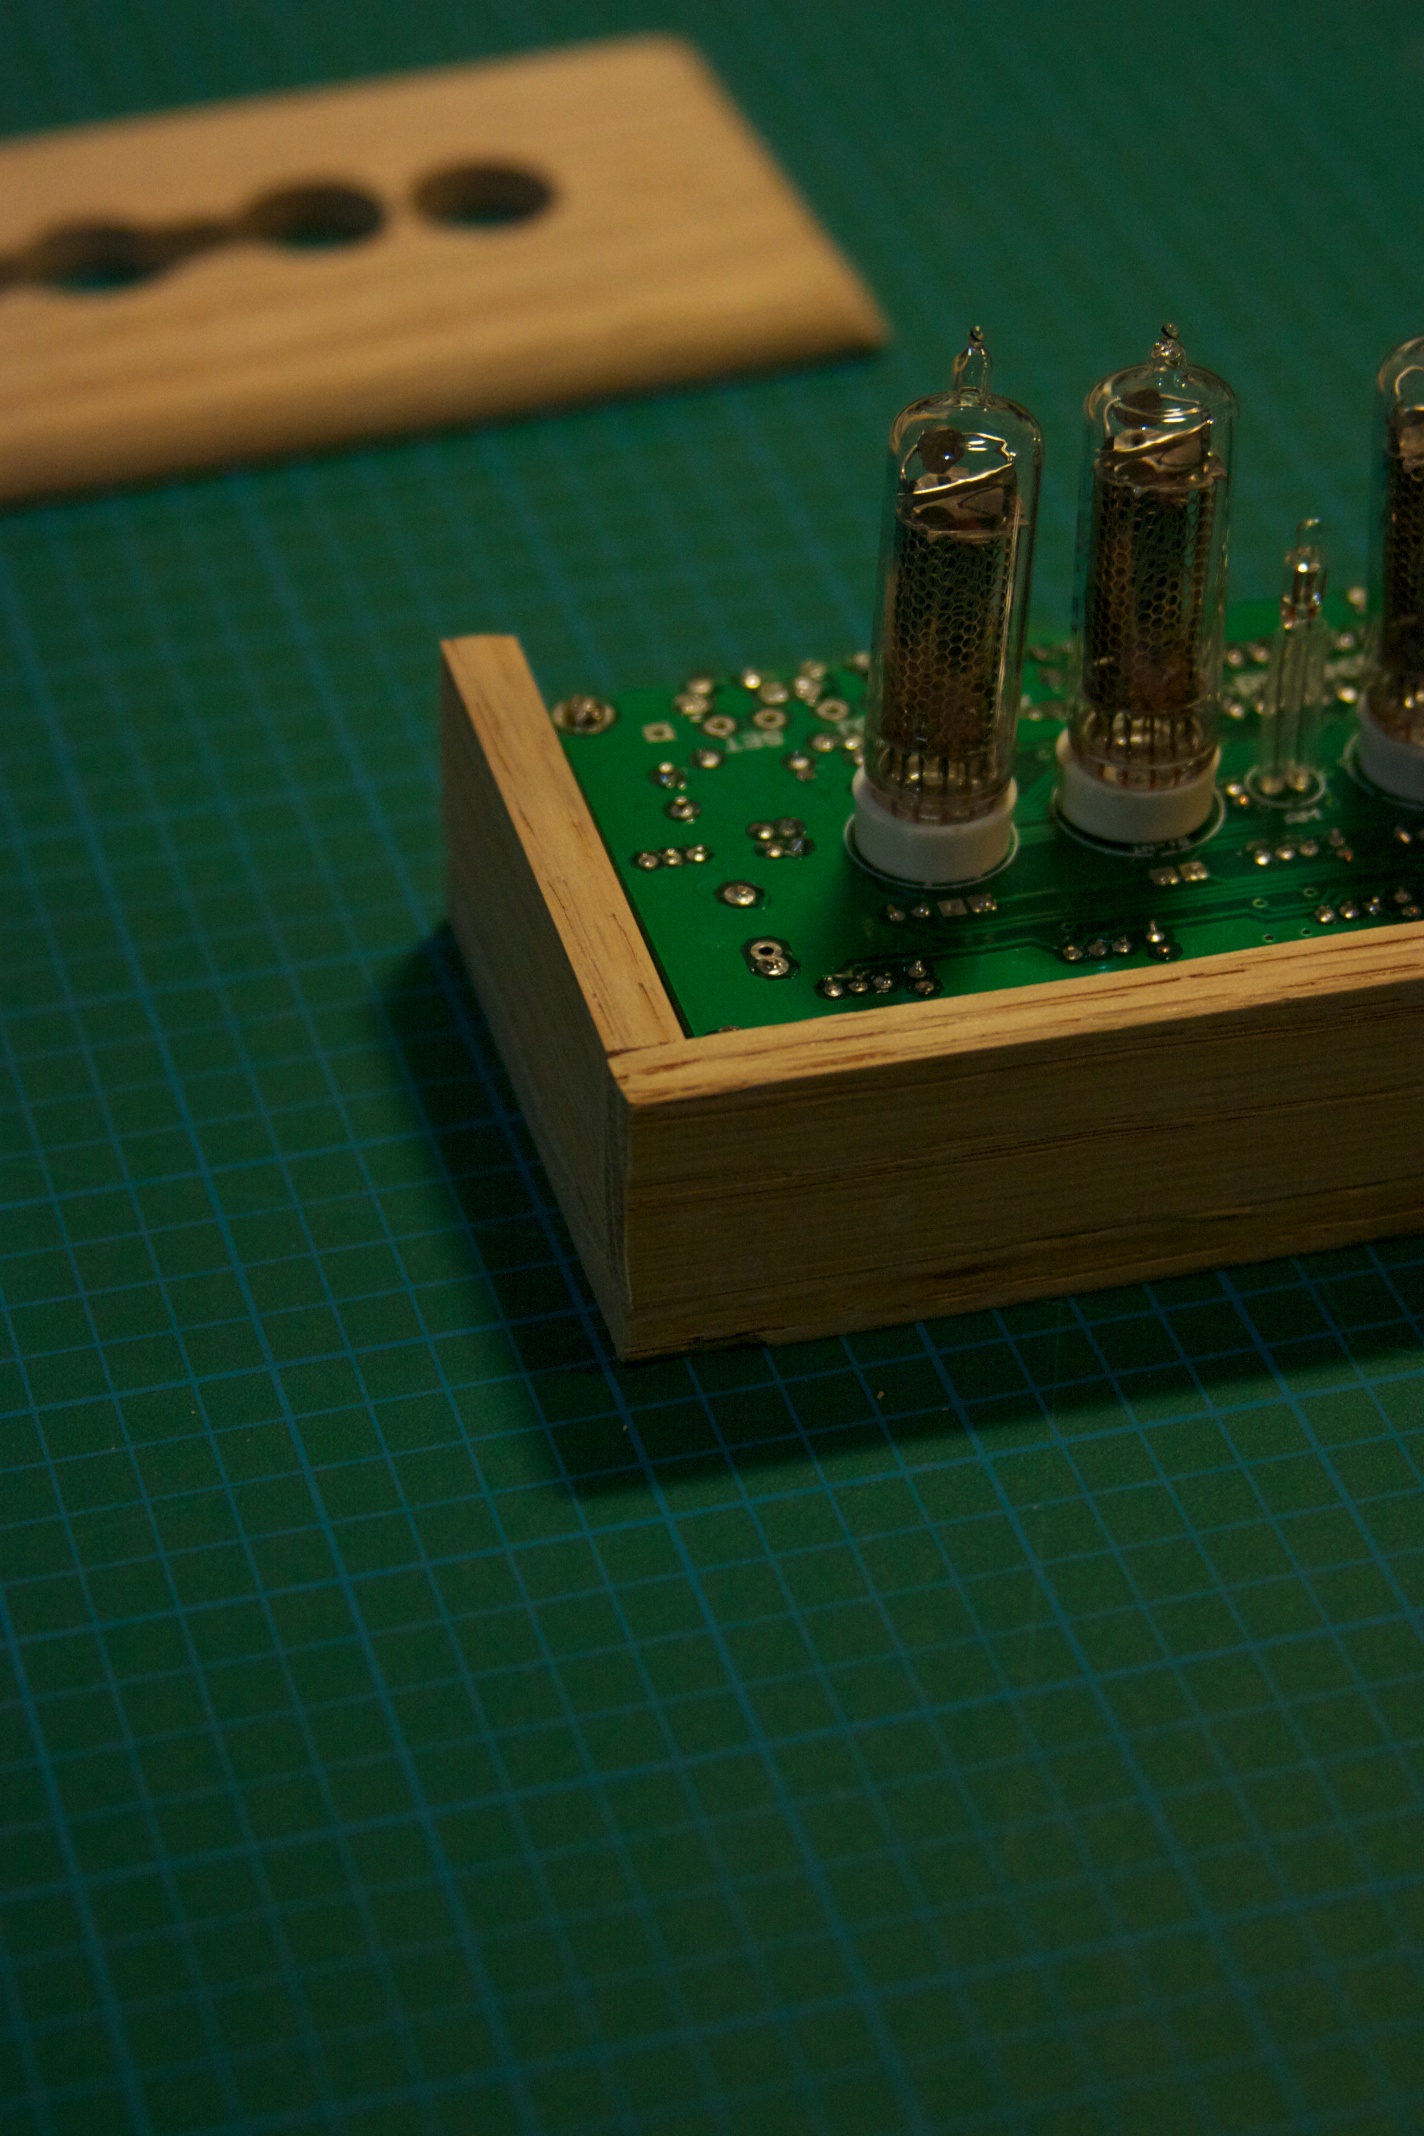
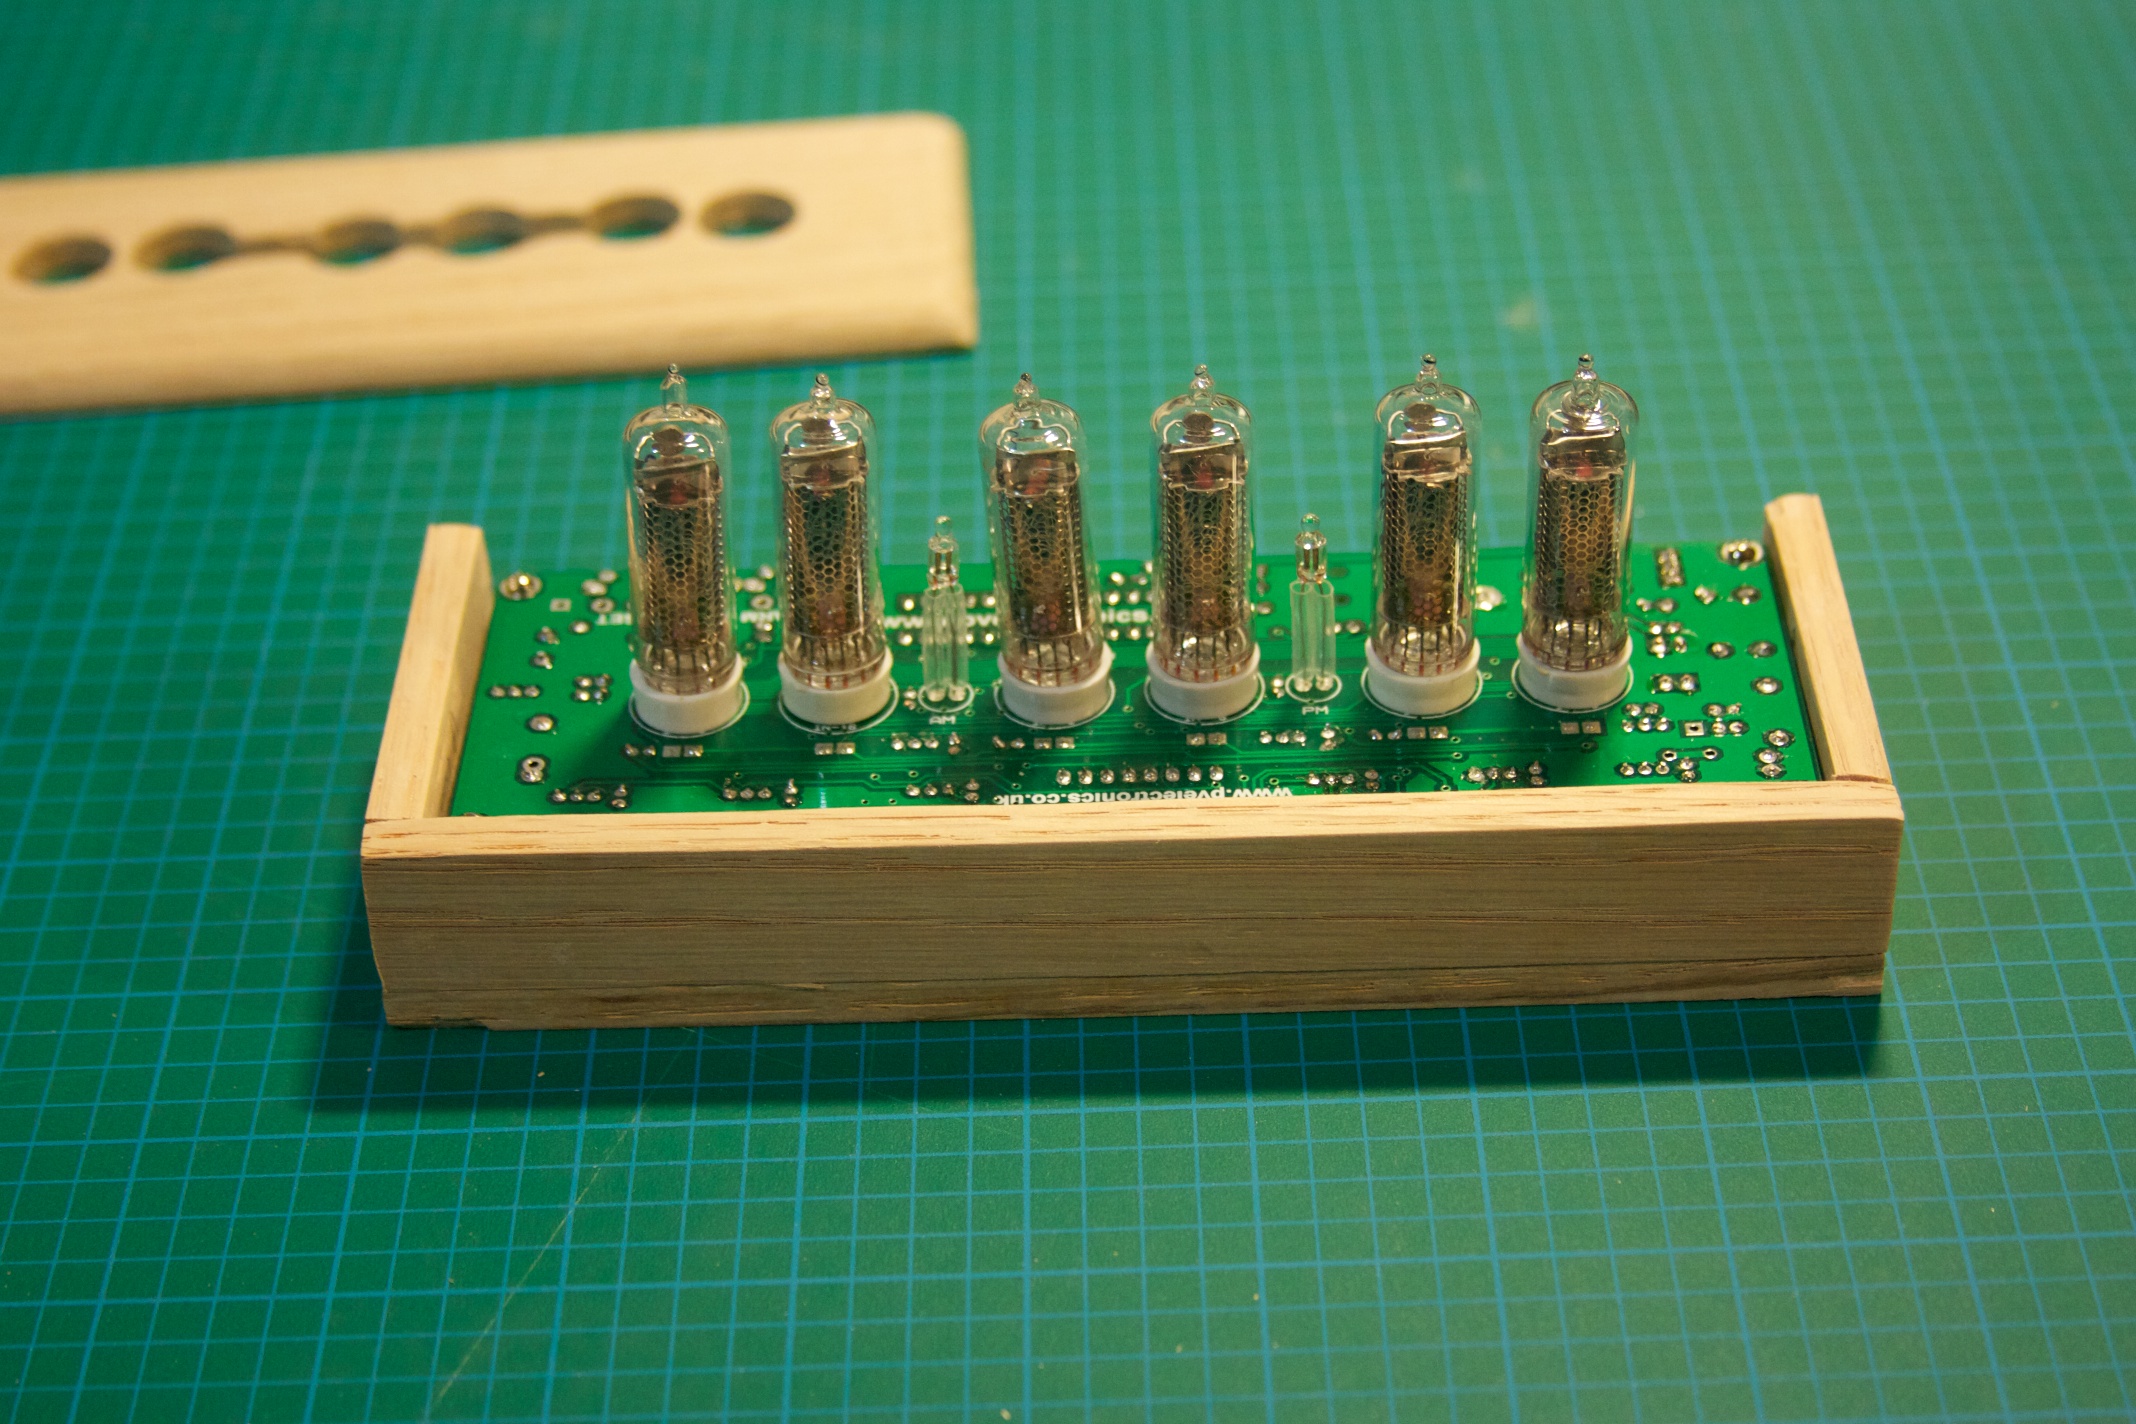
Now that the sides are glued together and the seating holes for the clock’s PCB are drilled,

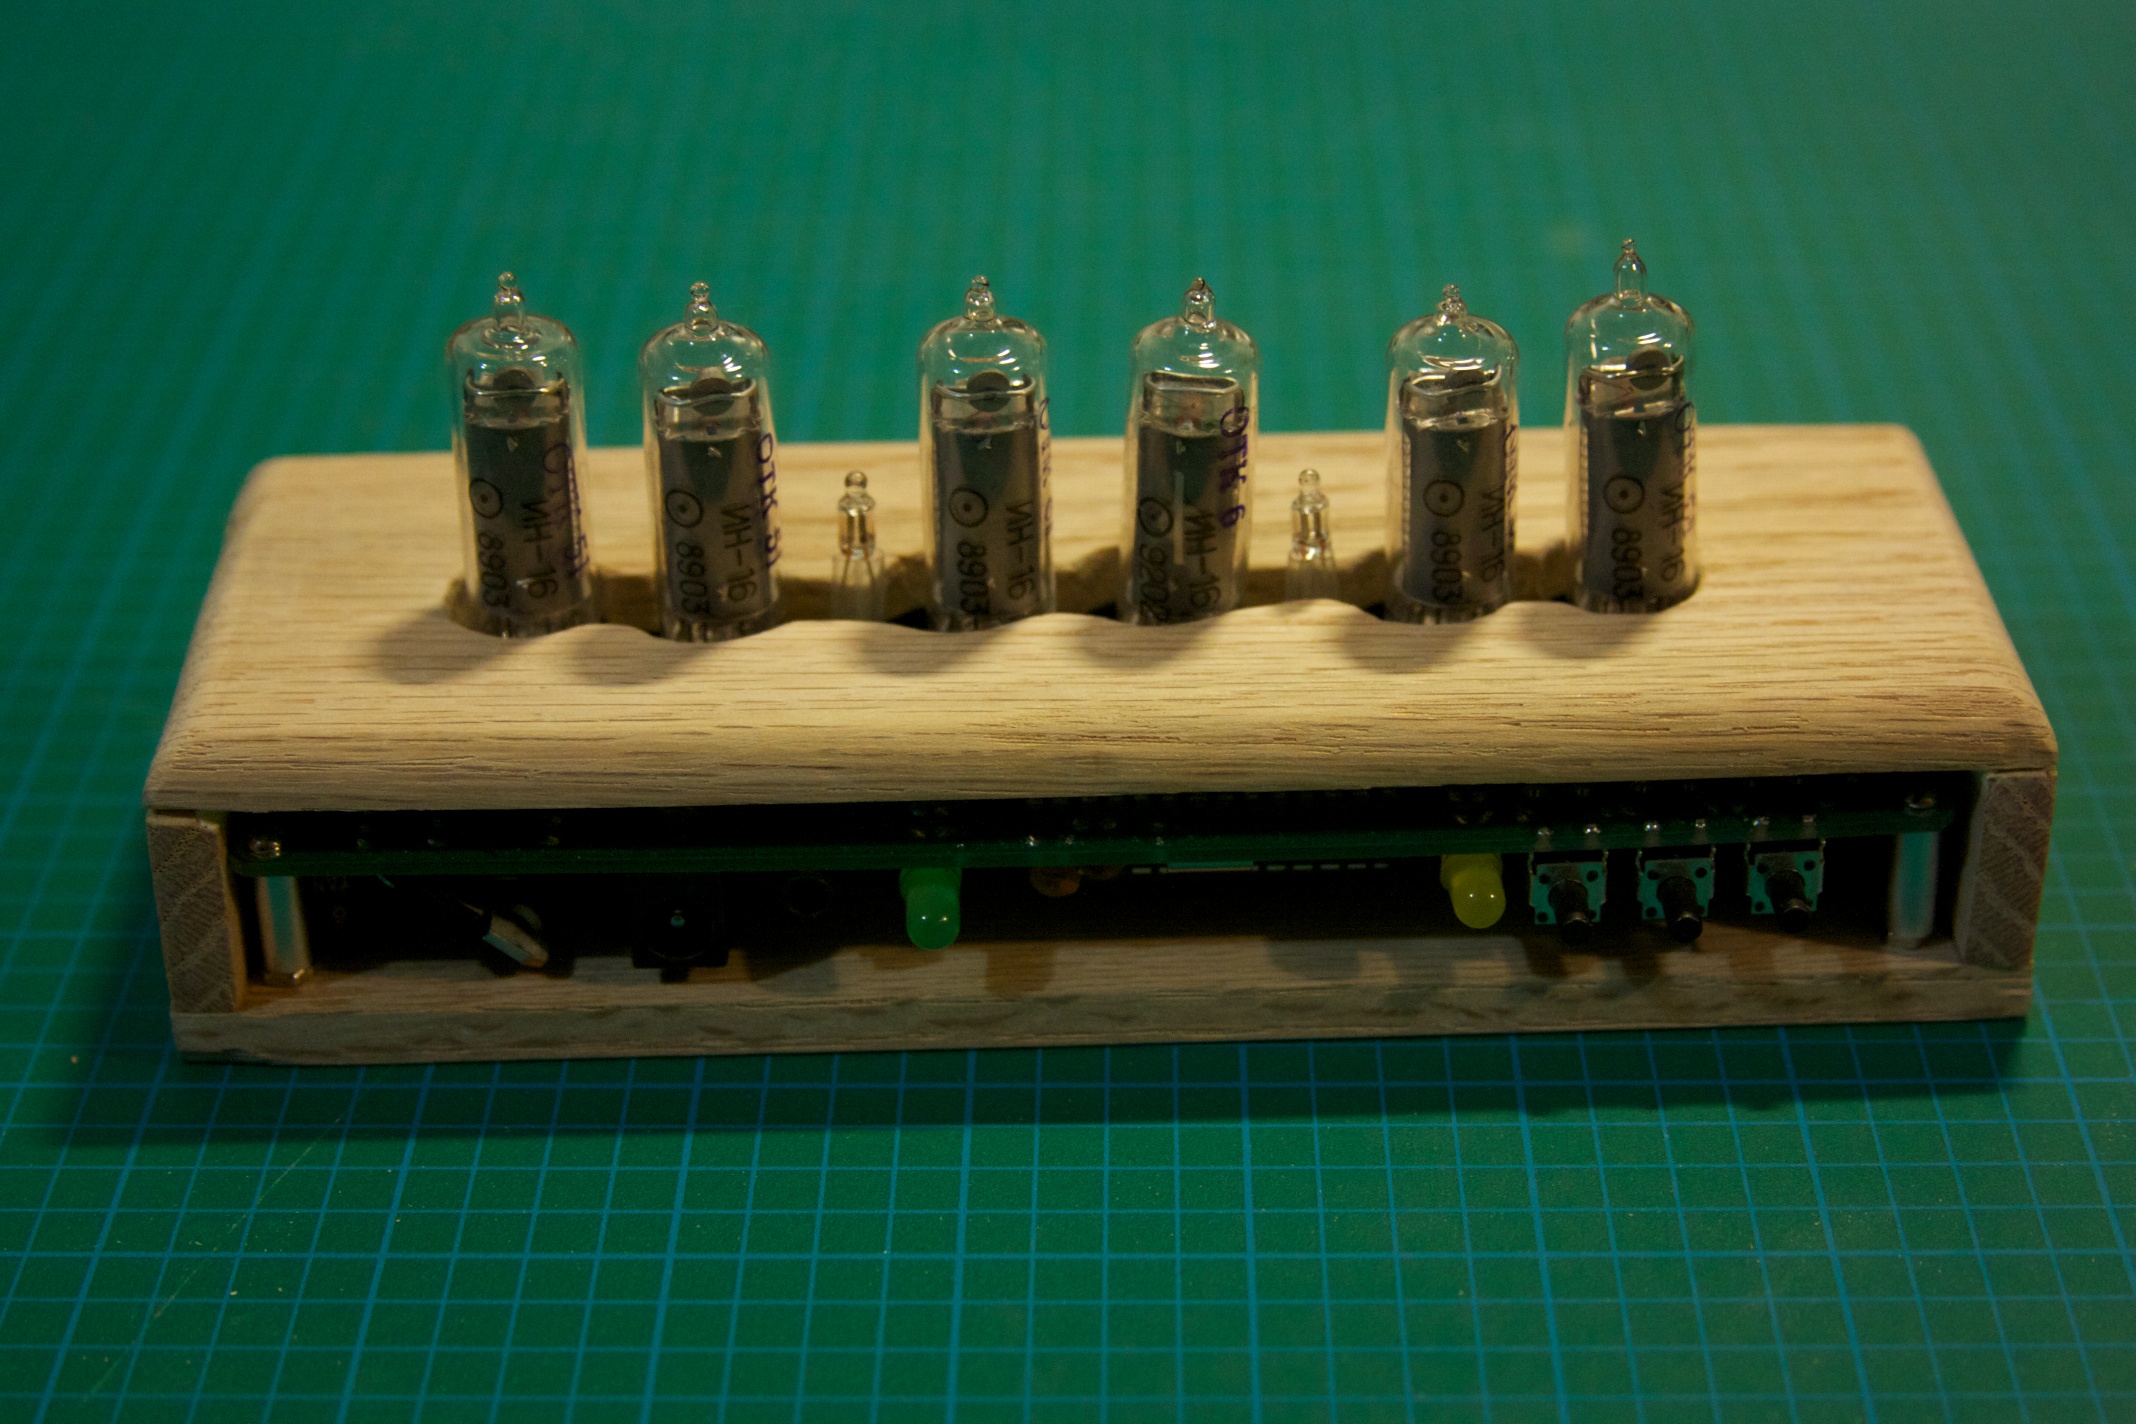
It was time for another quick check to see how snug the corners were with the clock inside:
Not too bad!
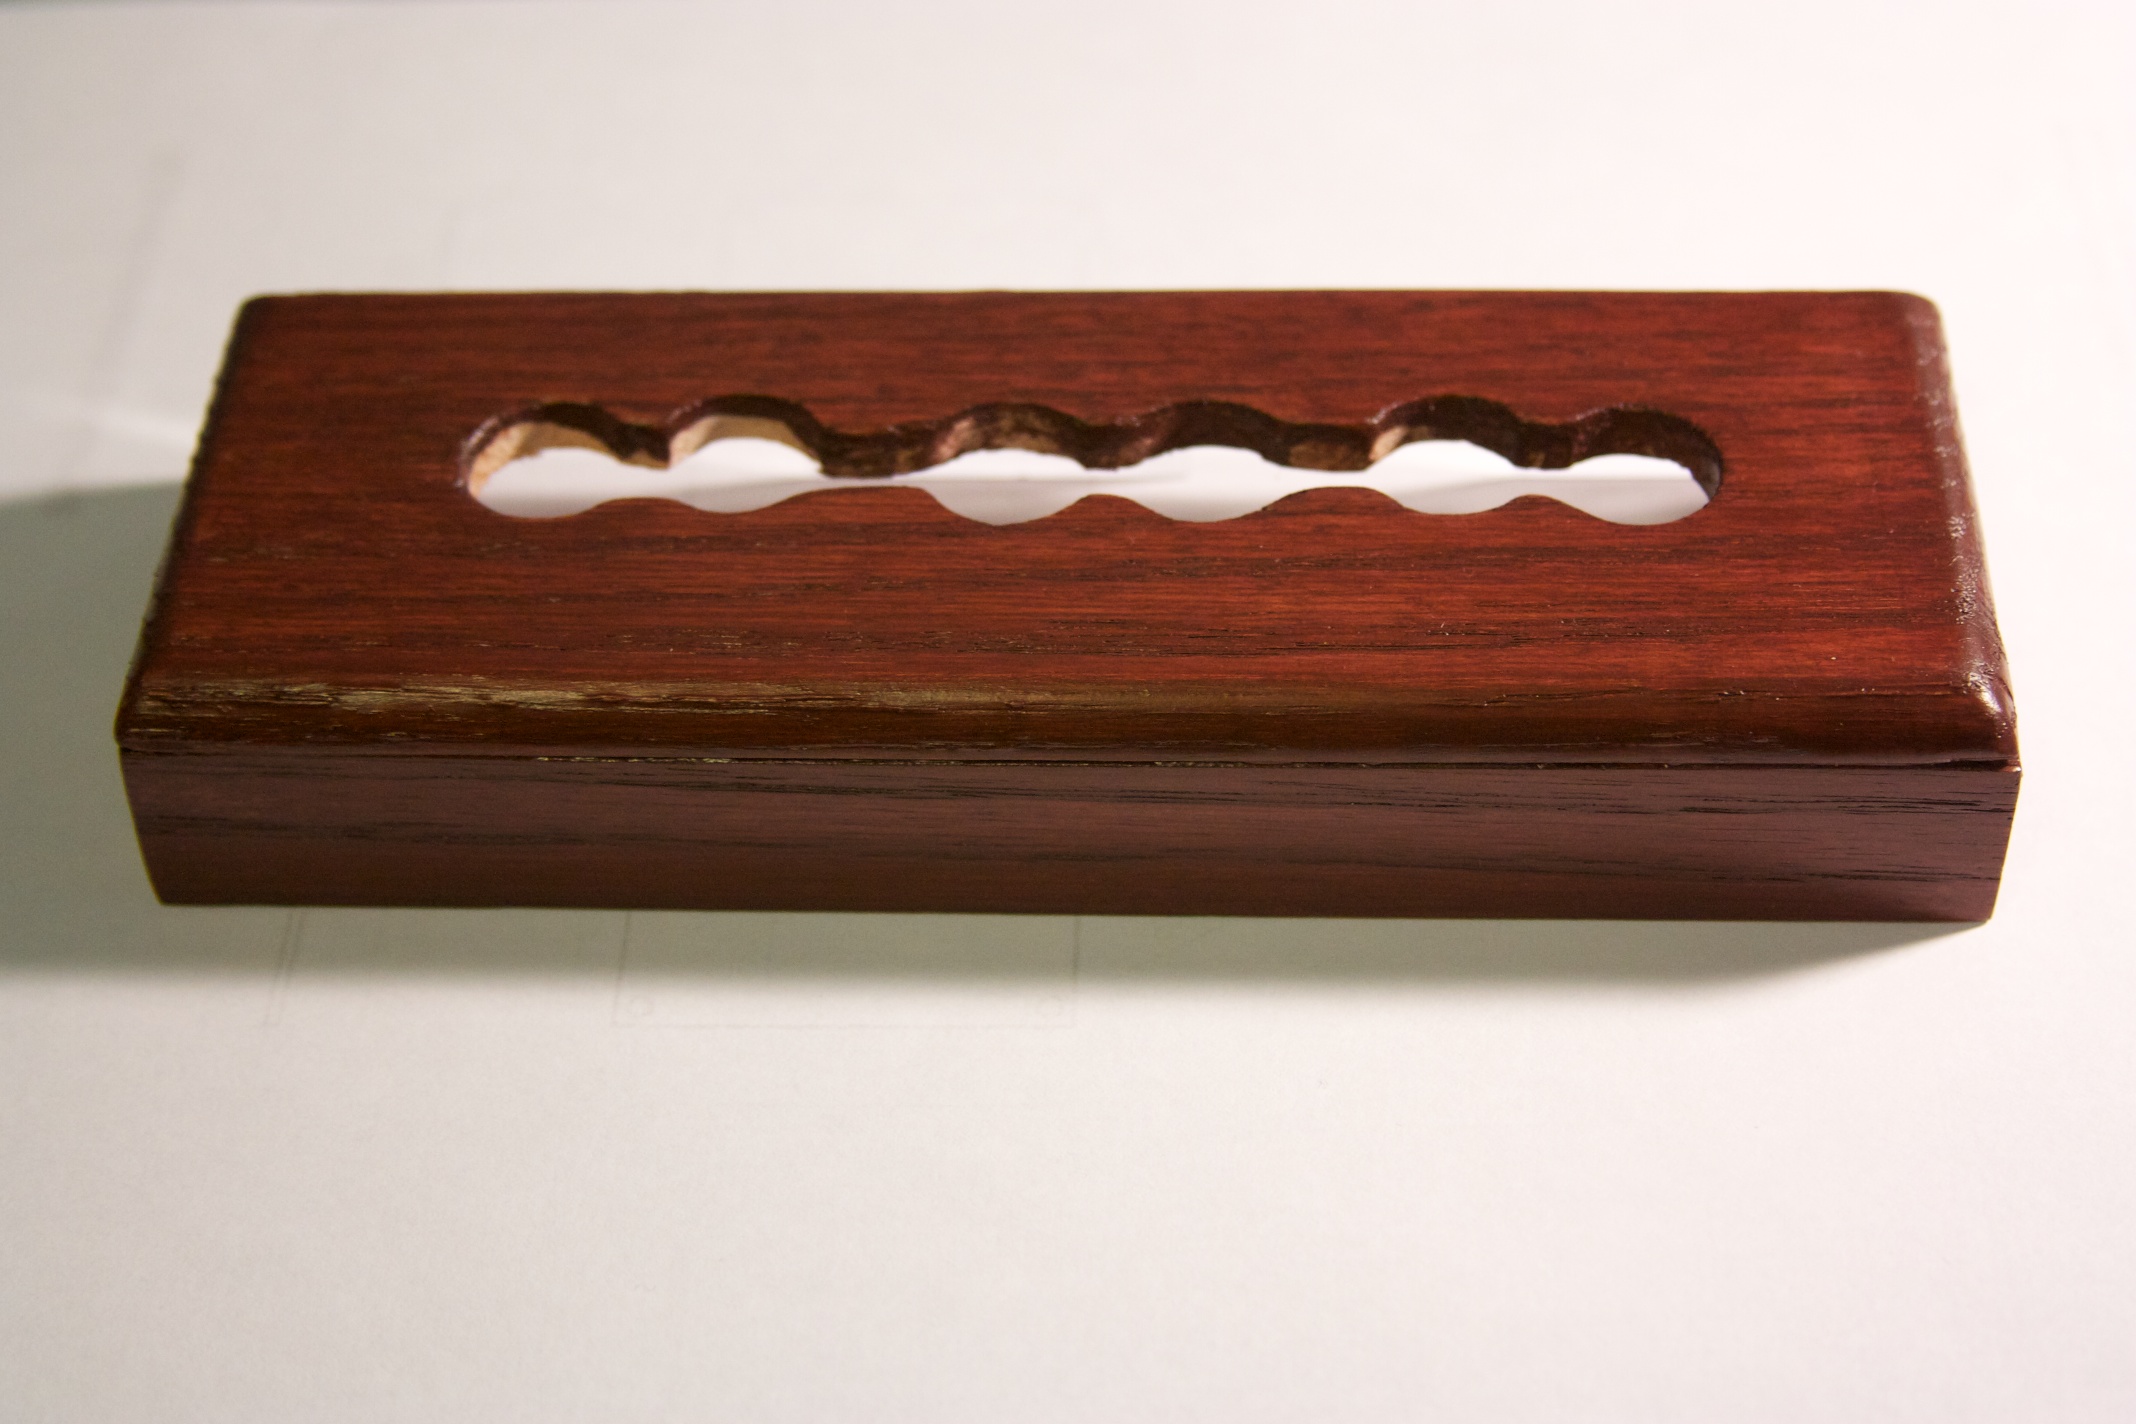
Then it was time to glue the top onto the side piece. The bottom was to be screwed into the top/side piece from below. I pre-drilled the holes and used very small wood screws to attach the bottom to the top shell:
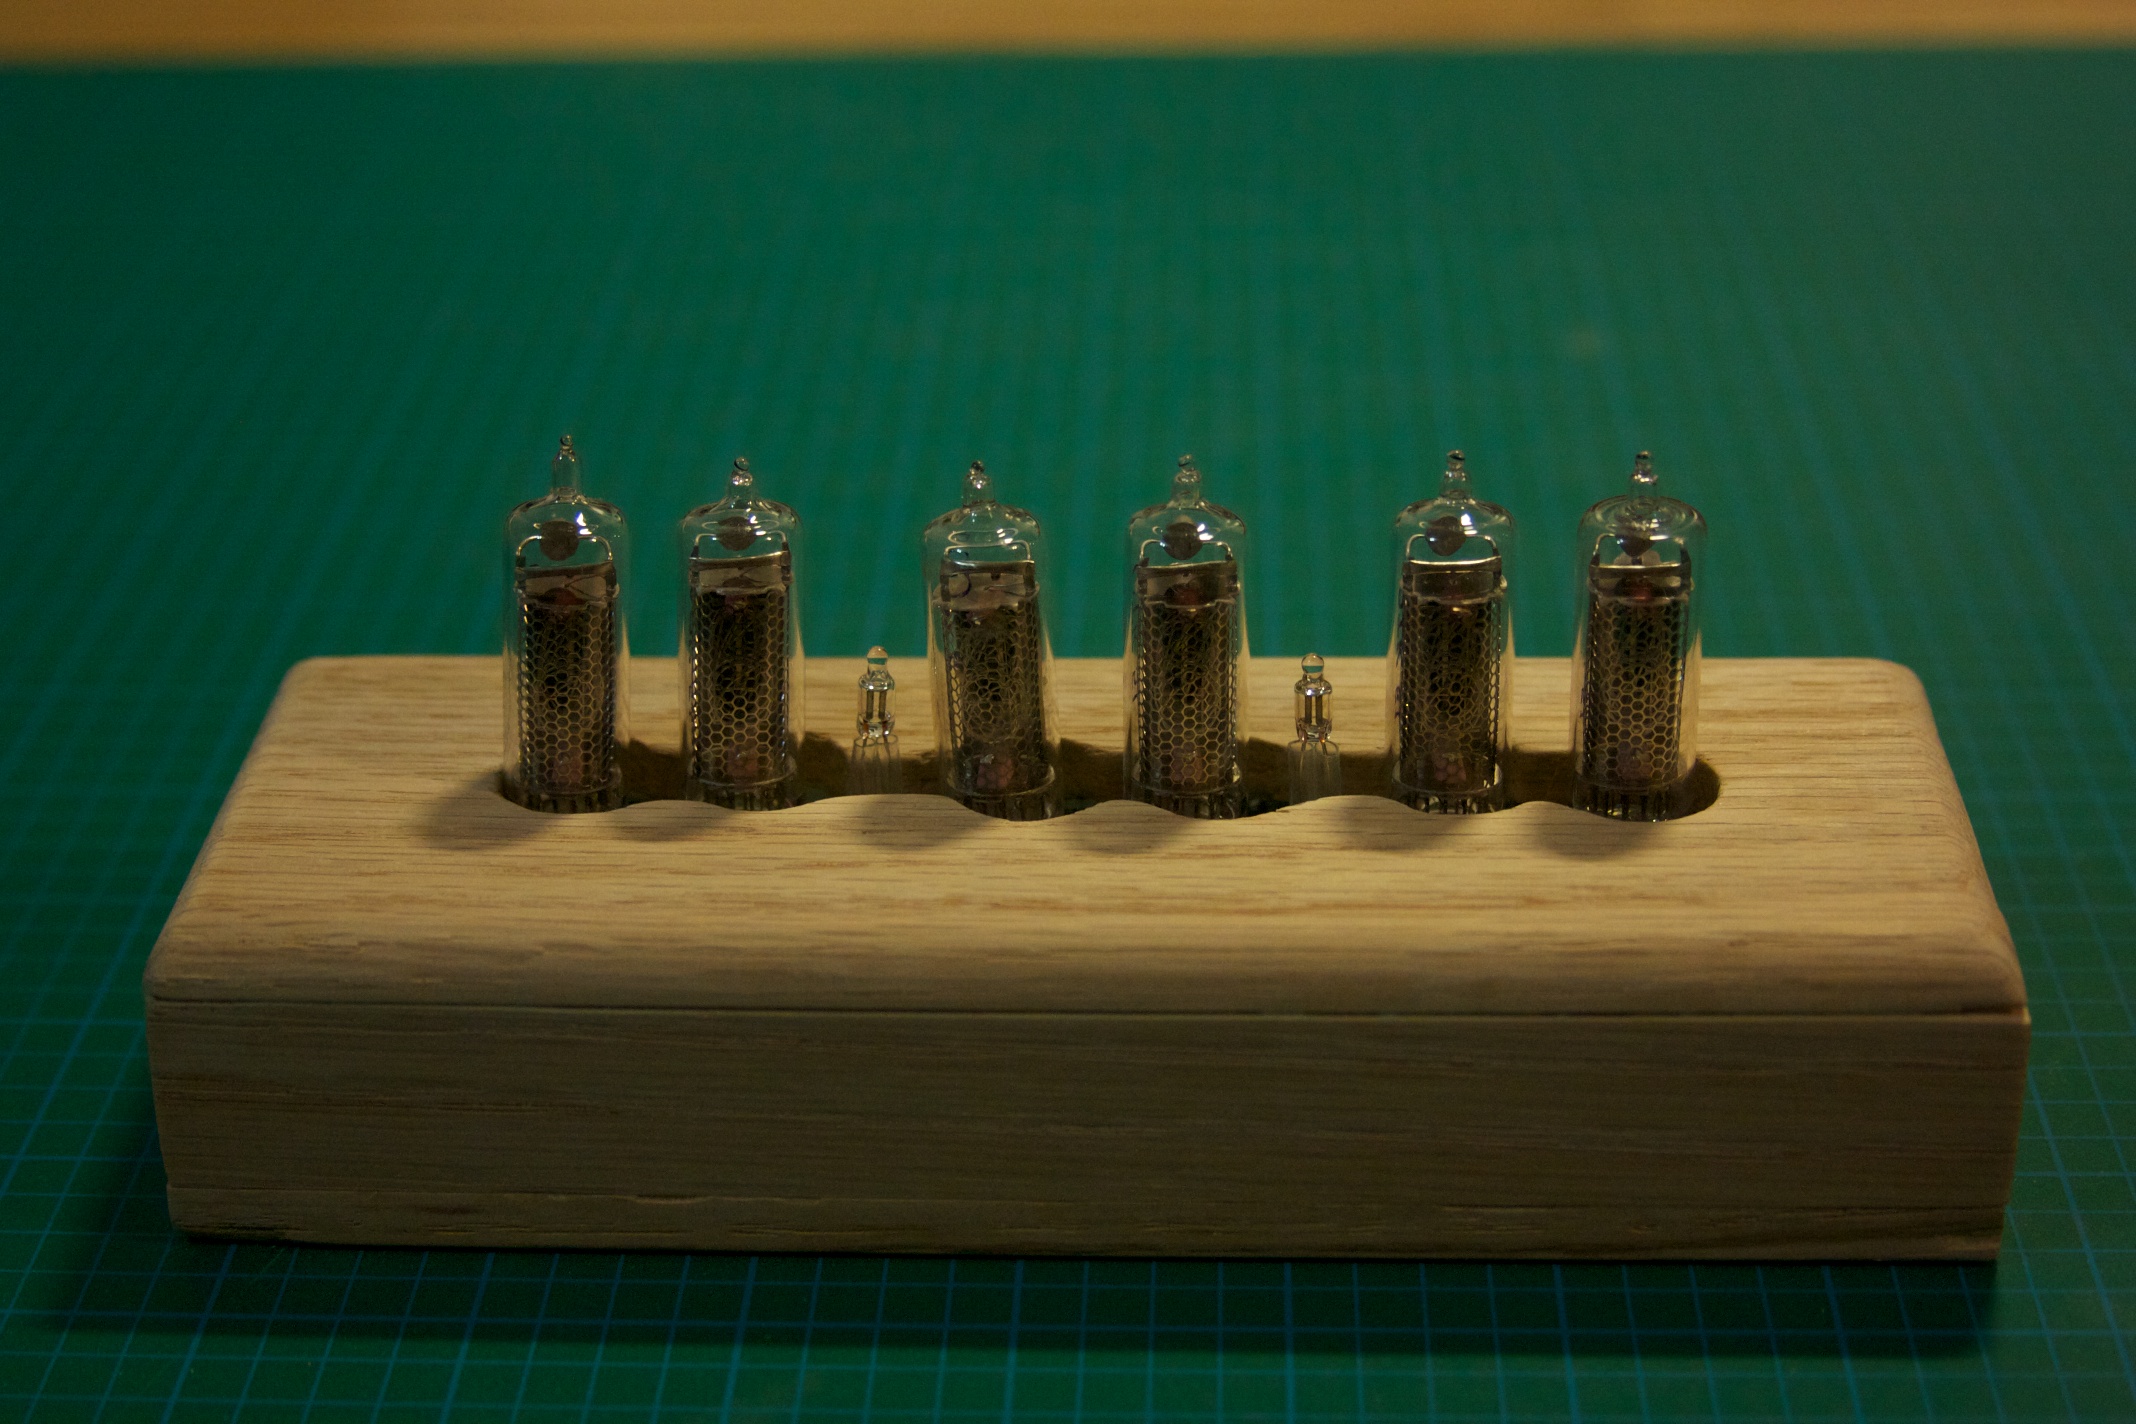
Some sanding got the fit to be pretty near perfect, although the wood pieces were a little warped so an exact fit it was not. Again, this is the assembled case with screws.
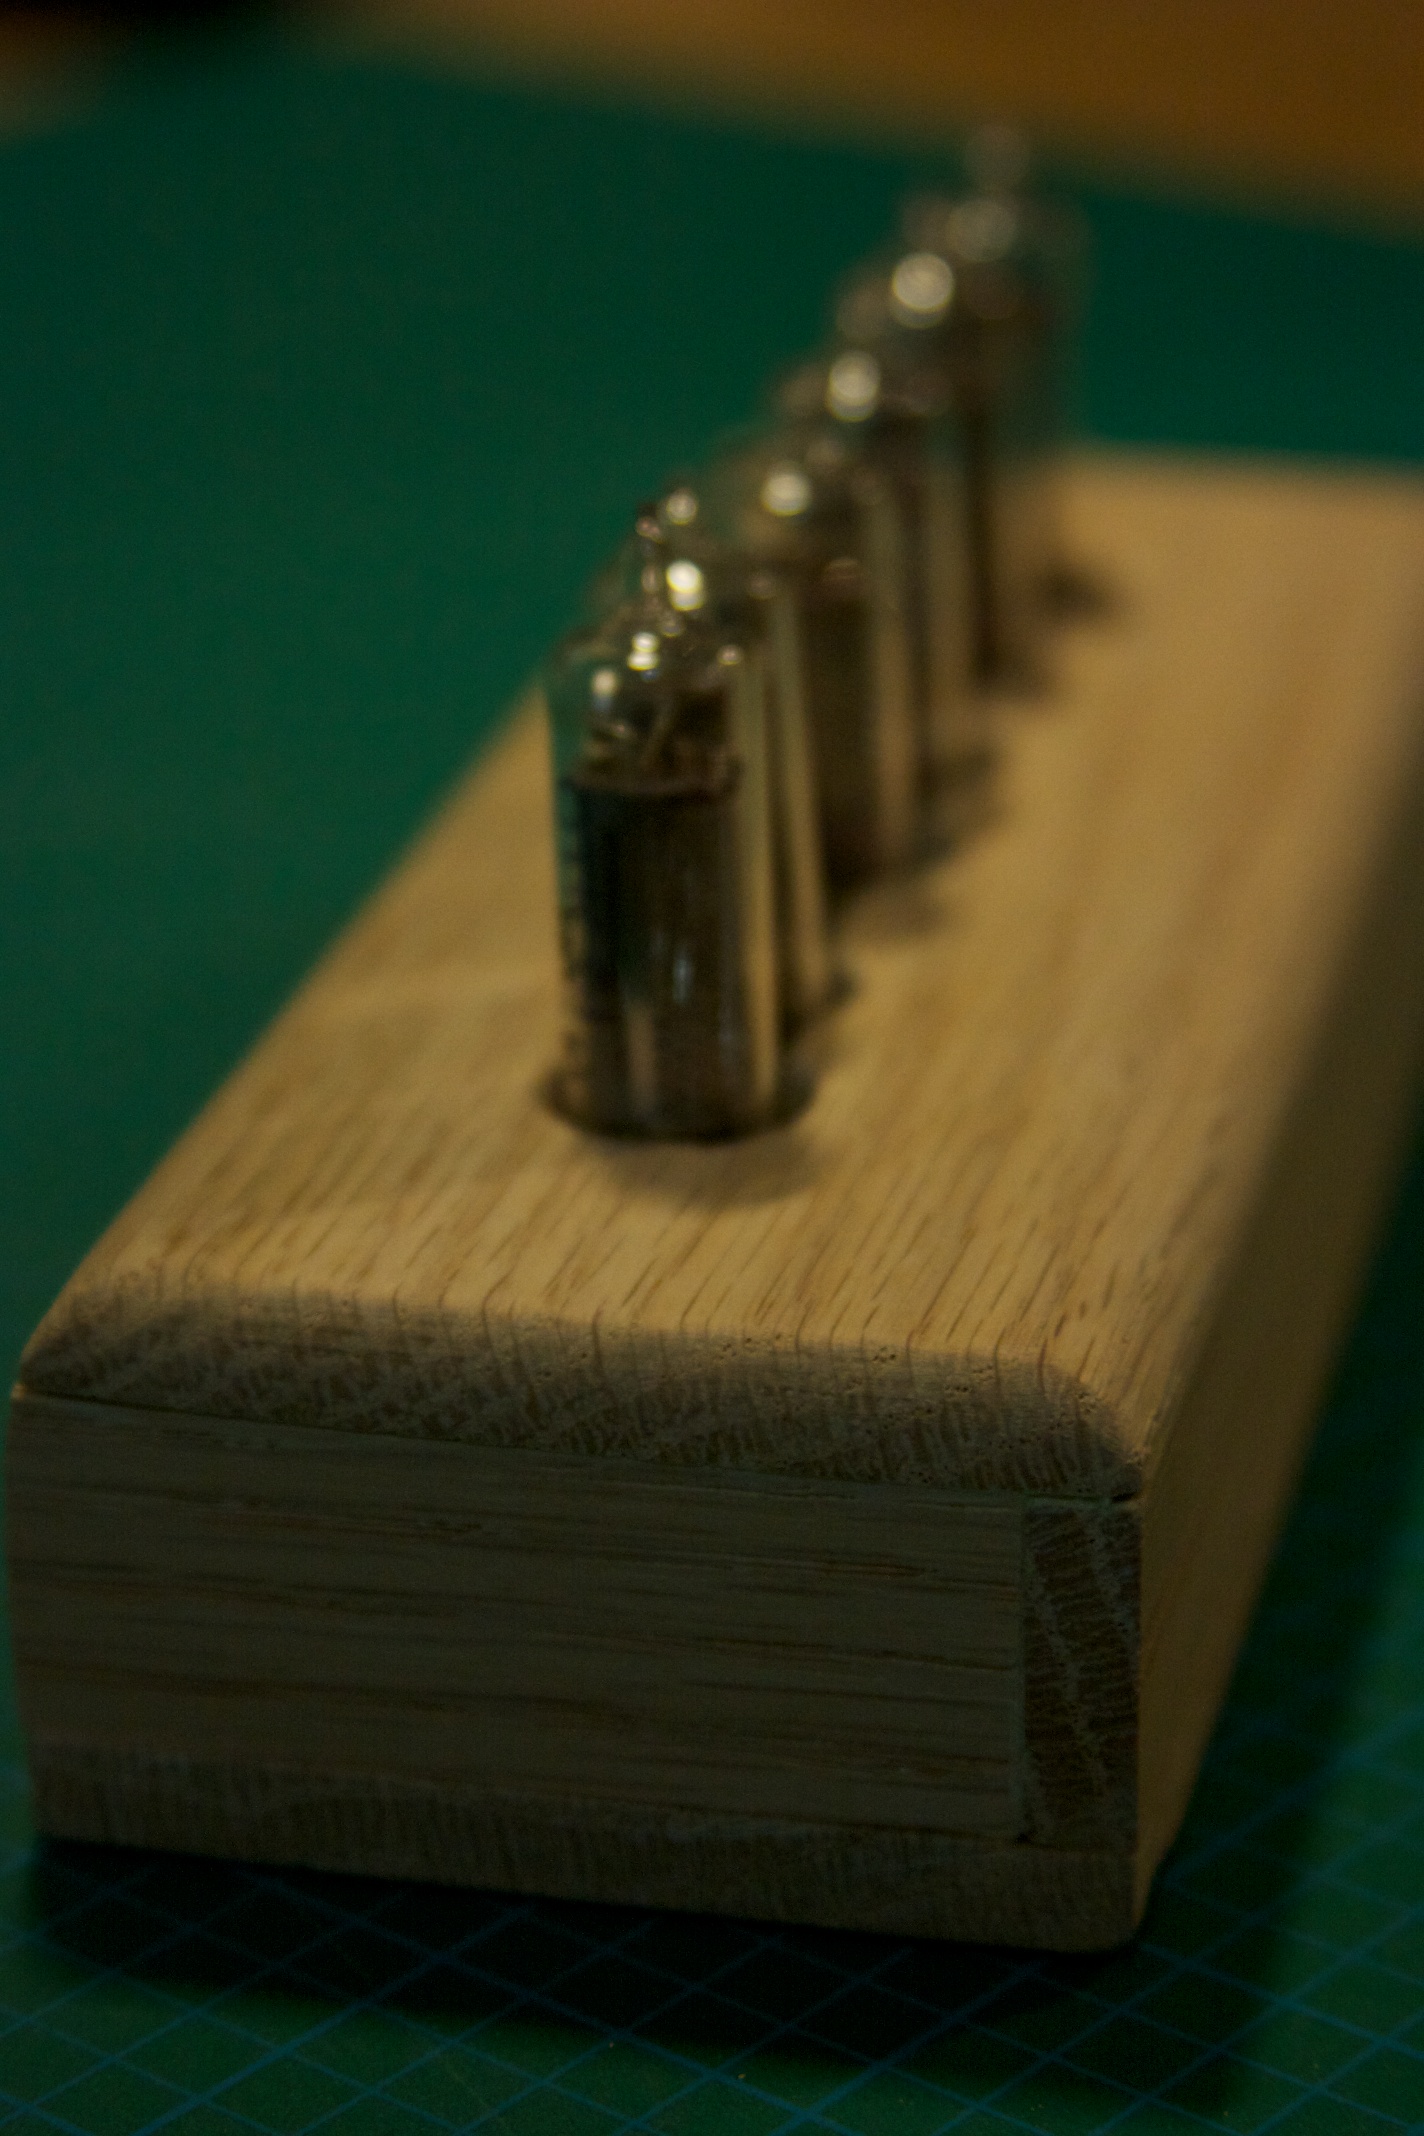
And a quick shot of the back. I didn’t have a big enough single piece to create a base that would allow for a fully enclosed case. However, in the end this worked to me advantage as there needed to be some cooling vents anyways, and this case was always designed to be up against a wall anyways (due to the power adapter).
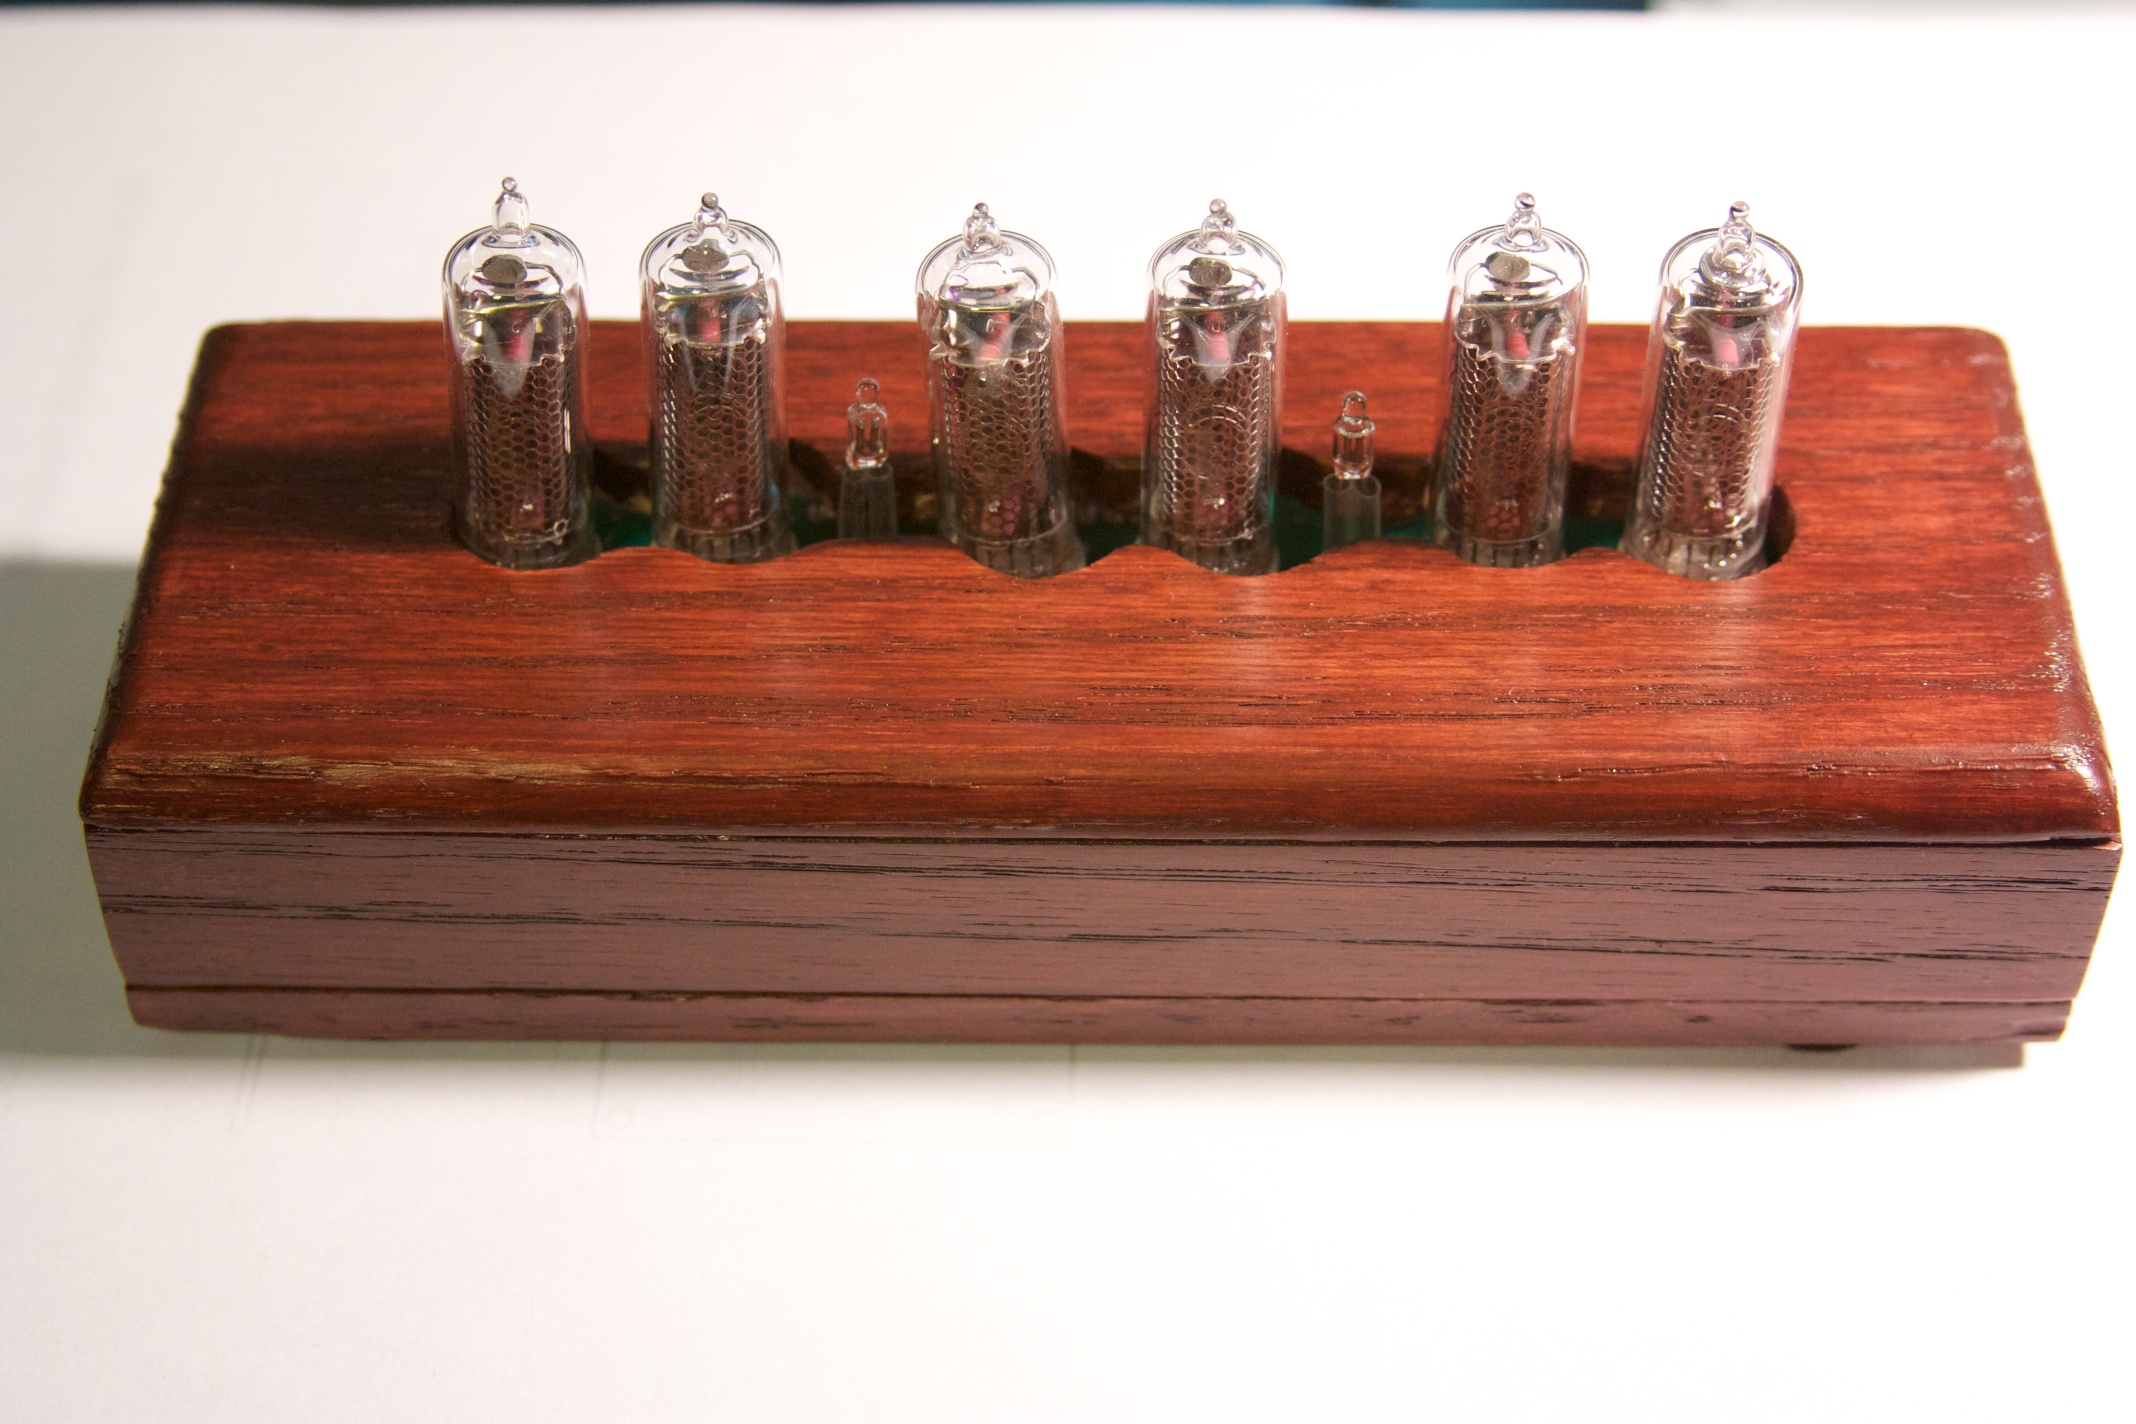
After some discussion with my wife as to where the clock would end up living, we decided that since it would be in the living room, that a darker colour wood was in order. I chose a rose-wood stain, but since this was the first time I had used a stain, it came out a little darker than I would have liked and the grain definition was lost a bit:
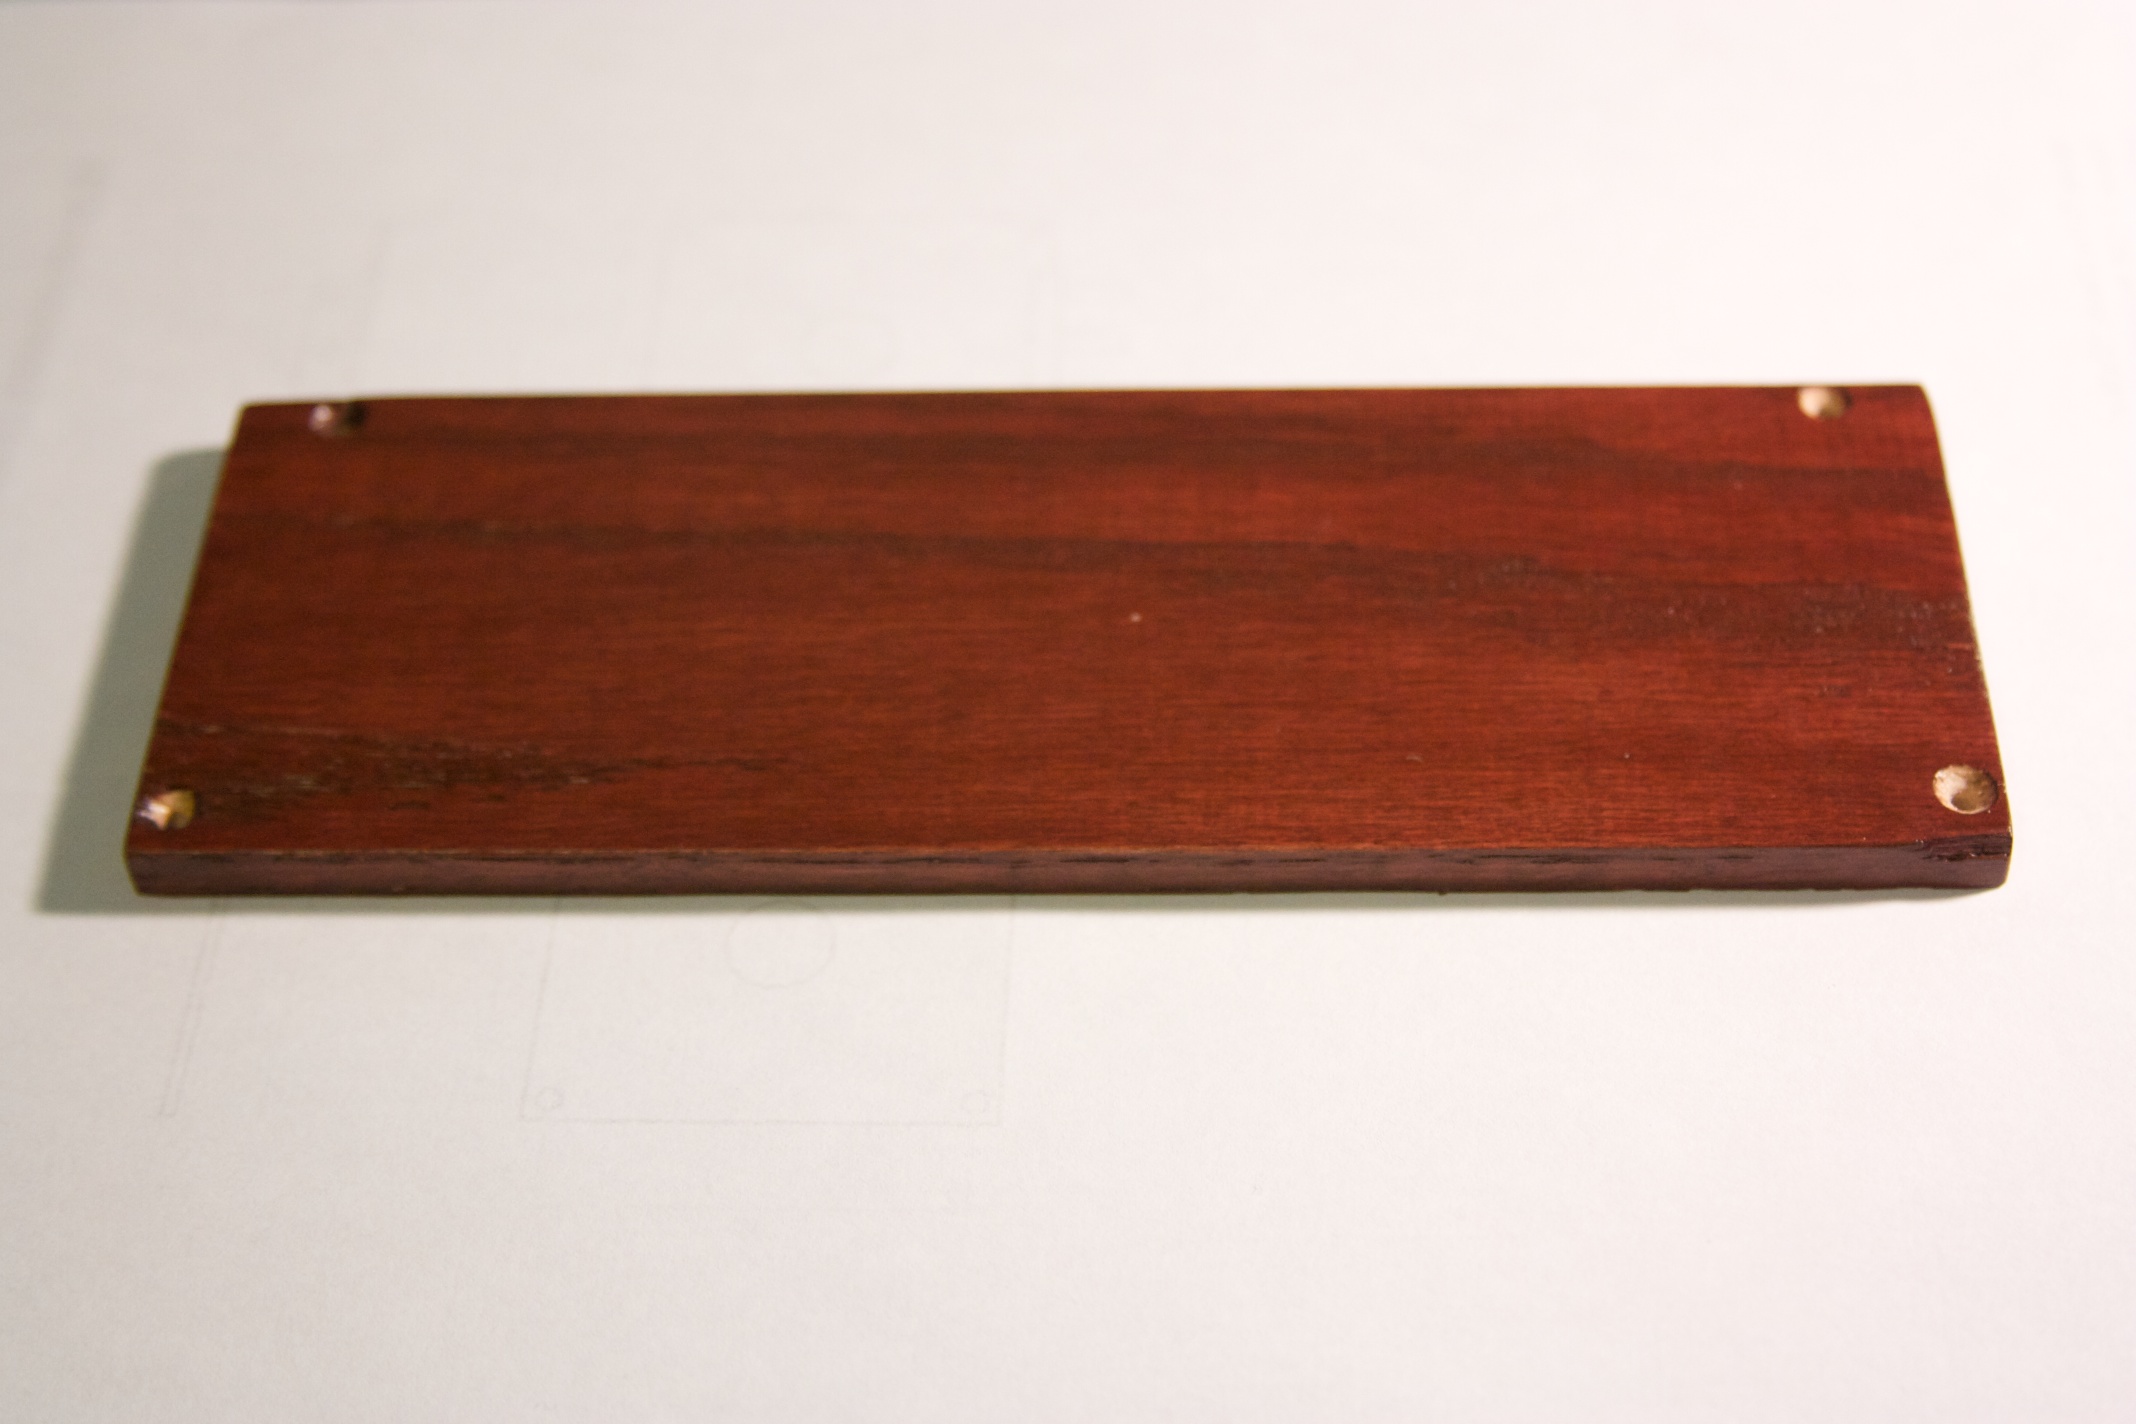
And the bottom:
Fully assembled!
She works!
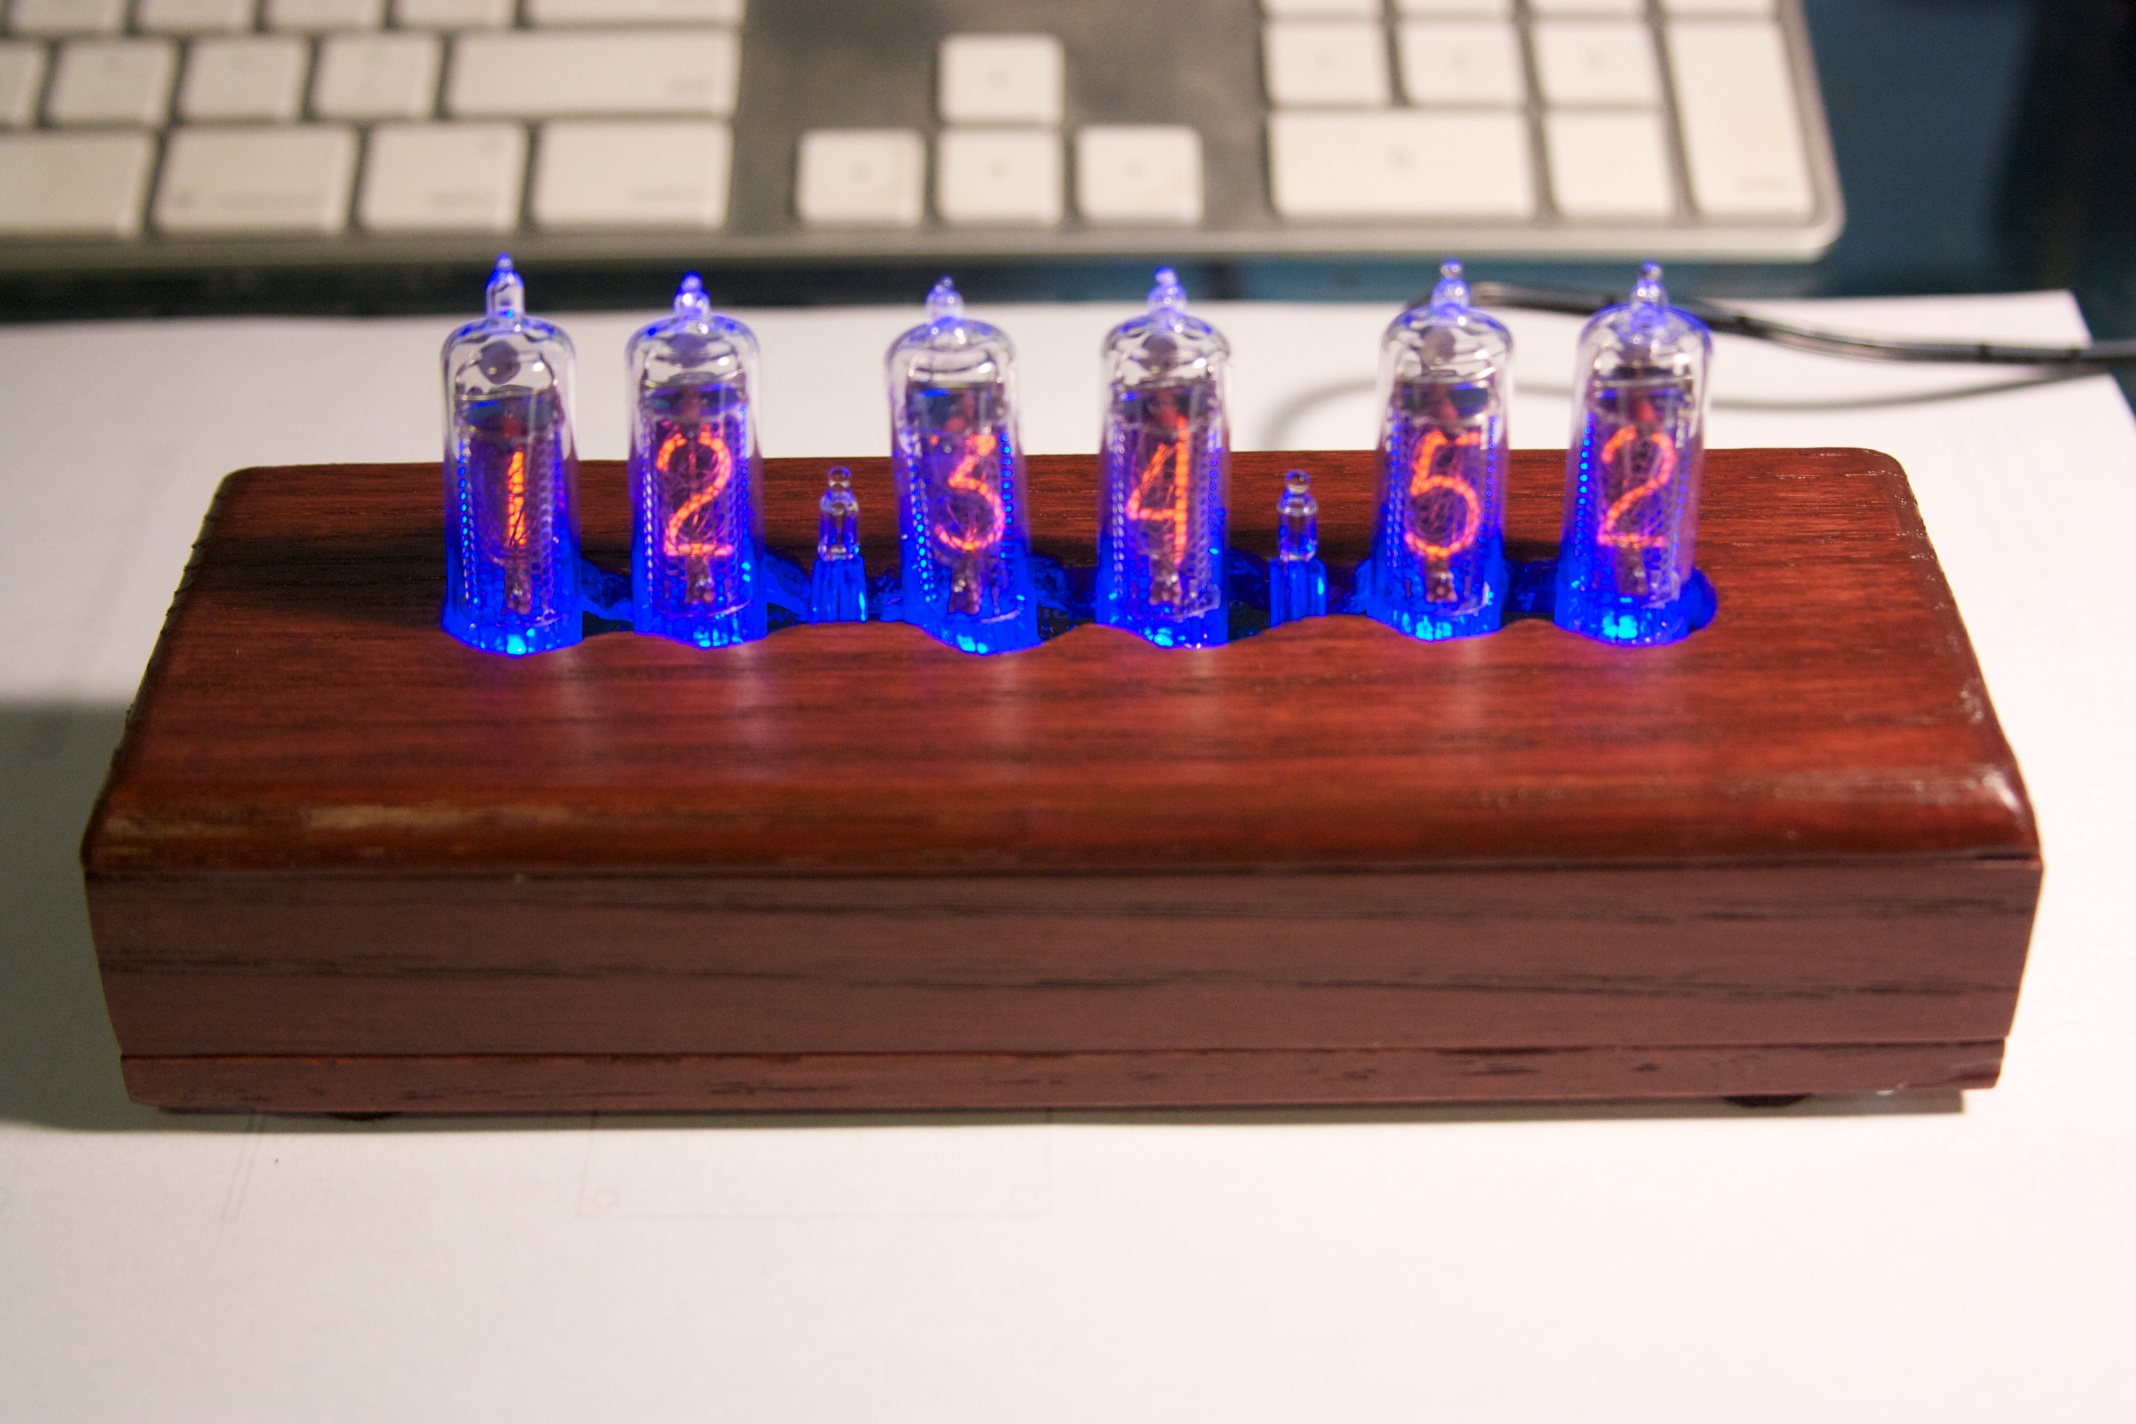
This is the effect that I was hoping to get with the LEDs shining out of the case; it almost looks steam-punk meets Dr. Freeze! This was a fun little project, and got me looking forward to the next clock I will be building. More on that later 😉

way cool
That is just awesome. I wasn’t quite sure what to expect with the case you were building, but it turned out pretty sweet. 🙂
Wow, this is very impressive! Nice one, Chris.